FPV Racing Drones vs DJI FPV: Which One Actually Wins for Speed and Control?
Let’s cut right to it. You’re here because you want to go fast. Really fast. And you’re wondering whether to grab a DJI FPV off the shelf or dive into the world of custom-built FPV racing drones with support from a team that actually knows what they’re doing.
I’m going to break down exactly what you’re getting with each option, the real performance differences, the control you’ll have, the customization possibilities, and ultimately, the value for your money. By the end, you’ll know exactly which path makes sense for your goals.
The DJI FPV: A Solid Entry Point with Clear Limitations
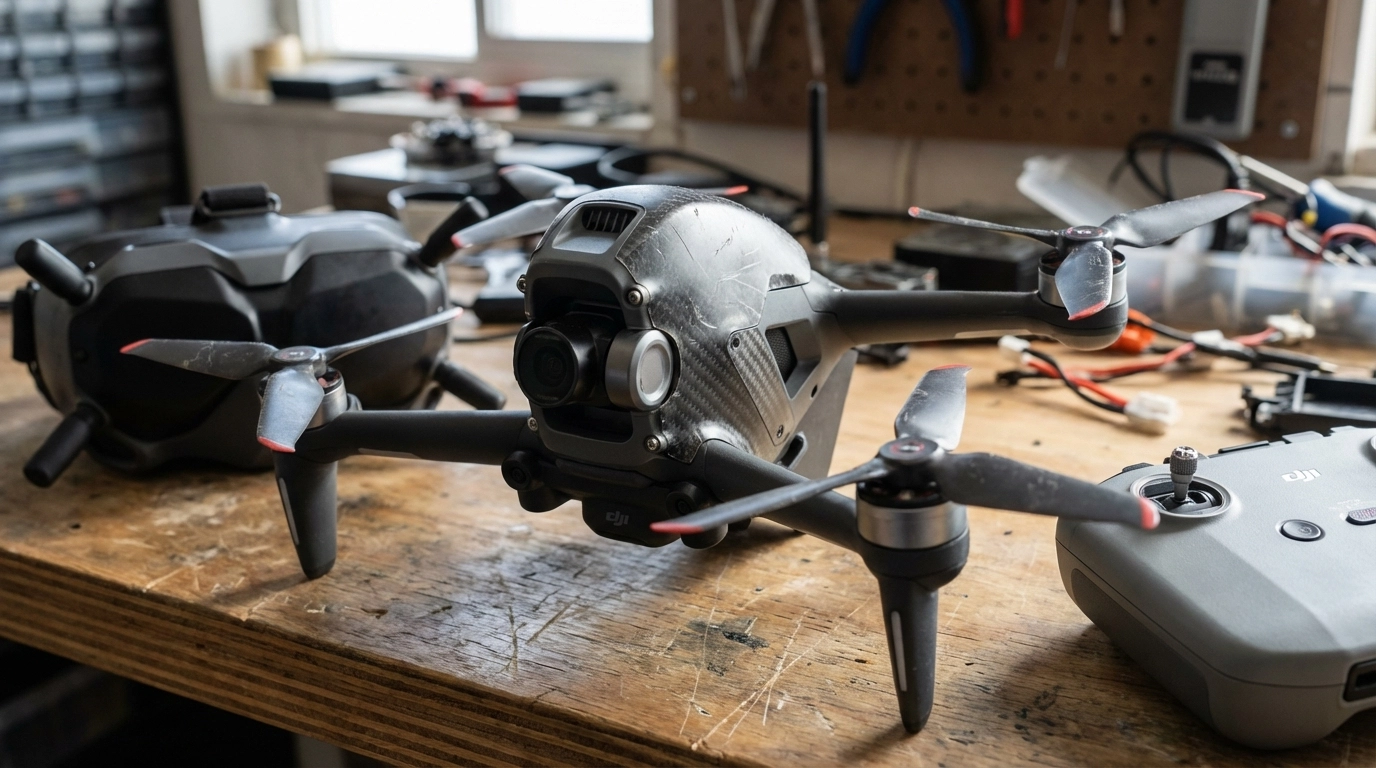
DJI changed the game when they released the DJI FPV. For the first time, someone could unbox a drone, strap on goggles, and experience immersive first-person flight without spending weeks learning to solder and configure. That’s genuinely impressive.
The DJI FPV’s manufacturer-claimed maximum is approximately 87 mph (140 kph) in Manual (M) mode, and it offers three flight modes that gradually introduce pilots to more aggressive flying (source: DJI FPV User Manual, EN PDF). The goggles are crisp, the transmission is reliable, and the whole package just works out of the box.
But here’s where things get interesting for anyone serious about FPV racing or professional cinematic work.
DJI FPV Trade-offs for Advanced Users
Speed ceiling exists. At a manufacturer-claimed ~87 mph in M mode, you’re fast, but many optimized 5-inch racing builds have been tested around or above ~100 mph in favorable conditions (examples: DJI FPV User Manual, Oscar Liang, SpeedyBee Mario 5 review). In competitive racing, that difference can matter.
Tuning flexibility is narrower. DJI’s flight controller is tuned for broad usability. You don’t get the same depth of access to PID tuning, custom rates, filtering, and firmware options that open racing stacks provide.
Repair costs can be higher. Crash a DJI FPV and you’ll typically source proprietary parts. The arms aren’t designed for quick swaps, so a hard crash may mean ordering OEM components and waiting on shipping or service.
Customization is limited within the OEM ecosystem. Swapping motors, frames, or non-DJI camera systems isn’t supported the way it is on open, modular racing platforms.
Custom FPV Racing Builds: Where Serious Pilots Live
Here’s the truth that experienced FPV pilots know: the real performance, the real control, and the real value comes from custom-built racing drones tailored to exactly how you fly.
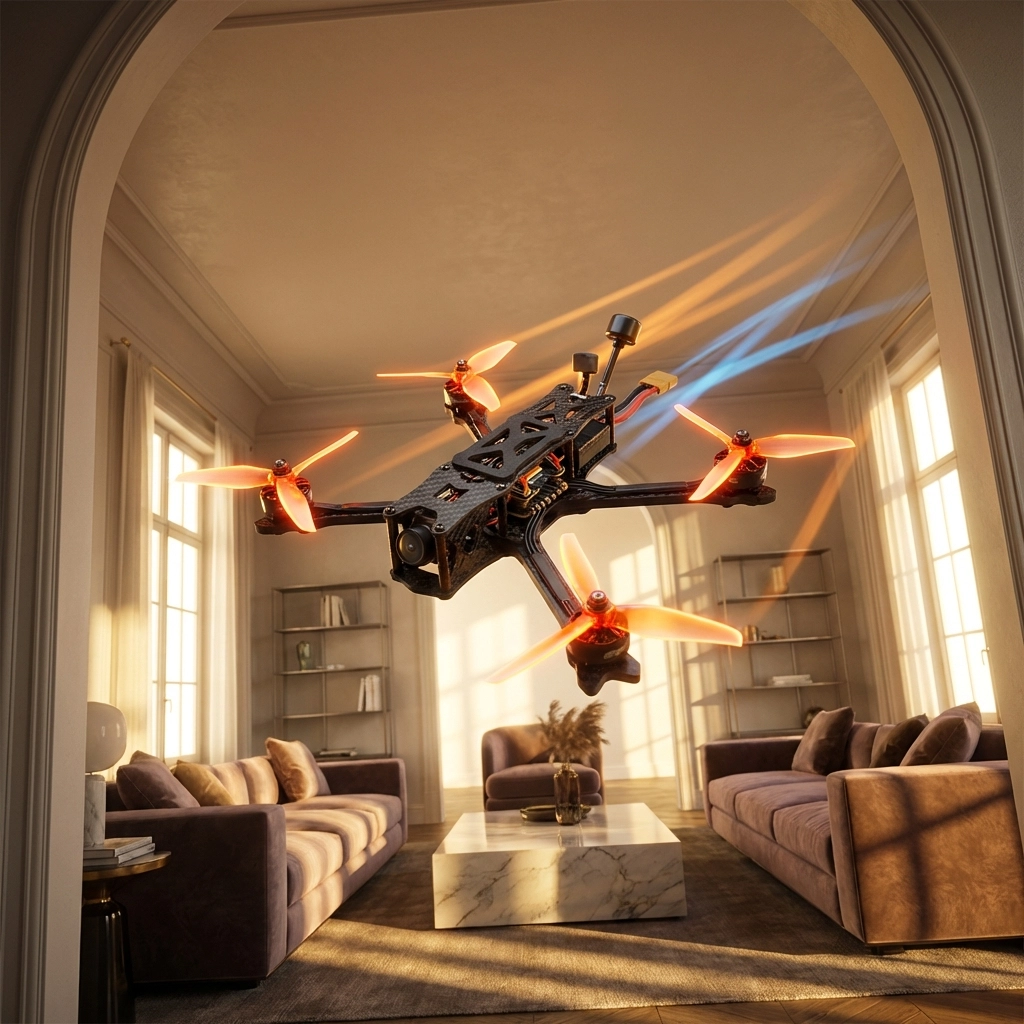
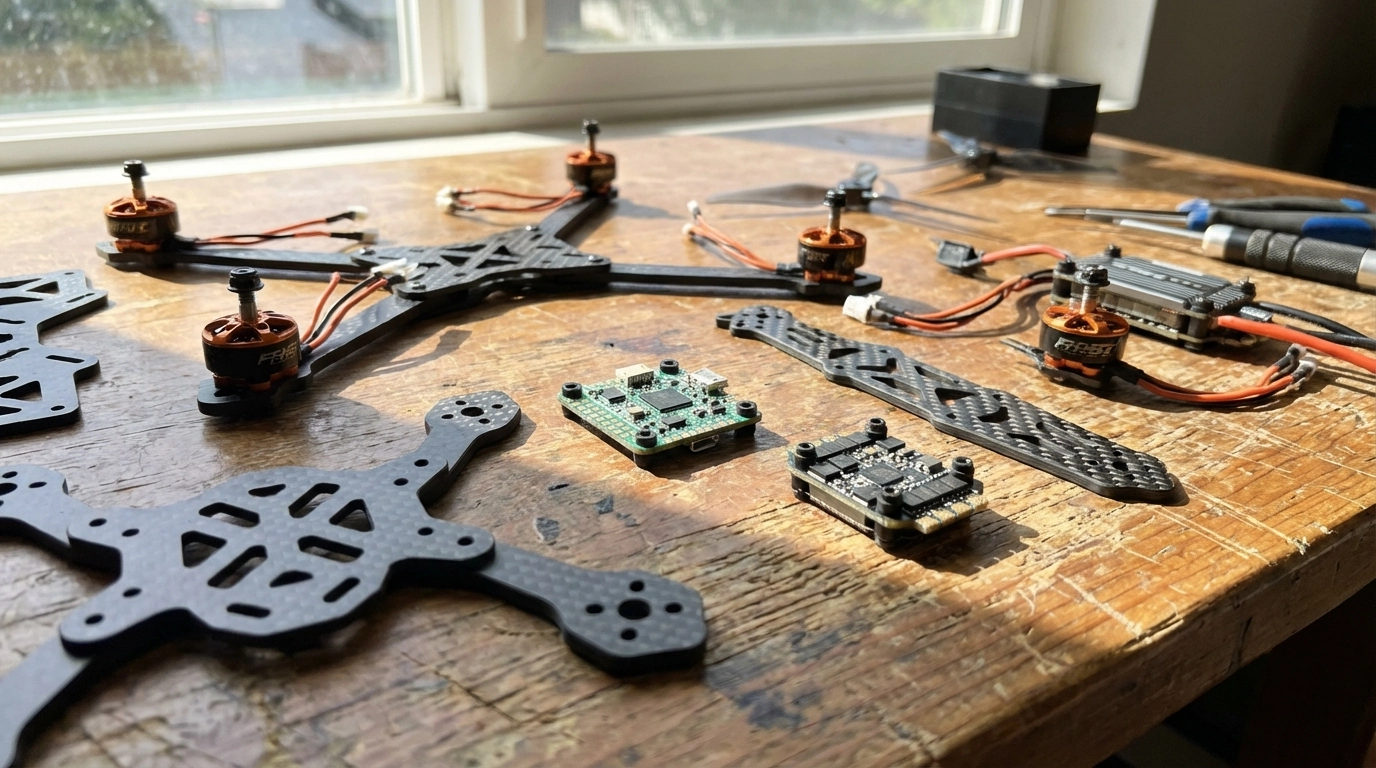
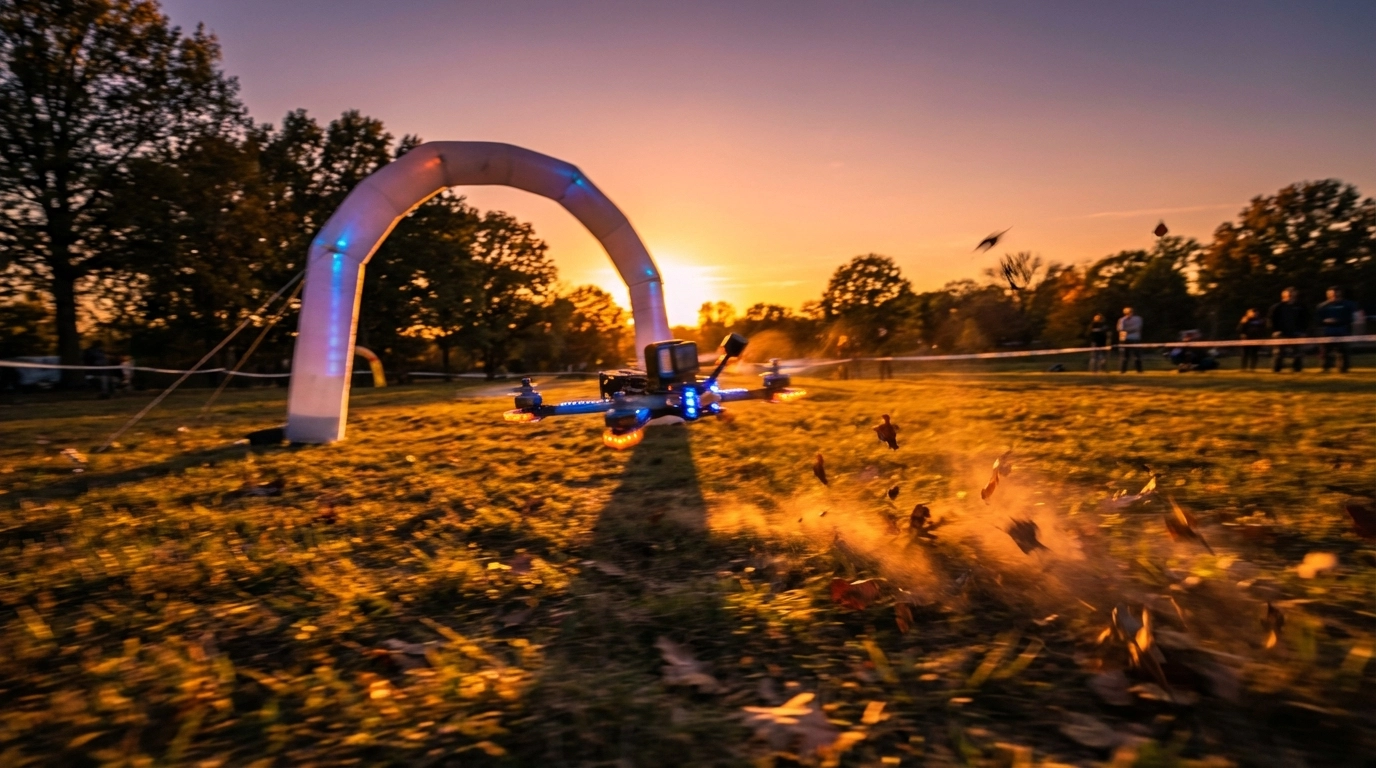
When you build or upgrade a custom FPV rig, every single component serves your specific needs. Racing gates in tight indoor courses? You configure for that. Chasing cars through desert terrain? Different setup entirely. Cinematic real estate work that demands smooth, controlled movements? That’s another configuration altogether.
This is where TechInMotion360’s performance upgrade packages become game-changers for pilots who want to level up without the guesswork.
The Speed Advantage
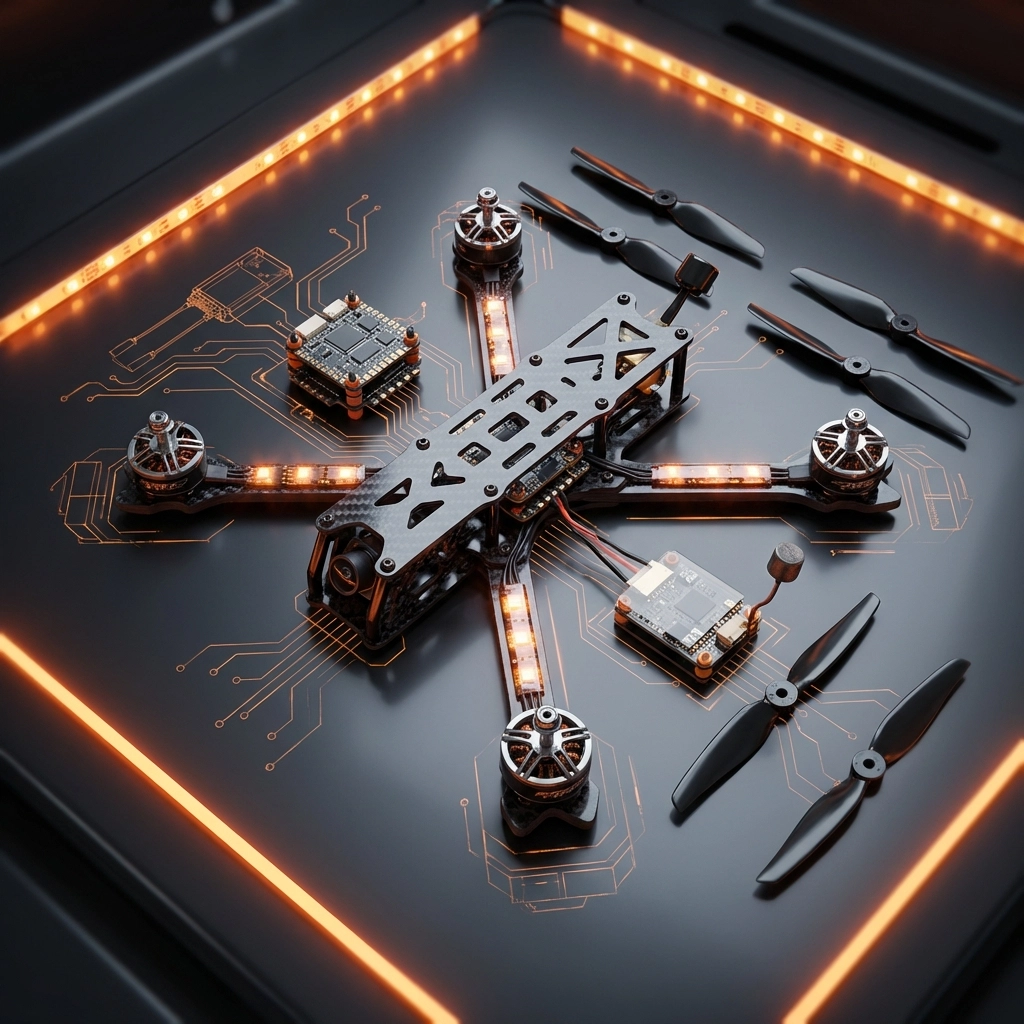
Custom racing quads built with quality components can exceed ~100 mph in optimized builds and favorable conditions; some dedicated setups reach higher speeds (see examples: Oscar Liang, SpeedyBee Mario 5 review). The difference often comes down to:
- Motor selection: You choose KV ratings optimized for your battery voltage and prop size
- Frame weight: Carbon fiber frames purpose-built for racing shed unnecessary grams
- Power systems: Custom power system upgrades let you run configurations that maximize thrust-to-weight ratios
When milliseconds separate winners from everyone else, these details matter enormously.
The Control Advantage
This is where custom builds tend to stand out for advanced users.
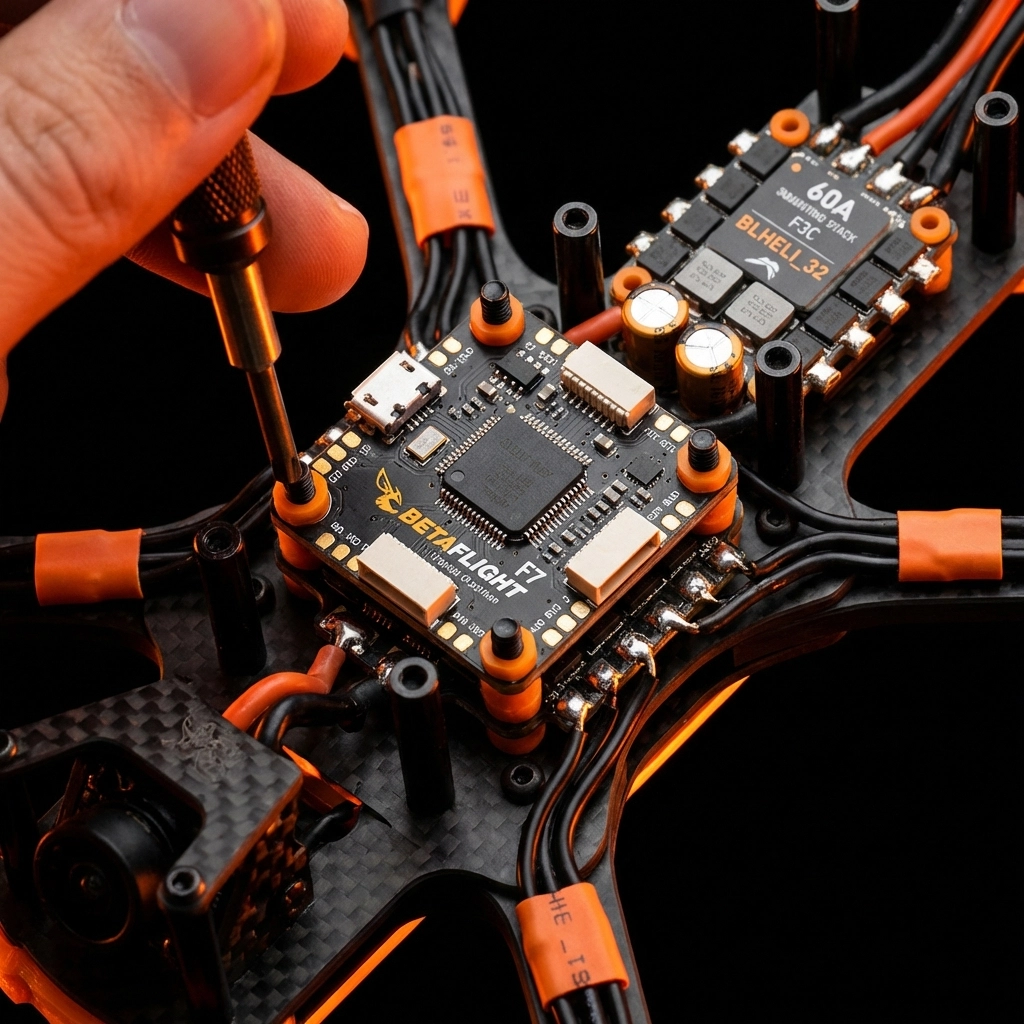
With a custom setup, you’re tuning your flight controller to match your exact preferences. Betaflight, KISS, or other firmware options give you granular control over:
- PID values for different flight characteristics
- Rate curves that match your stick movements
- Filters optimized for your specific motor and prop combination
- Failsafe behaviors tailored to your flying environment
DJI provides three modes; open racing stacks offer much deeper adjustability.
For pilots struggling with configuration, TechInMotion360’s advanced performance tune and troubleshooting support walks you through optimizing your setup for peak performance.
Real-World Performance Comparison
| Feature | DJI FPV | Custom Racing Build |
|---|---|---|
| Top Speed | ~87 mph | ~100+ mph (build-dependent) |
| Flight Controller Tuning | Limited presets | Widely customizable |
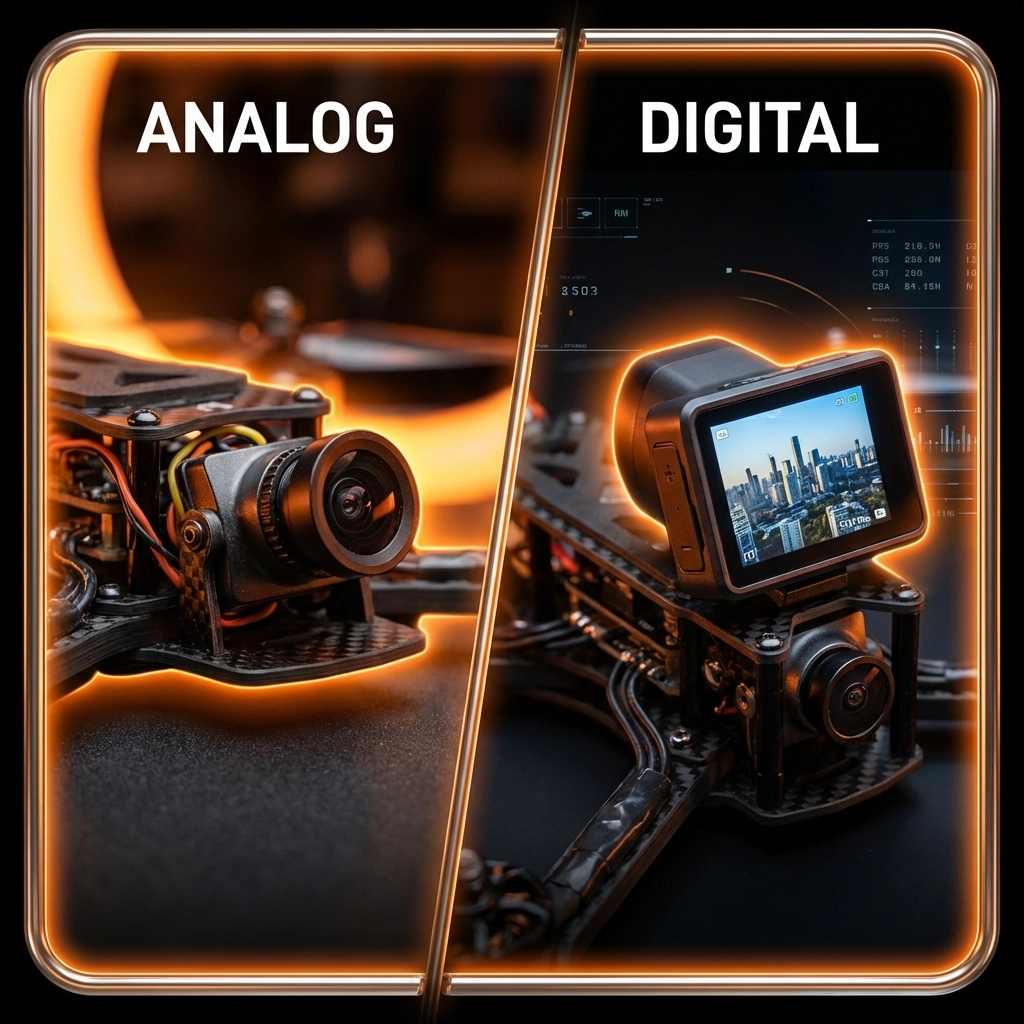
| Camera Options | Fixed DJI camera (OEM) | Many compatible FPV cameras |
| Repair Time | Days to weeks (service/parts availability) | Often minutes with spare parts |
| Upgrade Path | Limited within OEM ecosystem | Extensive (component-level) |
| Racing League Eligible | Some classes | Most classes (varies by rules) |
| Long-term Cost | Typically higher (proprietary parts) | Typically lower (standard components) |
Footnote: Specifications are approximate; DJI figures reflect manufacturer-claimed data for DJI FPV in Manual (M) mode under ideal conditions. Custom build performance varies by configuration, tune, weight, battery, props, and environment.
The Value Equation Most People Miss
Here’s something that surprises newer pilots: custom builds often cost less over time.
Yes, the initial learning curve is steeper. Yes, you’ll spend time understanding components and configurations. But consider this:
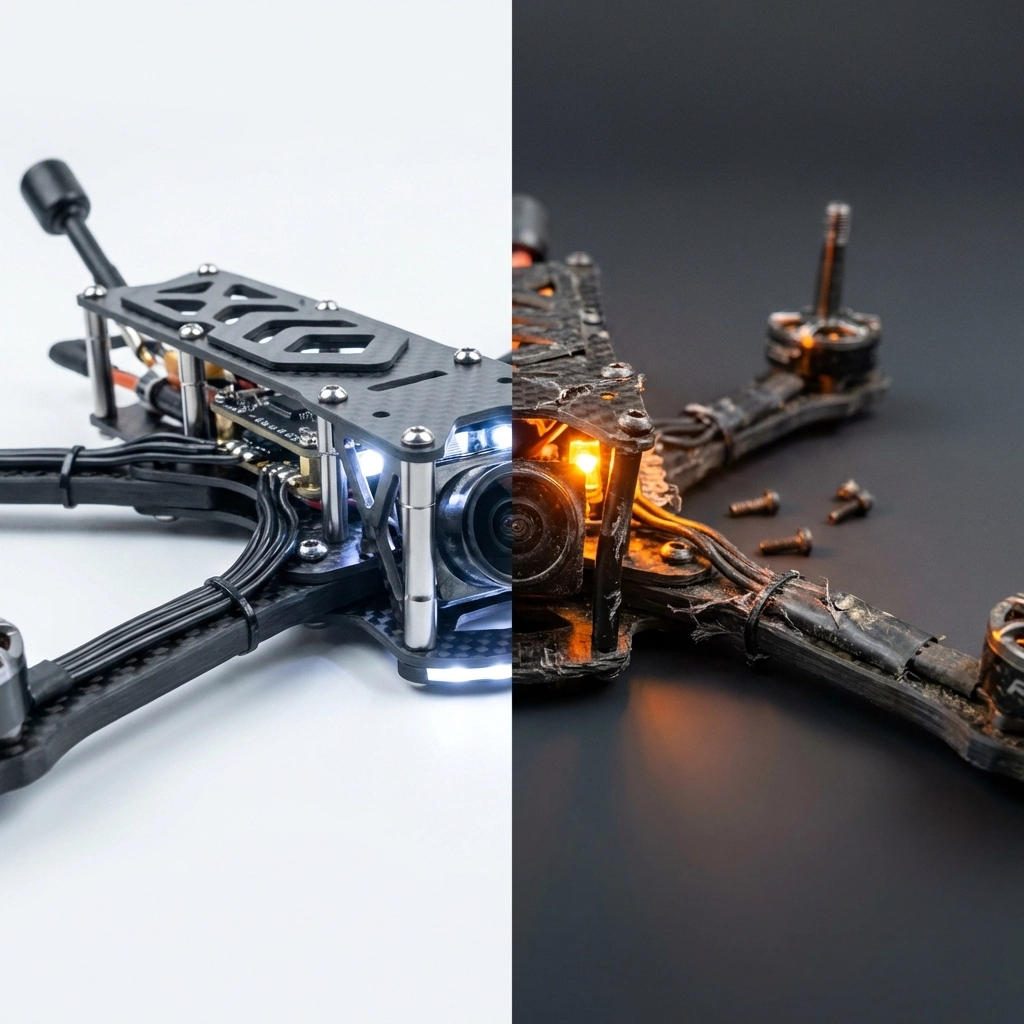
Crash a DJI FPV arm: You’re ordering proprietary parts, waiting for shipping, and potentially sending the whole unit in for repair. Cost? Often approximately $200-400+ (estimate; varies by damage, parts, labor, taxes, and shipping).
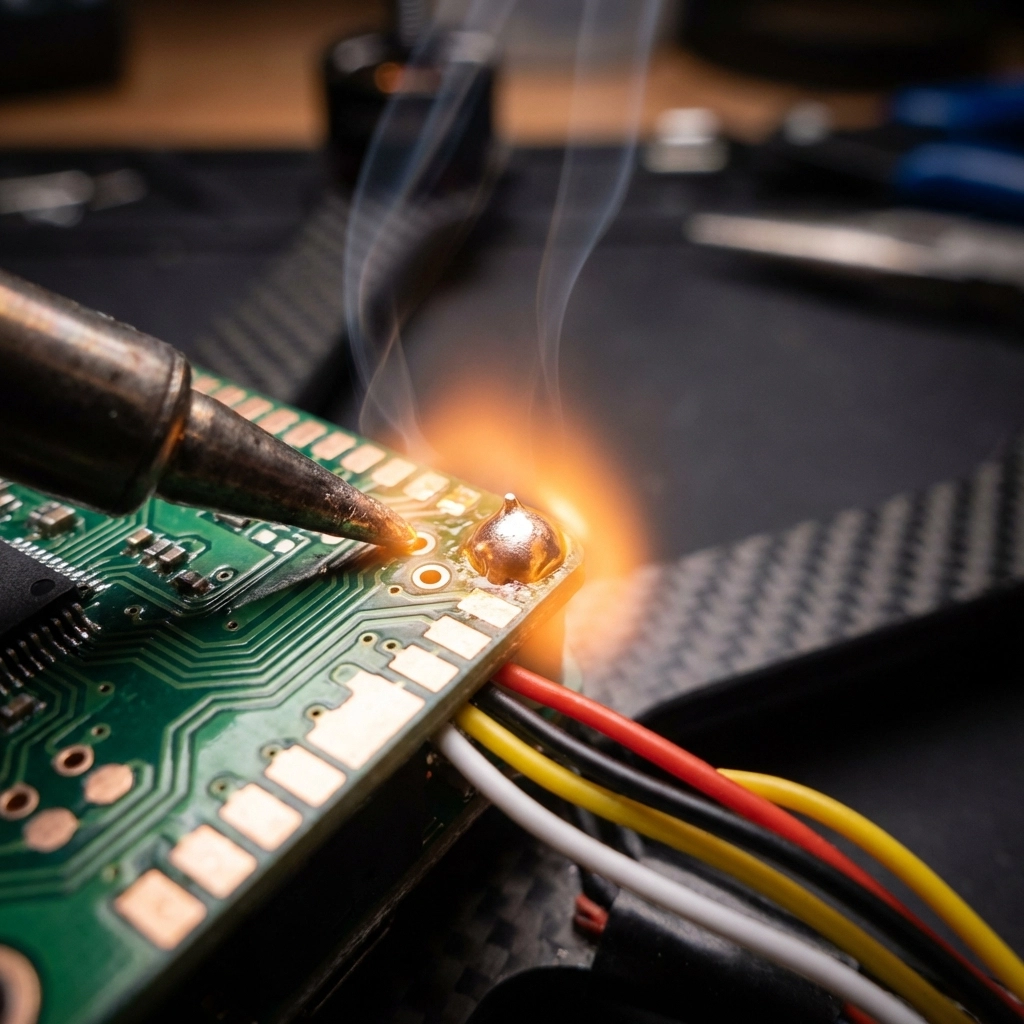
Crash a custom racing quad arm: You grab an approximately $15 replacement arm from your parts bin, swap it in about 10 minutes, and you’re back in the air.
Multiply that across a year of aggressive flying and the math gets obvious real fast.
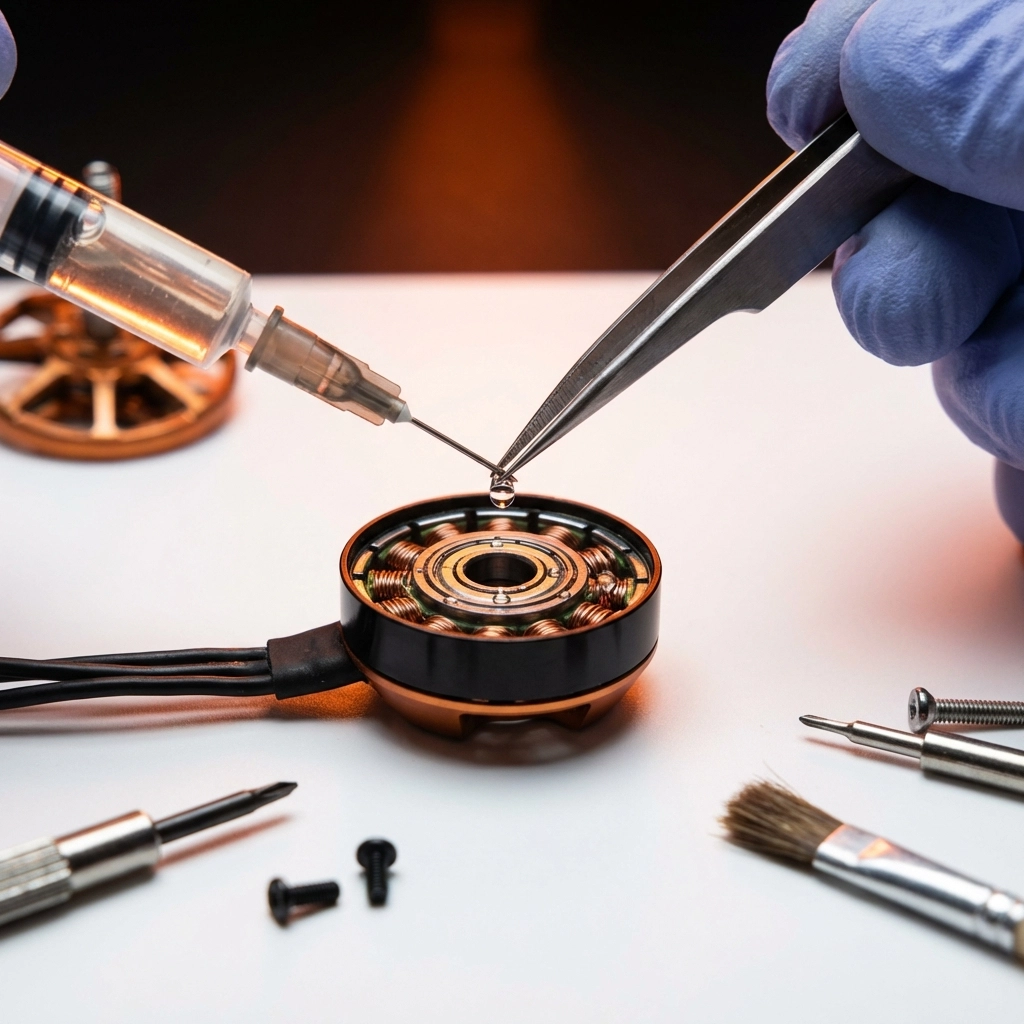
For pilots who want professional support maintaining their custom rigs, TechInMotion360’s basic maintenance and repair services keep you flying without the frustration of diagnosing problems alone.
Who Should Choose DJI FPV?
Let’s be fair here. DJI FPV makes sense for specific situations:
- Complete beginners who want immediate gratification without learning curve
- Casual flyers who won’t push performance limits
- Content creators who prioritize convenience over maximum performance
- Pilots who genuinely don’t want to learn the technical side
There’s no shame in wanting something that just works. DJI delivers that experience reliably.
Who Should Choose Custom FPV Builds?
Custom builds supported by expert services like TechInMotion360 make sense when:
- Speed matters and you want every possible advantage
- Racing competitively in leagues that allow (or require) custom builds
- Professional work demands specific performance characteristics
- Long-term investment matters more than immediate convenience
- Learning the craft appeals to you as part of the journey
If you’re nodding along to these points, you already know which direction you’re headed.
Getting Started with Custom FPV Racing
The biggest barrier to custom builds has always been knowledge and support. Building your first quad can feel overwhelming when you’re staring at component lists and wiring diagrams.
This is exactly why having expert support matters so much.
TechInMotion360’s annual remote support plan gives you year-round access to experienced pilots who can guide you through builds, troubleshoot problems, and help you optimize performance. It’s like having a mentor on speed dial.
For specific upgrades, their control and range enhancement packages and video camera system upgrades let you level up individual components without replacing your entire setup.
The Bottom Line
DJI FPV is a capable machine that opened FPV flying to millions of new pilots. That’s worth celebrating.
But if you prioritize speed, tuning control, customization, and repairability, well-built custom FPV rigs often provide meaningful advantages for advanced users (based on typical configurations and use cases).
The choice comes down to your goals. If FPV is something you’ll do occasionally on weekends and convenience ranks highest, DJI can be a great fit. If you’re chasing podiums, building a career, or want deeper control over your rig, a custom path may be the better long-term fit.
Ready to build something that actually matches your ambitions? Explore TechInMotion360’s full range of FPV support services and start flying the way you were meant to fly.
Performance disclaimer: All performance figures (e.g., speed, repair time) are estimates based on manufacturer claims, documented examples, typical builds, and controlled test conditions. Actual results vary with configuration, weight, tuning, battery health, prop selection, environment, and pilot skill.
Educational purpose disclaimer: This article is for educational and informational purposes only. TechInMotion360.org is not affiliated with or endorsed by DJI. Always follow local laws, regulations, and safe operating practices.