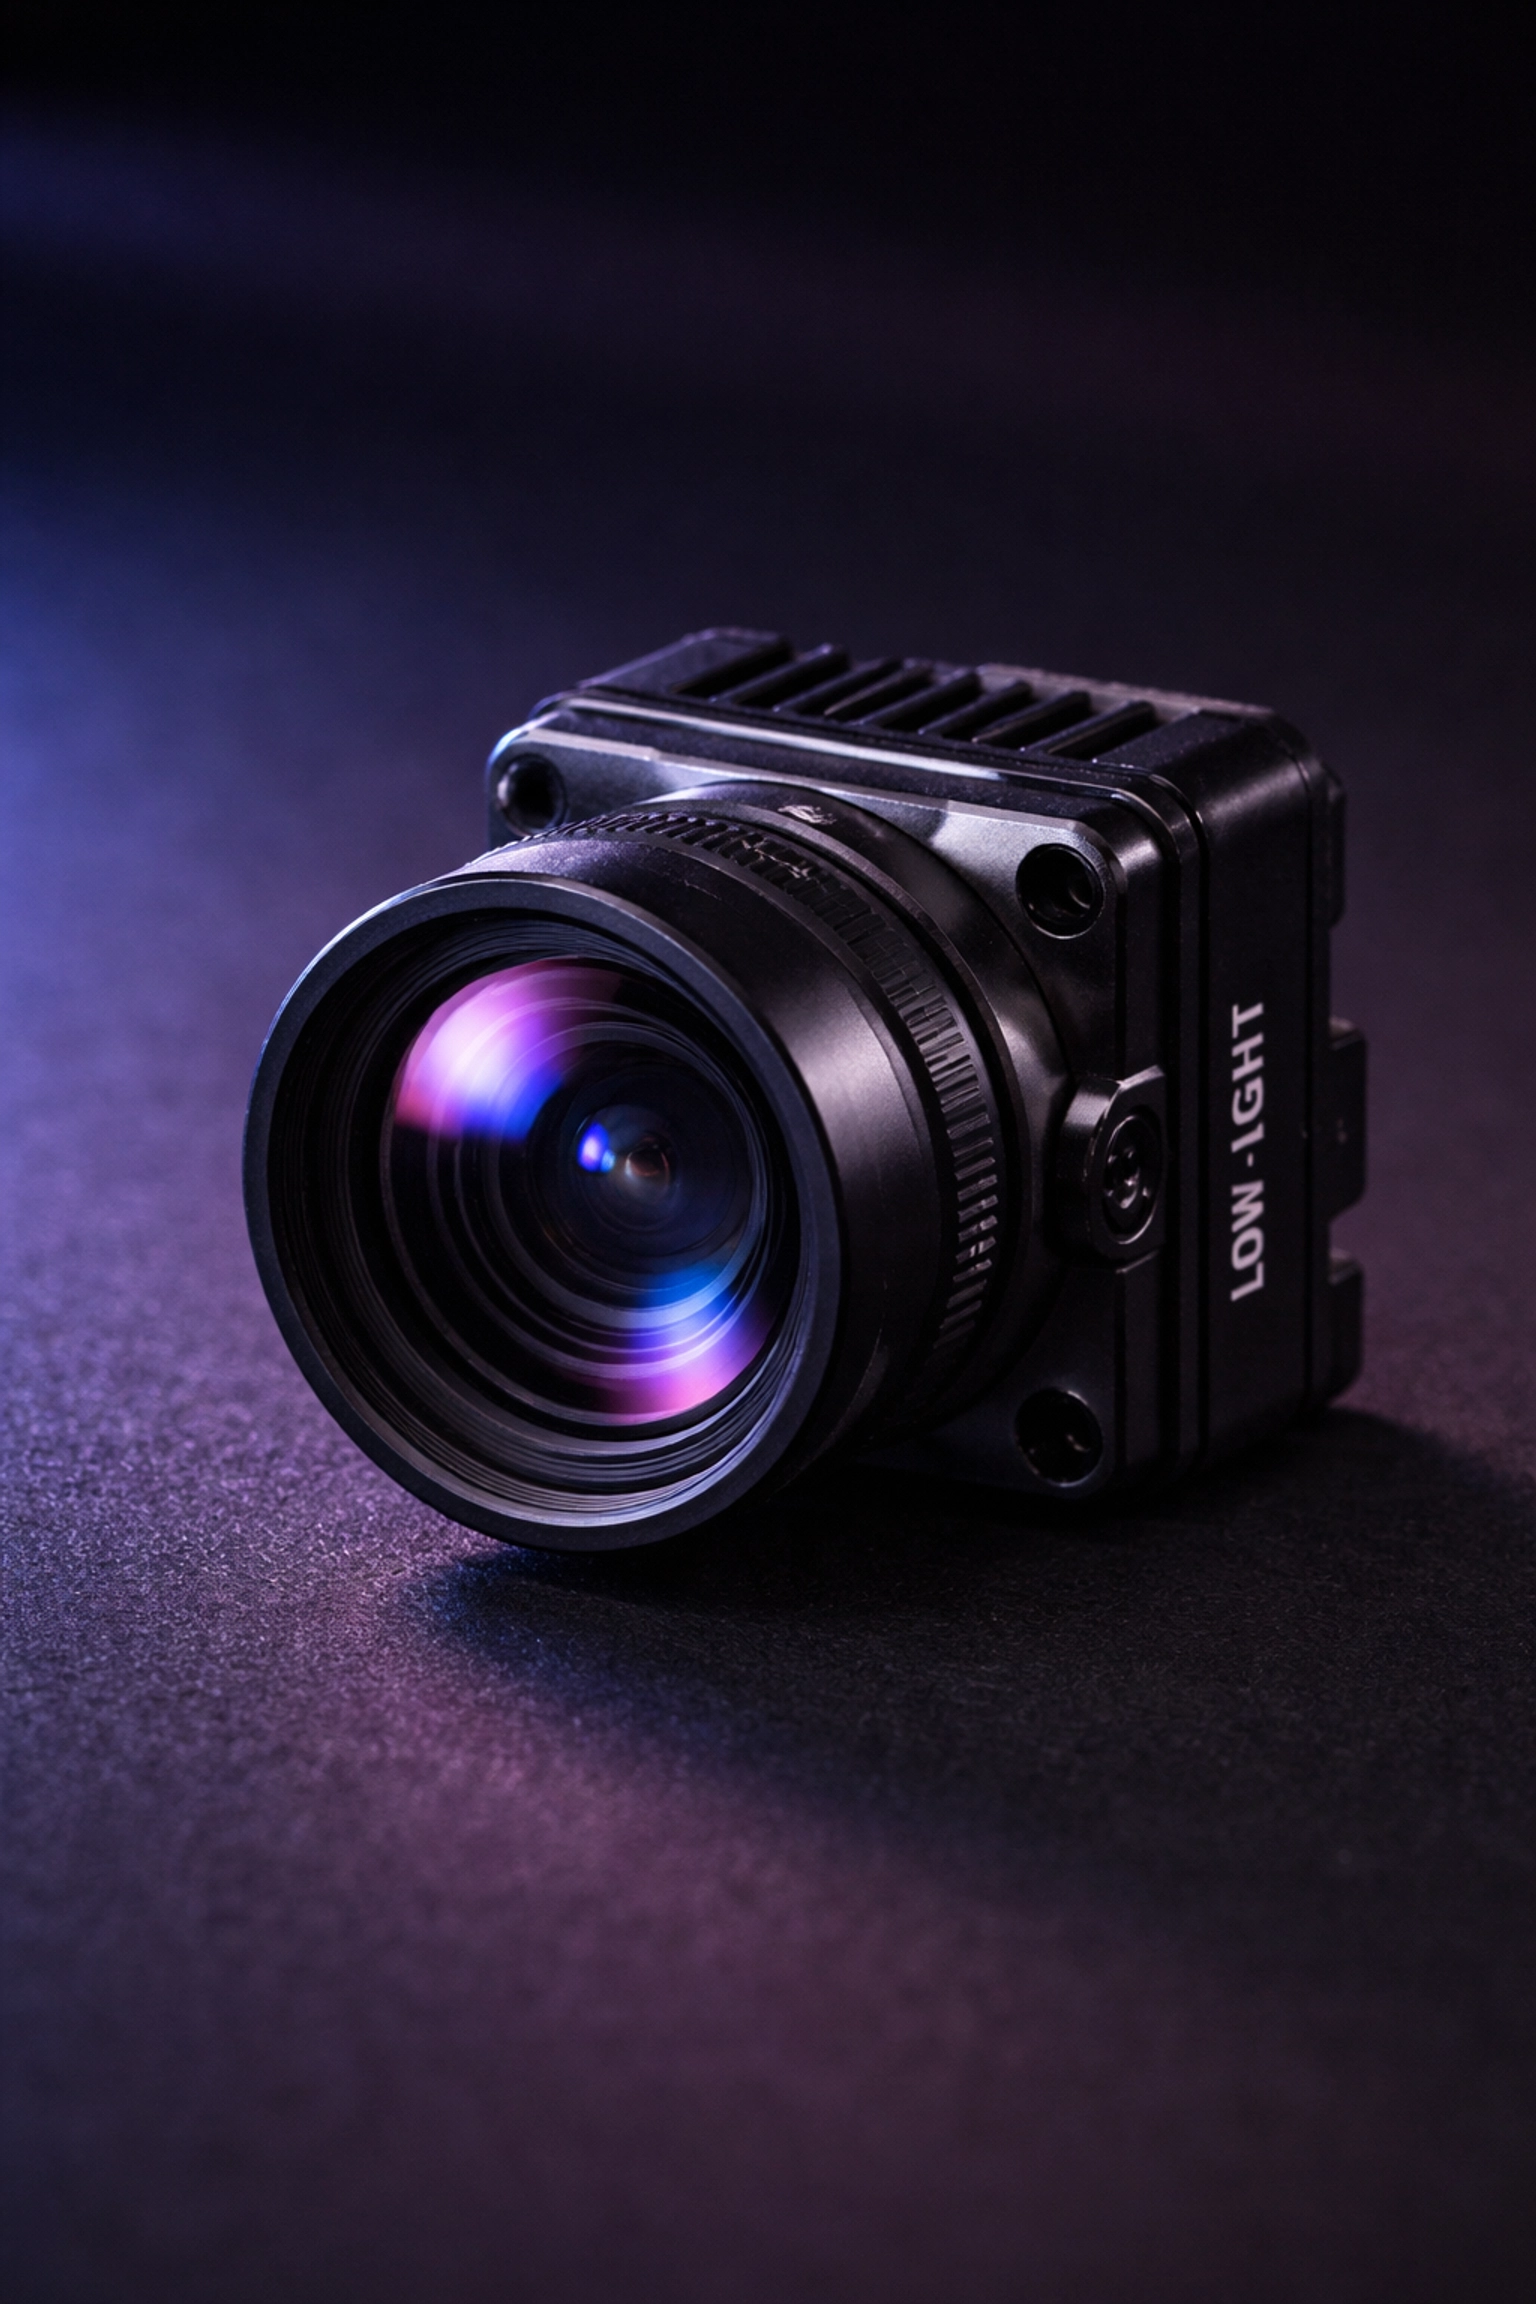
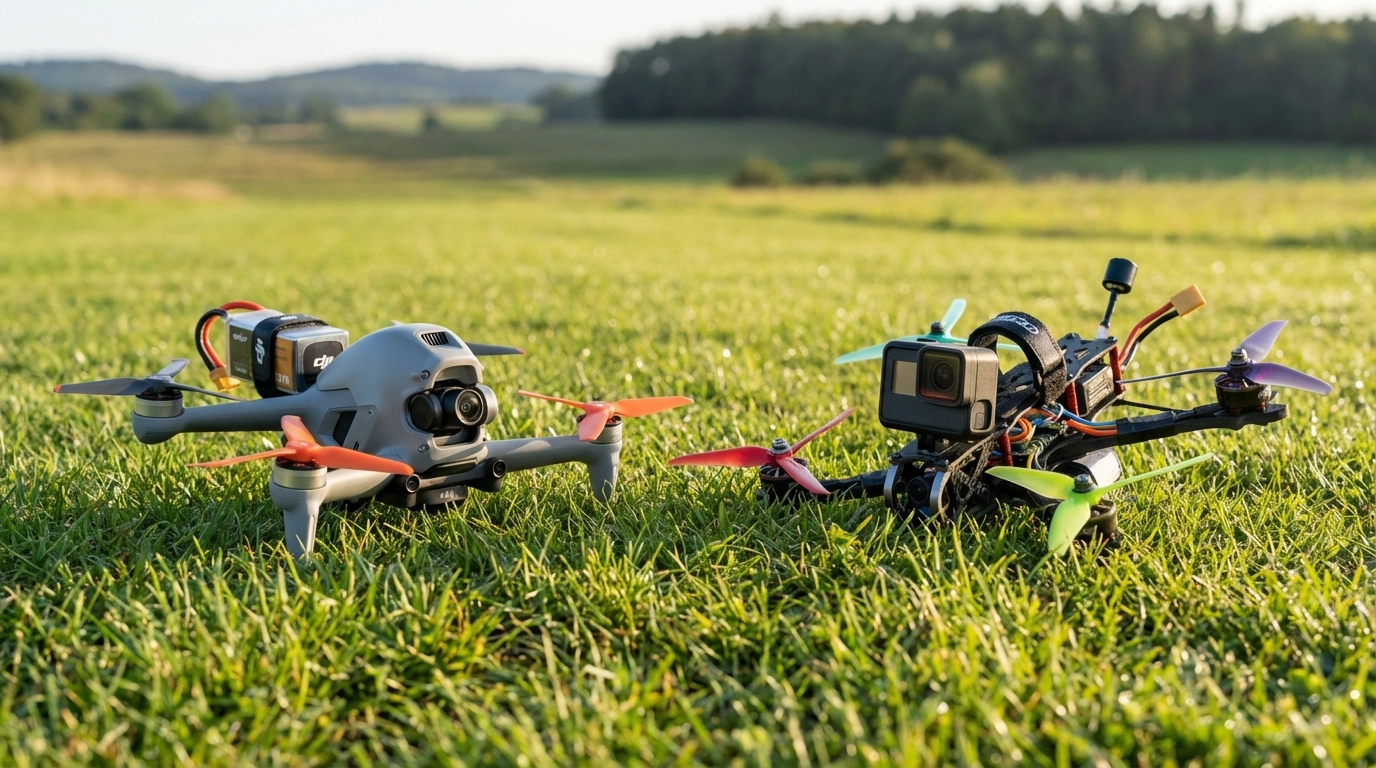
The FPV LiPo Mistakes That Kill Batteries and Start Fires

FPV LiPo Safety: The Mistakes That Kill Batteries and Start Fires

FPV LiPo safety is one of the most important parts of flying well and protecting your gear. In FPV, batteries take hard throttle punches, repeated charge cycles, and the occasional violent crash, so bad habits show up fast as puffing, weak performance, damaged cells, or real fire risk. If you fly often, FPV LiPo safety is not a side topic. It is part of being a competent pilot.

Most battery problems in FPV do not come from mystery failures. They come from pilots getting casual. A pack is charged on the wrong settings because someone is rushing to make golden hour. A battery that took a hard hit gets used again because it still powers up. A few packs stay fully charged in the bag all week because the next session “might” happen tomorrow. None of that feels dramatic in the moment, but that is exactly how avoidable battery failures happen.

One important note before anything else: this article is about standard LiPo packs, not LiHV packs. Standard LiPo cells are typically 3.7V nominal and 4.20V max per cell. LiHV packs use different voltage limits and can charge to 4.35V per cell, so charger mode matters more than many pilots realize.

Why FPV LiPo Safety Matters More in Drone Flying

FPV is harder on batteries than a lot of other battery-powered hobbies. That is partly a technical fact and partly an obvious reality of the way quads are flown. High-current bursts, fast recoveries, hard prop loading, and frequent crashes all put real stress on a pack. That is an inference from how LiPo packs behave under load and from the known risks of overheating, damage, over-discharge, and puncture. In other words, FPV packs live rough lives, so FPV LiPo safety needs more discipline than “plug it in and hope.”

That is also why battery care in FPV should never be treated as a boring afterthought. Your video system can fail, your motor can desync, and your tune can be off, but the battery is still the one part of the quad carrying concentrated stored energy. When a lithium battery is damaged, overheated, overcharged, or improperly handled, thermal runaway is possible. That is not hobby drama. It is standard lithium-battery risk.

FPV LiPo Safety Starts With Proper Charging

If there is one place where FPV LiPo safety becomes real, it is at the charger. Use a charger designed for LiPo batteries, make sure the chemistry setting matches the pack, and confirm the cell count before every charge. Manufacturer guidance is explicit that selecting the wrong voltage or cell count can cause fire.

For FPV packs, balance charging should be your normal routine, not something you do only when a pack looks questionable. Balance charging matters because total pack voltage can look fine while one individual cell drifts high or low. In a hobby where packs are pushed hard and reused often, that matters a lot.

Charge rate is another place where pilots talk themselves into unnecessary risk. A conservative default is 1C unless the battery manufacturer clearly says otherwise. So a 1500mAh pack charges at 1.5A, and a 1300mAh pack charges at 1.3A. Yes, some batteries advertise faster charging, but conservative charging gives you more margin for error and is still the safer habit.

And then there is the rule experienced pilots repeat for a reason: never leave a LiPo charging unattended. Official hobby guidance says exactly that, and also says not to charge on or around combustible materials. For FPV pilots, that means no charging on a bed, no charging on carpet, and no starting a batch of packs and leaving the house.

Voltage Basics Every FPV LiPo Safety Guide Should Cover

A lot of bad battery decisions happen because pilots know voltage numbers loosely, but not precisely enough. For a standard LiPo, the important numbers are simple: 3.7V nominal per cell, 4.20V max charge per cell, around 3.8V per cell for storage, and 3.0V per cell under load as the floor you should not cross.

In FPV, the confusing part is voltage sag. Under throttle, especially on smaller or older packs, voltage can dip hard. That does not automatically mean the battery is ruined. But pilots still get into trouble by chasing one more lap or one more line and landing only after the pack has been pushed too low. Good FPV LiPo safety means treating the minimum as a line to avoid, not a goal to hit every flight.

There is one more voltage detail worth keeping in mind. One manufacturer safety sheet warns not to attempt charging a pack if its open voltage is below 3.3V per cell. That is not the same thing as your in-flight sag number on the OSD. It is a caution about a pack that is already deeply discharged at rest, and it is one more reason to land earlier and stay consistent.

How Crash Damage Affects FPV LiPo Safety

Sooner or later, every FPV pilot picks up a pack after a hard crash and asks the same question: “Is this still okay?” Sometimes it is. Sometimes it clearly is not. The problem is that too many pilots decide based on whether the quad still powers up, and that is not a real safety test.

If a pack is punctured, swollen, dented, torn, leaking, unusually hot, or has damaged leads, stop using it. EPA guidance is clear that swelling indicates damage and is a potential fire hazard. Hobby battery guidance also warns that puncturing a cell may cause fire. In FPV terms, if a crash gives you real doubt about the pack, slow down and inspect it before you even think about plugging it in again.

This is where FPV LiPo safety often breaks down, because replacement packs cost money and damaged packs sometimes still seem to work. That logic is exactly what gets people into trouble. A battery is not safe just because it can still arm the quad. Trusting a compromised pack because it “looks mostly fine” is one of the worst habits in the hobby.

FPV LiPo Safety During Storage and Transport

A surprising number of FPV batteries are ruined during downtime, not during flight. The classic example is charging six packs for the weekend, flying three, and leaving the other three fully charged in the bag for days. For storage of two weeks or more, guidance from hobby battery sources says packs should be stored at about 3.8V per cell. That is why storage mode exists on decent chargers, and it is why FPV LiPo safety includes what you do after the session, not just before it.

Temperature matters too. EPA guidance says lithium-ion batteries are best stored at room temperature and should be kept away from long periods of extreme heat or cold. A hot car, direct sun, or a freezing shed is not a harmless storage choice. For FPV pilots, that means your trunk, backpack, and garage habits matter more than you think.

Transport matters just as much. FAA guidance says spare lithium batteries must be protected from short circuit, and for air travel they belong in carry-on baggage, not checked baggage. Even if you are just driving to a bando, that same logic applies. Loose XT60s and bare terminals should not be bouncing around next to tools, screws, or metal hardware in your field bag.

When to Retire a Pack for Better FPV LiPo Safety

A lot of pilots retire packs too late. They wait until a battery is obviously awful, when the smarter move was to stop using it much earlier. If a pack is swelling, overheating, refusing to balance properly, showing damaged wiring, or behaving inconsistently after a crash, it is time to stop trying to squeeze one more session out of it. Good FPV LiPo safety is not about getting maximum flights from a dying pack. It is about knowing when a battery has stopped being worth the risk.

Disposal matters too. EPA guidance says lithium-ion batteries should not go in household trash or curbside recycling, and recommends taking them to a specialized battery recycler or household hazardous waste collection point. Before transport, exposed terminals should be covered with non-conductive tape or the battery should be isolated in its own plastic bag. A dangerous pack does not become harmless just because you decided not to fly it anymore.

Final Thoughts on FPV LiPo Safety

At its core, FPV LiPo safety is not about fear. It is about discipline. Use the right charger. Confirm the settings. Balance charge. Land before you crush the pack voltage. Inspect batteries after crashes. Store them at the right voltage. Retire suspicious packs earlier than your lazy side wants to.

The pilots who avoid most battery trouble are rarely the loudest about safety. They are just consistent. They do not charge carelessly, they do not normalize puffed packs, and they do not keep pretending a damaged battery is fine because it still powers up. In FPV, that kind of consistency is what keeps batteries from becoming the most dangerous part of the hobby.

Excerpt

FPV LiPo safety is not a side topic. It is part of flying responsibly. This post covers the battery mistakes FPV pilots make most often and the habits that prevent damaged packs, poor performance, and avoidable fire risk.
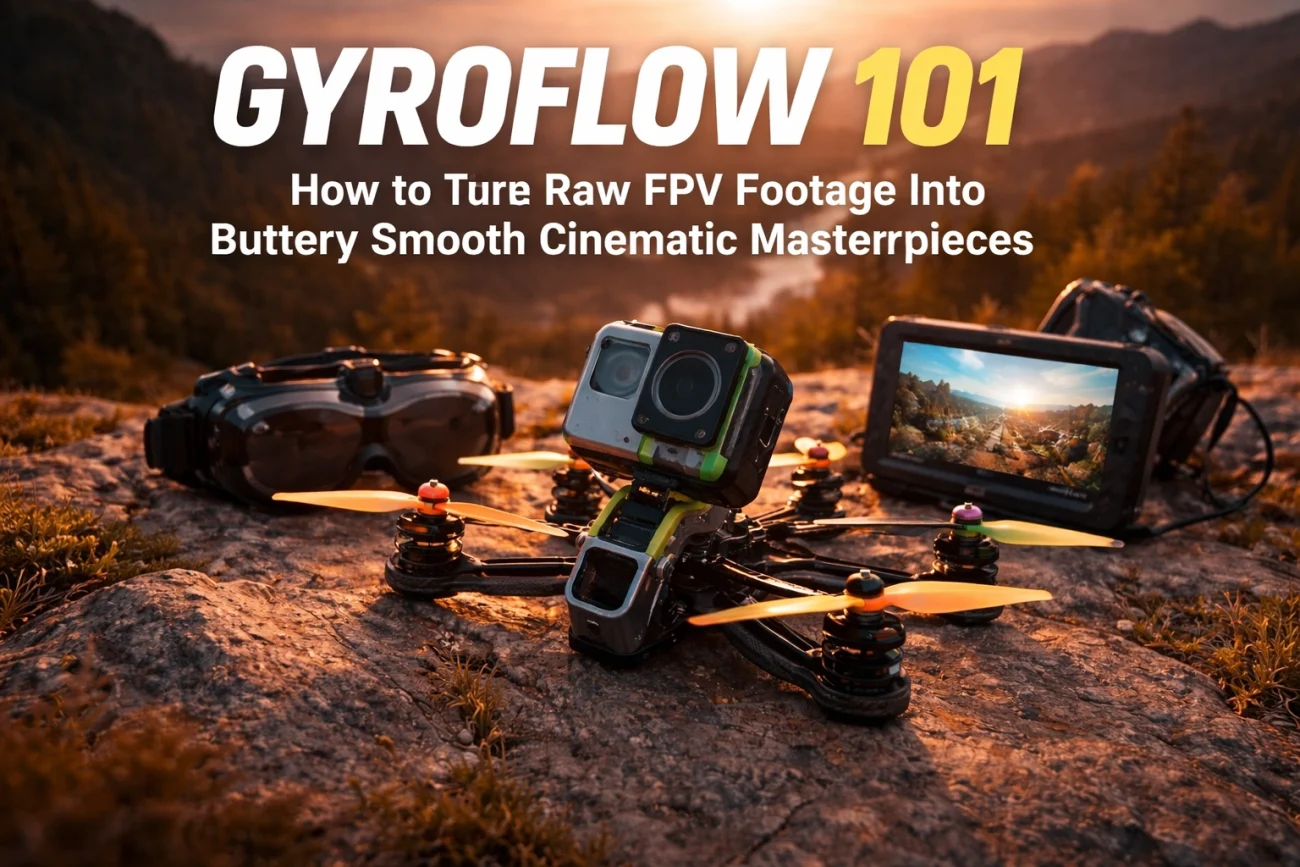
How to Stabilize FPV Footage: Gyroflow 101 for Buttery Smooth Cinematic Results

You just landed the most epic dive of your FPV career. The gap was tight, the proximity was perfect, and you’re already imagining the edit. Then you pop the SD card into your computer, scrub through the footage, and… it looks like you filmed it during an earthquake. But don’t worry, this guide will show you how to stabilize FPV footage with Gyroflow and teach you how to stabilize FPV footage with Gyroflow effectively.

Sound familiar?

Here’s the thing: raw FPV footage is almost always shaky. That’s just the nature of strapping a camera to a quad that’s constantly fighting physics. But the cinematic creators you admire? They’re not flying smoother than you. They’re using Gyroflow: and once you learn this tool, your footage will never look the same.

Understanding how to stabilize FPV footage with Gyroflow is crucial for achieving professional results.

Follow these steps to learn how to stabilize FPV footage with Gyroflow easily.

Let’s break down exactly how to take your jittery O4 and O3 clips and transform them into buttery smooth cinematic gold.

What Is Gyroflow and Why Does It Matter?

Gyroflow is free, open-source stabilization software that works differently from anything you’ve used before. While tools like Premiere’s Warp Stabilizer or ReelSteady analyze the visual frames of your video to guess how the camera moved, Gyroflow takes a completely different approach.

It uses gyroscope motion data (also called IMU data) that your camera actually recorded during the flight. Your DJI O3 and O4 cameras are constantly logging exactly how they tilted, rotated, and vibrated: thousands of times per second. Gyroflow reads that data and knows precisely how to counteract each movement.

The result? Stabilization that handles fast motions, quick flips, and aggressive proximity flying without the weird warping artifacts you get from optical stabilization. It’s not guessing. It knows.

In this post, we’ll explore how to stabilize FPV footage with Gyroflow and elevate your editing skills.

Learn how to stabilize FPV footage with Gyroflow to elevate your editing skills and impress your viewers.

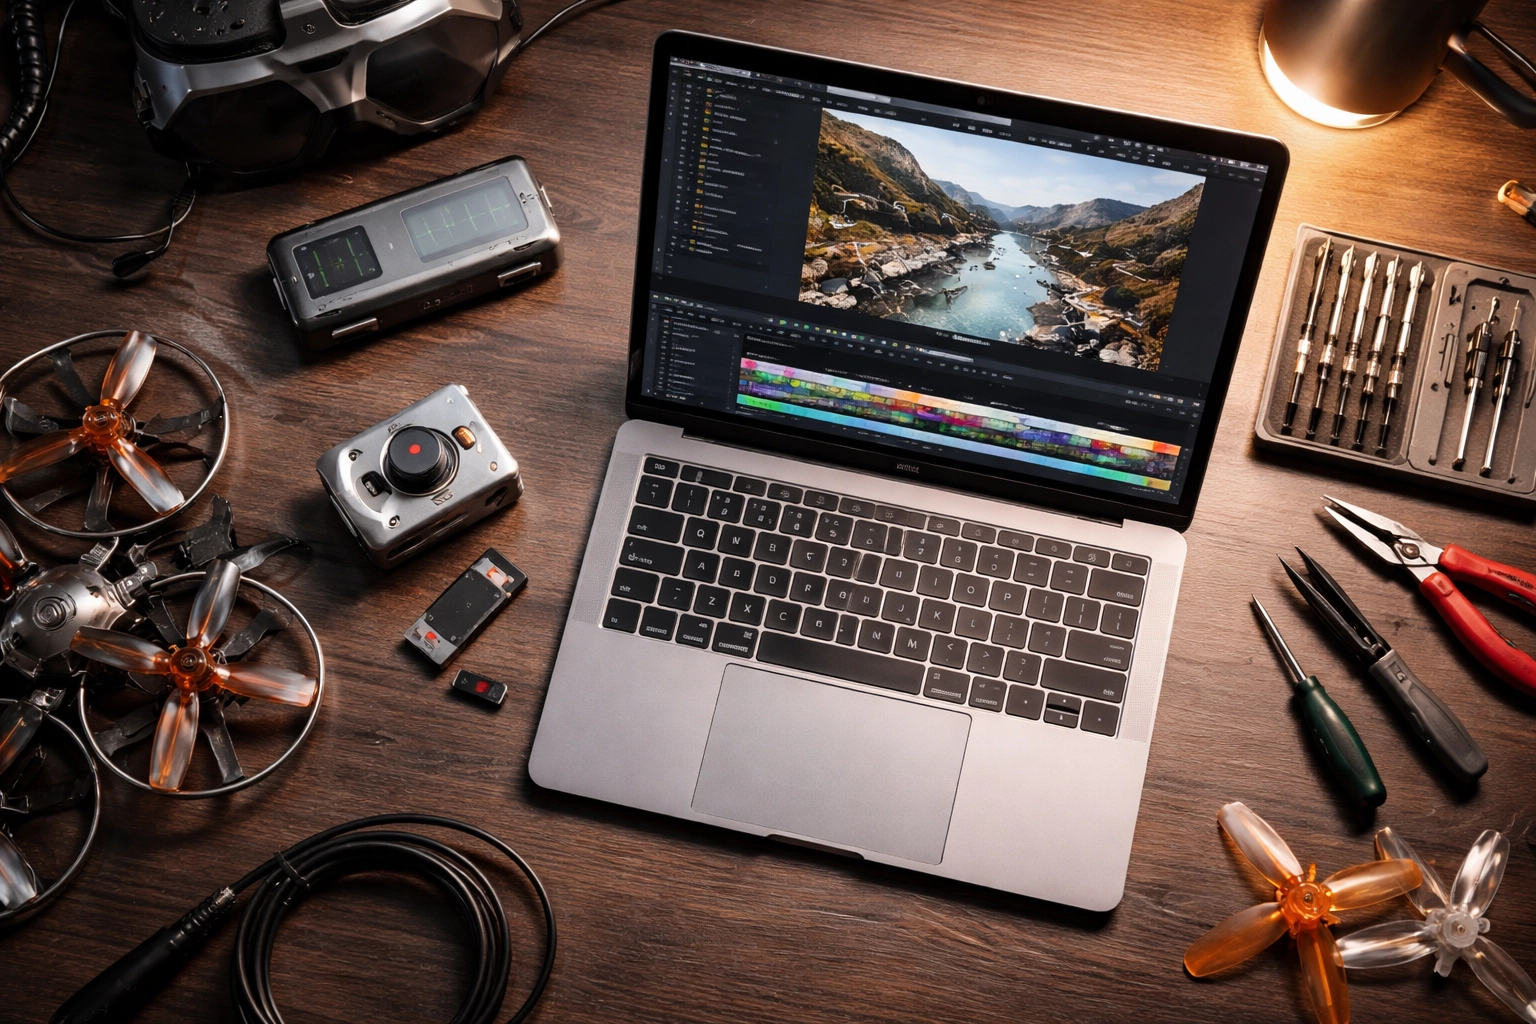
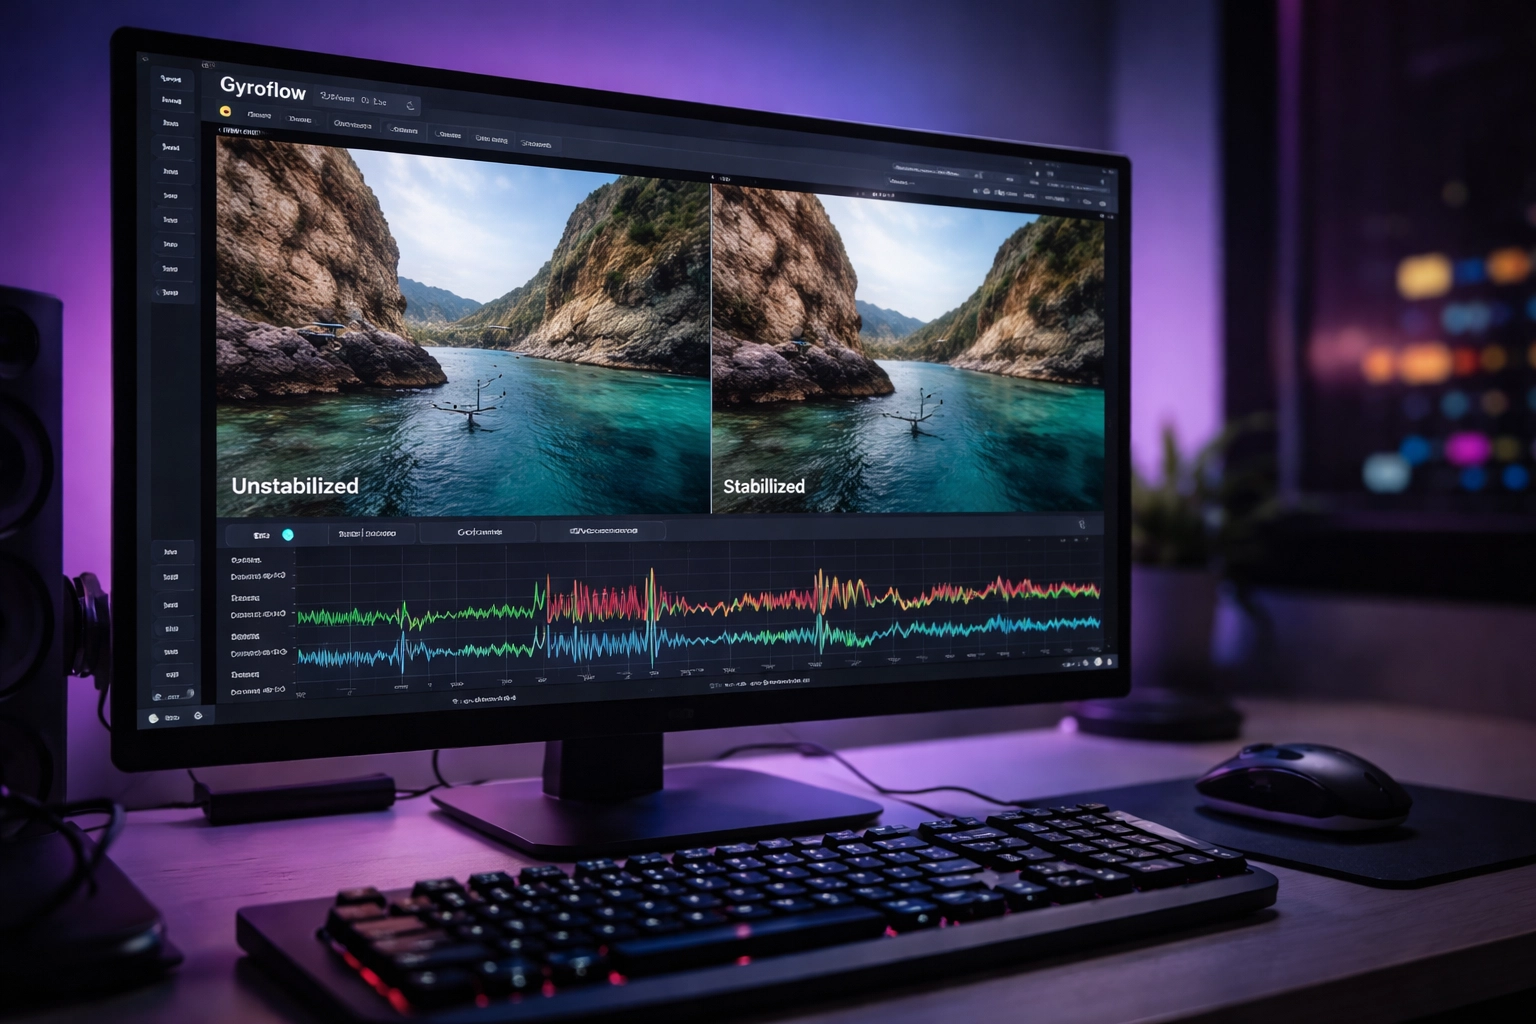
Gyroflow software interface on a monitor showing before and after FPV drone video stabilization results

What You Need to Get Started

Before we dive into the workflow, let’s make sure you have everything lined up:

To kick things off, let’s discuss how to stabilize FPV footage with Gyroflow using the right hardware.

Hardware Requirements:

  • A Gyroflow-compatible camera (DJI O3 Air Unit, O4, GoPro with gyro logging enabled, RunCam, Insta360 GO series, etc.)
  • A computer that can handle video processing (GPU acceleration helps significantly)

Software Requirements:

  • Gyroflow (free download from gyroflow.xyz)
  • Your camera’s companion software for extracting gyro data (if needed)

Files You’ll Need:

  • Your raw video file (.mp4)
  • The corresponding gyro data file (often embedded in the video or exported separately)

The good news? If you’re shooting on the O3 or O4, the gyro data is already baked into your video files. Gyroflow can extract it automatically. No extra steps required.

If you’re still dialing in your camera settings before you even get to post-processing, check out our guide on FPV camera settings for cinematic footage to make sure you’re capturing the best possible raw material.

Understanding how to stabilize FPV footage with Gyroflow begins with these steps.

The Four-Step Gyroflow Workflow

Let’s walk through the actual process from start to finish. It’s simpler than you might think.

Next, let’s focus on how to stabilize FPV footage with Gyroflow practically.

Step 1: Import Your Footage

Open Gyroflow and drag your video file into the interface. If you’re using O3 or O4 footage, Gyroflow will automatically detect and extract the embedded gyro data. You’ll see the motion graph populate with all that delicious IMU information.

If you’re using a camera that exports gyro data separately (like some GoPro setups), you’ll need to import that file as well and let Gyroflow sync them together.

Step 2: Set Your Lens Profile

This is where a lot of beginners trip up. Gyroflow needs to know exactly which lens captured your footage so it can accurately calculate the distortion and FOV corrections.

Knowing how to stabilize FPV footage with Gyroflow starts with understanding your lens settings.

Select your camera and lens from the built-in library. For DJI cameras, the profiles are usually spot-on. If you’re using third-party lenses or a less common setup, you might need to calibrate a custom lens profile: but that’s an advanced topic for another day.

FPV drone editing workstation with DJI O3 camera, SD card, and laptop for processing cinematic footage

Step 3: Sync and Preview

Hit the “Auto Sync” button and let Gyroflow work its magic. It will analyze the gyro data and align it with your video frames. You’ll see sync points appear on your timeline: these are the moments where Gyroflow has locked in the relationship between motion data and visual frames.

After syncing, you’ll truly see how to stabilize FPV footage with Gyroflow effectively.

Pro tip: For most FPV footage, 5 sync points is the sweet spot. More isn’t always better and can sometimes introduce inconsistencies.

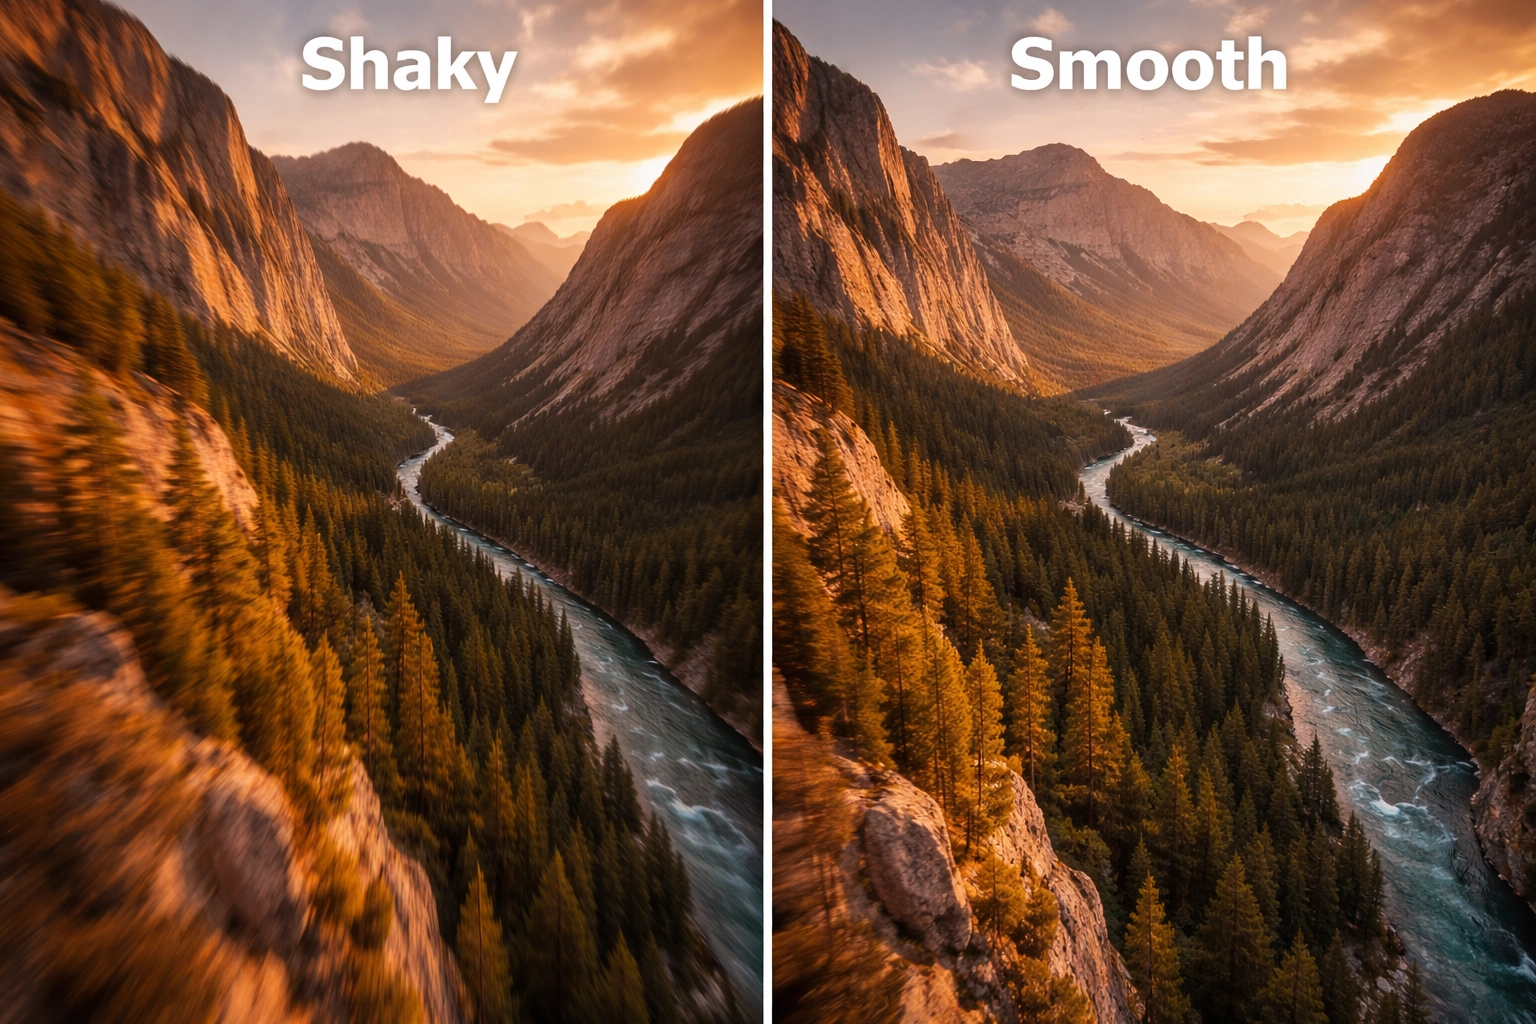
Once synced, hit play and watch your footage transform in real-time. That shaky mess? Now it’s floating through the air like a dream.

Mastering how to stabilize FPV footage with Gyroflow opens up creative possibilities.

Step 4: Export Your Stabilized Video

When you’re happy with the preview, set your export settings and render it out. I recommend exporting at the same resolution as your source file (or higher if you recorded at 4K for a 2.7K final output) to maintain maximum quality.

Dialing In Your Settings: The Numbers That Matter

These settings will help you better understand how to stabilize FPV footage with Gyroflow.

Here’s where we get into the real sauce. These settings will make or break your final result.

Smoothness

This slider controls how aggressively Gyroflow stabilizes your footage. Higher values = smoother footage, but also more cropping (the software has to zoom in to hide the edges).

Fine-tuning smoothness is an essential part of how to stabilize FPV footage with Gyroflow.

For stable cruising footage: 10-20% smoothness works great
For aggressive freestyle or proximity: 25-35% smoothness
For extremely shaky clips: 40%+ (but expect significant crop)

Start low and increase until the shake disappears. Don’t go higher than necessary: you want to preserve as much of your original framing as possible.

FOV (Field of View)

This determines how much of your original frame remains visible after stabilization. Gyroflow will show red warnings on your timeline if you’re pushing the FOV too high and clipping the edges.

Starting point: Set FOV to 1 (automatic) with zoom speed around 2 seconds. This lets Gyroflow dynamically adjust throughout the clip.

Increase FOV as high as you can without triggering those red warnings. You want maximum coverage without visible edge artifacts.

Split-screen comparison of raw shaky FPV footage versus smooth stabilized cinematic mountain valley clip

Stabilization Mode

Choosing the right mode is crucial when learning how to stabilize FPV footage with Gyroflow.

Gyroflow offers several stabilization algorithms:

  • Default: Works well for 90% of FPV footage
  • Plain 3D: Creates a different aesthetic, can be useful for specific creative looks
  • Centered: Keeps the horizon more locked, great for real estate or inspection footage

Stick with Default until you have a specific reason to experiment with the others.

Recording Tips for Better Gyroflow Results

Garbage in, garbage out. If you want the best possible stabilization, start with the best possible source material.

To get the most out of Gyroflow, understanding how to stabilize FPV footage with Gyroflow is essential.

Record at higher resolution than your final output. Shooting 4K for a 2.7K final gives you more room for Gyroflow to crop and stabilize without losing quality. Same logic applies to 2.7K source for 1080p delivery.

Recording quality impacts how to stabilize FPV footage with Gyroflow effectively.

Use your camera’s native aspect ratio. Don’t crop in-camera. Let Gyroflow handle all the framing adjustments in post.

Ensure clean gyro data. If your camera has vibration issues or loose mounting, your gyro data will be noisy and Gyroflow will struggle. Proper mounting and motor balance matter: if you need help dialing in your video systems, our camera systems support package can get you sorted.

Advanced Technique: Keyframing for Professional Results

Keyframing is another excellent way to further enhance how to stabilize FPV footage with Gyroflow.

Once you’ve mastered the basics, Gyroflow’s keyframing feature opens up a whole new level of control.

Keyframing is an advanced technique that enhances how to stabilize FPV footage with Gyroflow.

Keyframing lets you make specific adjustments at different points in your footage. Flying through a tight gap where you had to bank hard? Add a keyframe to temporarily increase zoom during that section so the stabilization looks more natural.

It’s labor-intensive: you’re essentially hand-crafting the stabilization frame by frame: but for client work or portfolio pieces, keyframing is the difference between “good” and “holy crap, that’s smooth.”

Common Gyroflow Problems (And Quick Fixes)

Footage still looks shaky after processing:
Your sync points might be off. Try deleting them and running Auto Sync again. If that doesn’t work, manually place sync points at moments with distinct visual and motion events.

When troubleshooting, revisit how to stabilize FPV footage with Gyroflow for best practices.

If your footage looks shaky, consider reviewing how to stabilize FPV footage with Gyroflow.

Weird warping or jello effect:
This usually means your lens profile is wrong or your gyro data is corrupted. Double-check your camera selection and try a different clip to rule out hardware issues.

Export takes forever:
Enable GPU acceleration in Gyroflow’s settings. If you’re on older hardware, consider exporting at a lower bitrate for your initial review passes.

If you’re running into persistent issues that are eating up your editing time, we offer FPV Drone Support Packages for hands-on help configuring your gyro data workflow and software settings (plus troubleshooting when things just won’t sync). We also offer advanced troubleshooting support to help you diagnose and fix problems fast.

The Bottom Line

Ultimately, knowing how to stabilize FPV footage with Gyroflow can make a significant difference in your results.

Gyroflow isn’t just a nice-to-have: it’s an essential tool for anyone serious about cinematic FPV content. The learning curve is gentle, the software is free, and the results speak for themselves.

Start with the basics: import, sync, adjust smoothness and FOV, export. Once you’ve got that workflow locked in, experiment with keyframing and different stabilization modes to develop your own signature look.

Always remember how to stabilize FPV footage with Gyroflow to achieve the best results.

Your footage deserves better than jittery raw clips collecting dust on a hard drive. Fire up Gyroflow and let that buttery smoothness shine.

By mastering how to stabilize FPV footage with Gyroflow, you’ll create stunning cinematic visuals.

Soldering for Success: A Beginner’s Guide to Fearless FPV Drone Repairs and Hardware Maintenance

Let’s be real for a second. If you’ve been flying FPV drones for any length of time, you’ve probably stared at a broken wire or a detached motor lead and thought, “Well, guess I need a whole new quad.” But here’s the thing, most of those repairs are totally fixable with a skill that looks way scarier than it actually is: soldering for FPV drone repairs. With knowledge of soldering for FPV drone repairs, you can tackle common issues yourself.

I get it. The first time you pick up a soldering iron for FPV drone repairs, it feels like you’re about to perform surgery on your favorite piece of tech. Your hands might shake a little. You might wonder if you’re going to melt something important. But here’s the truth that experienced pilots won’t always tell you: soldering for FPV drone repairs is a learnable skill, and once you’ve got it down, you’ll save hundreds of dollars and hours of downtime waiting for replacement parts.

So let’s break this down together. By the end of this guide, you’ll have the confidence to tackle basic FPV repairs, and you’ll know exactly when it makes sense to call in the pros.

As you gain confidence with soldering for FPV drone repairs, you’ll find it’s rewarding to fix your own equipment.

Why Every FPV Pilot Should Learn to Solder

Soldering for FPV Drone Repairs: Essential Techniques

FPV drones crash. It’s not a matter of if, it’s when. And when they do, connections come loose, wires fray, and components need replacing. If you can’t solder, every minor repair becomes a major expense or a trip to someone else’s workbench.

Embracing soldering for FPV drone repairs can transform how you approach your hobby.

Learning to solder means you can:

    • Swap out motors when you burn one up pushing too hard
    • Replace ESCs after a particularly gnarly crash
    • Repair broken camera connections instead of buying new gear

With soldering for FPV drone repairs, you can enjoy the satisfaction of doing it yourself.

  • Customize your build with upgraded components whenever you want

It’s one of those skills that pays for itself after just a couple of repairs. Plus, there’s something deeply satisfying about fixing your own gear and getting back in the air the same day.

Moreover, soldering for FPV drone repairs allows you to keep your drone in optimal condition and ready for flight.

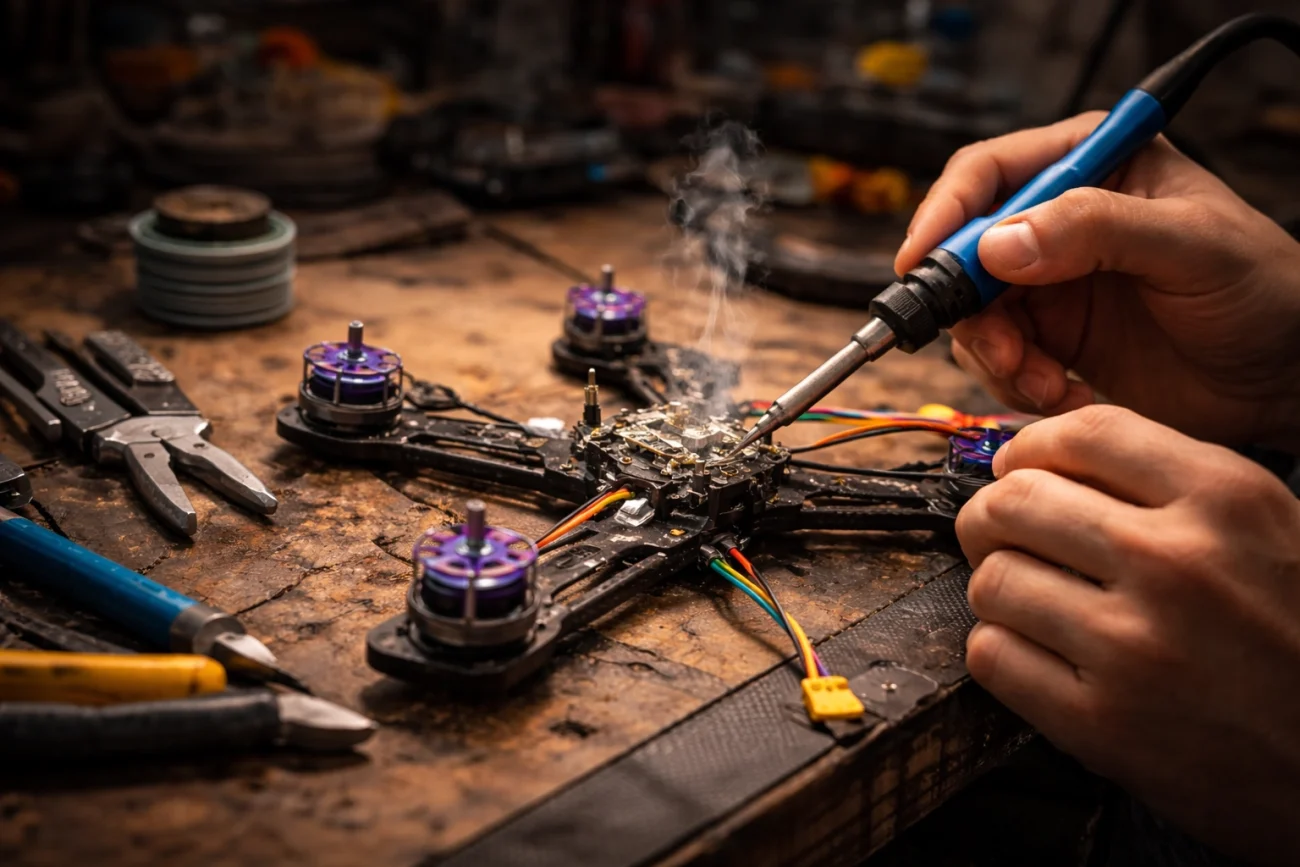
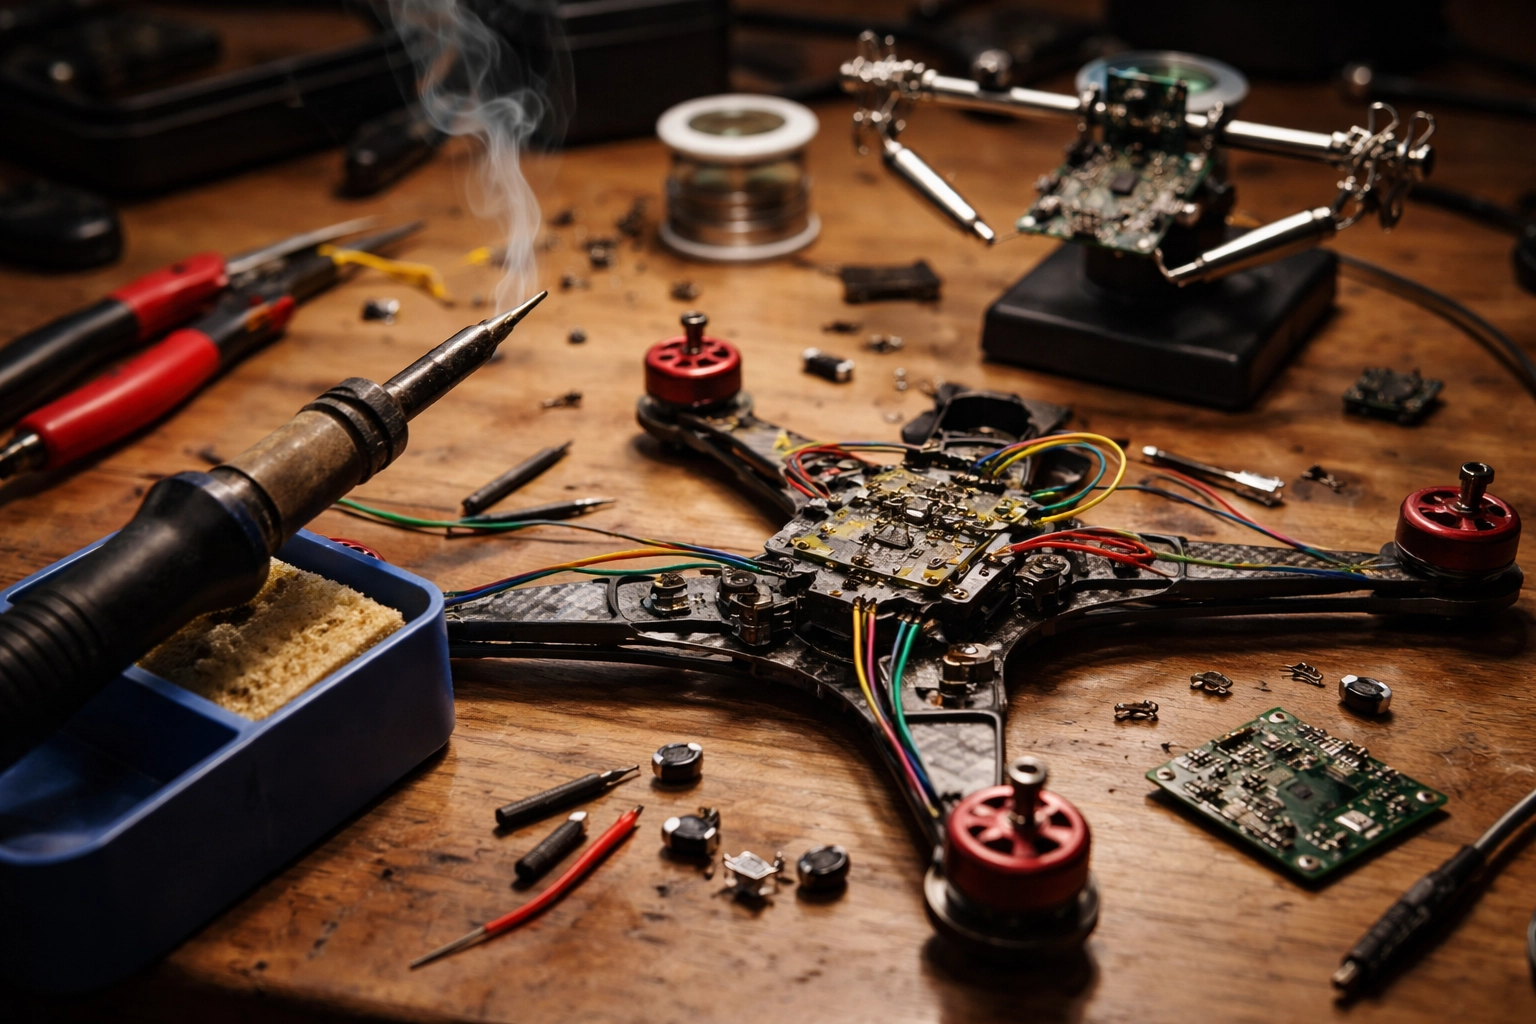
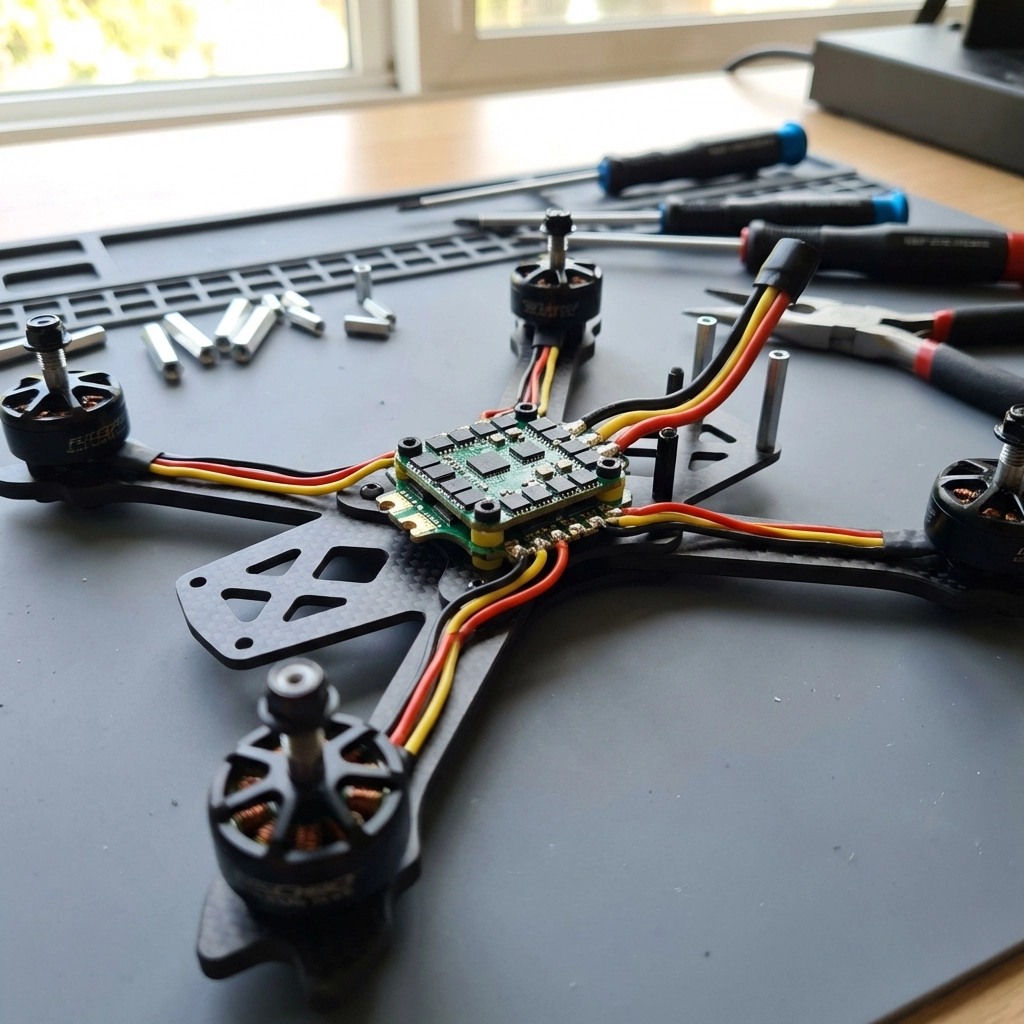
FPV drone repair workbench showing soldering iron, disassembled drone, and electronic components

Gathering Your Soldering Toolkit (and Where to Get the Right Bits)

Before you heat anything up for soldering for FPV drone repairs, let’s talk gear. You don’t need to spend a fortune, but investing in quality basics will make your life significantly easier.

If you need wires, connectors, pigtails, heat shrink, and the little “why is this always missing?” items, grab them from our FPV parts category here: FPV Parts (Wires + Connectors). That link is your fast lane to getting the exact stuff you’ll be soldering.

The essentials:

    • Soldering iron with adjustable temperature – Cheap irons can’t deliver consistent heat, which leads to cold joints and frustration. Look for something in the 60W range with interchangeable tips.
    • Solder – Use 60/40 or 63/37 rosin core solder. The rosin core contains flux, which helps the solder flow properly.
    • Flux – Even with rosin core solder, having extra flux paste or liquid makes a huge difference, especially on oxidized pads.

Utilizing proper techniques for soldering for FPV drone repairs can greatly enhance your results.

  • Brass wire cleaner or wet sponge – Keeps your tip clean and shiny for proper heat transfer.
  • Helping hands or a silicone mat – You need something to hold your work steady. Trust me, you don’t have enough hands for this.
  • Wire strippers and flush cutters – Clean cuts and properly stripped wires are half the battle.
  • Safety glasses – Hot solder can spit. Protect your eyes.

Once you’ve got these basics, you’re ready to start practicing.

Setting the Right Temperature for Soldering for FPV Drone Repairs

Here’s where a lot of beginners mess up. Temperature matters, a lot.

Too cold, and your solder won’t flow properly. You’ll end up with dull, grainy “cold joints” that look terrible and fail under vibration. Too hot, and you risk lifting pads off the circuit board entirely, which can turn a simple repair into a complete replacement.

General guidelines:

  • Small joints and signal wires: 350–390°C (around 650–730°F)
  • Larger joints and power connections: 400–450°C (750–840°F)
  • XT60 connectors and thick gauge wire: Bump it up to 450°C or slightly higher

The goal is to get in, make a clean joint, and get out before you cook anything. Think of it like a quick handshake, not a lingering hug.

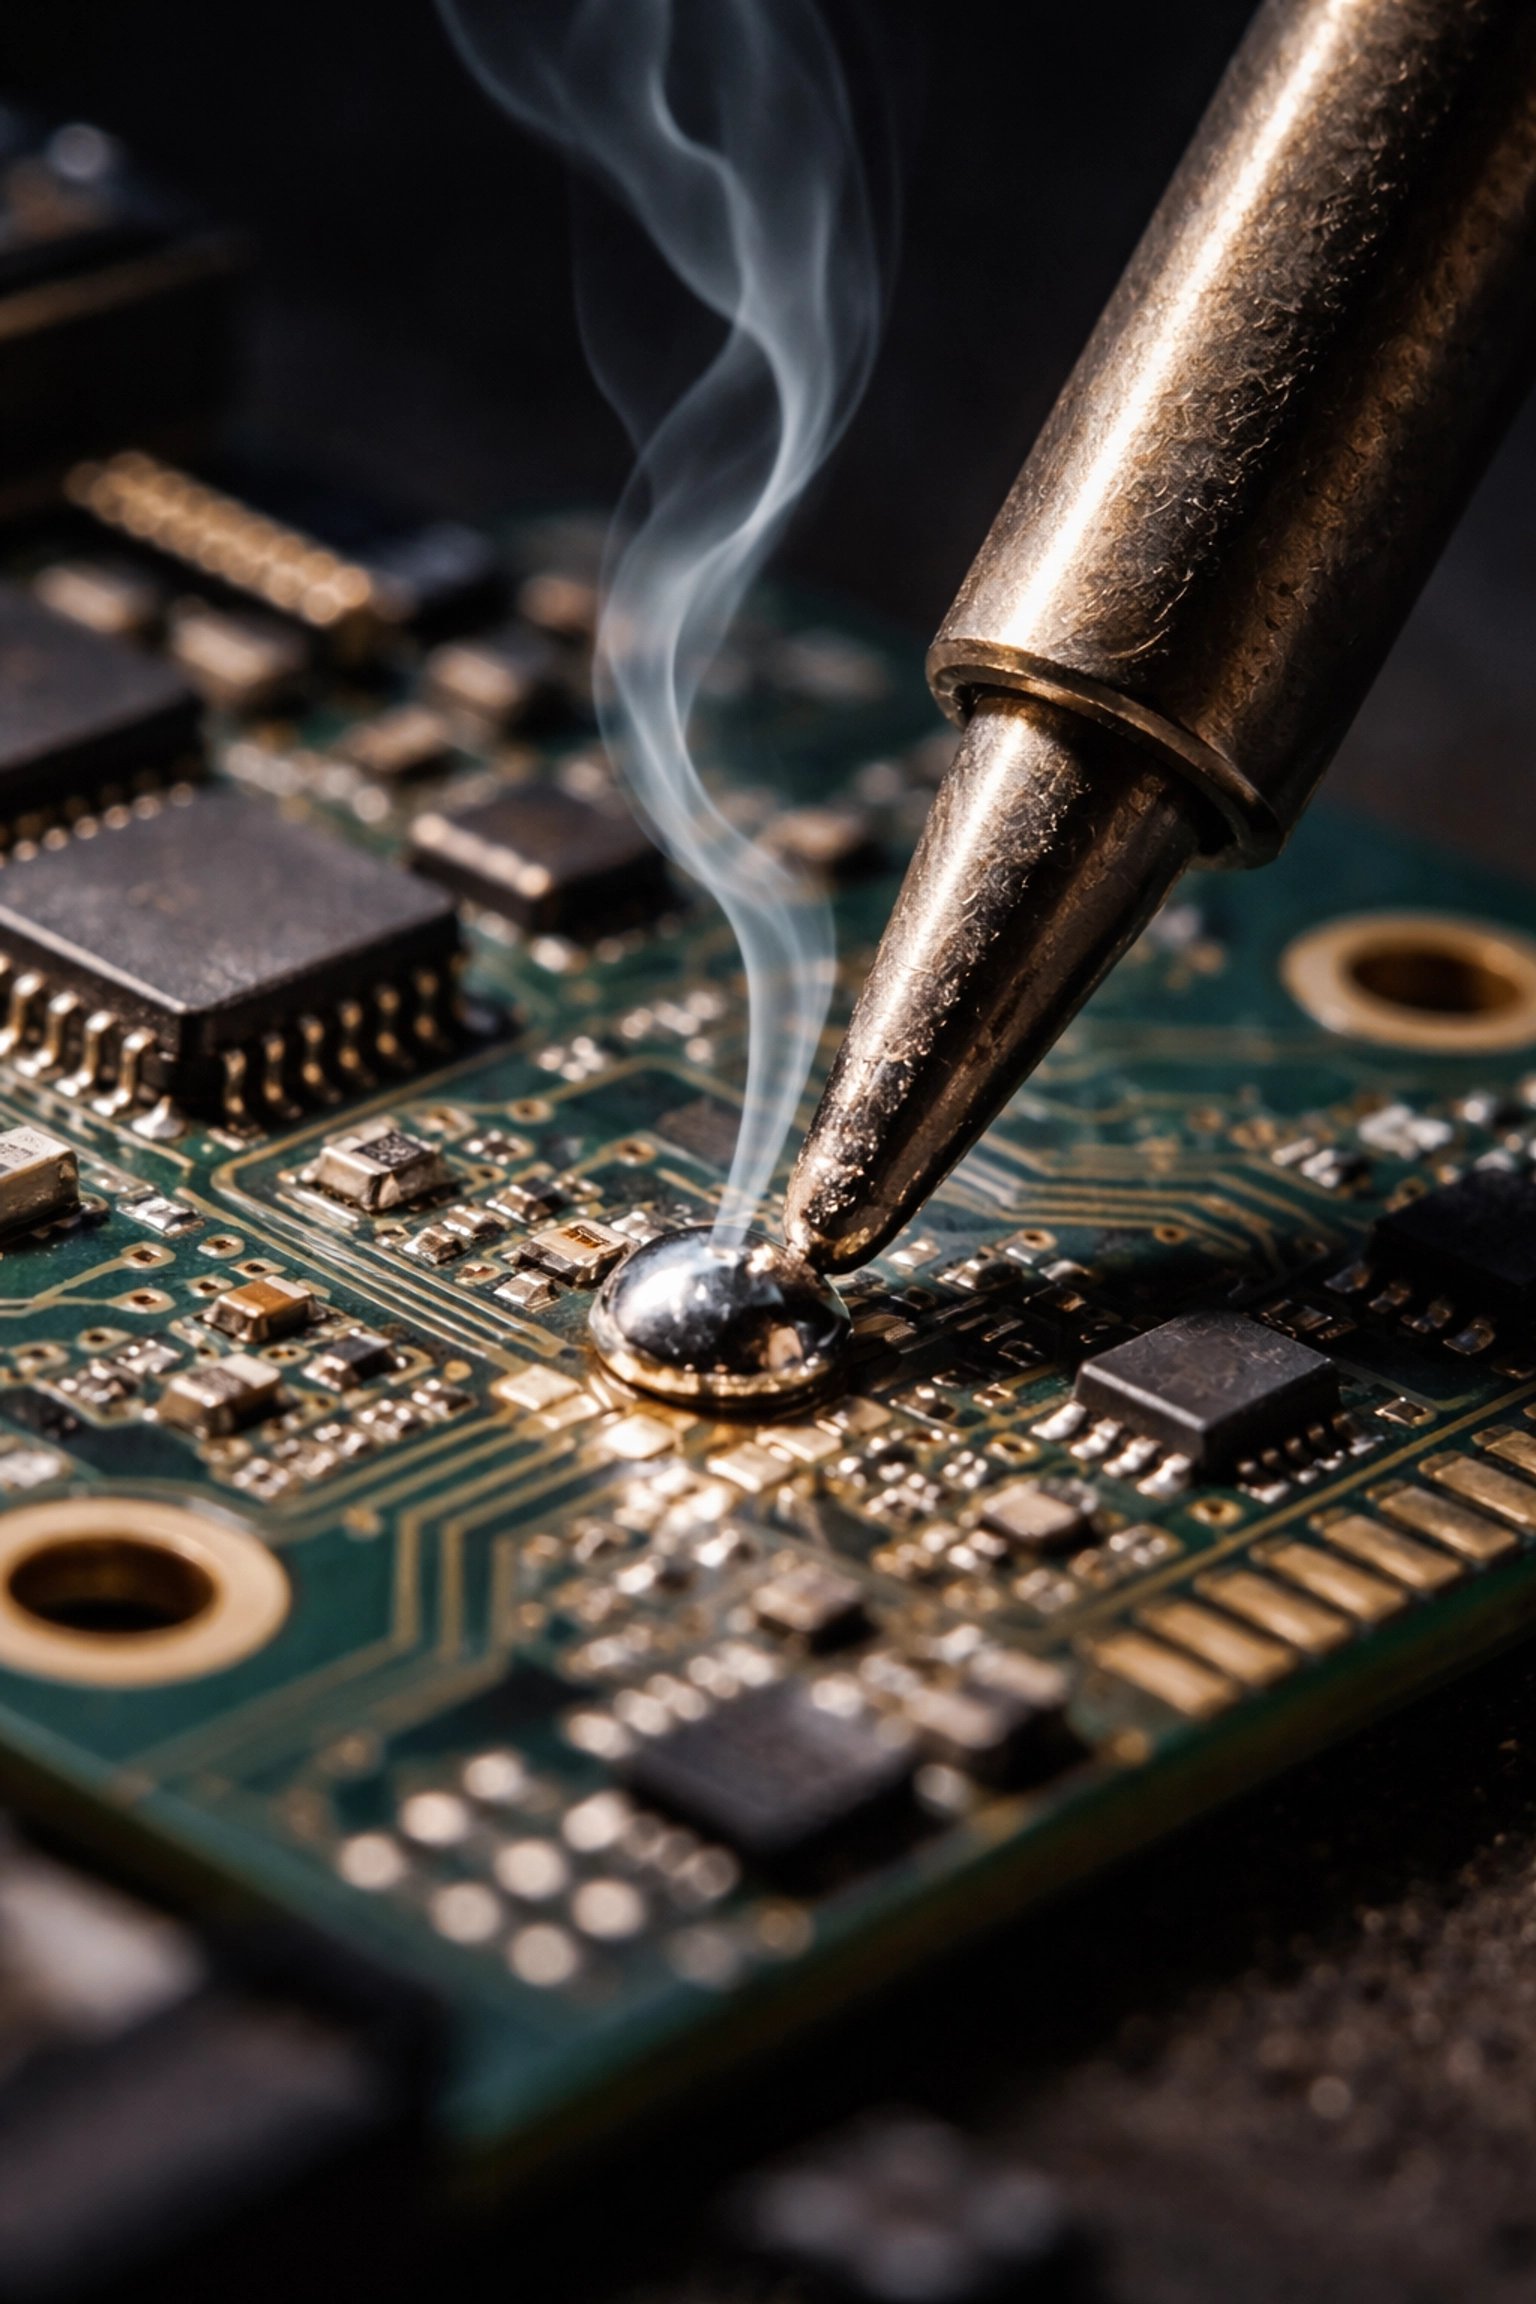
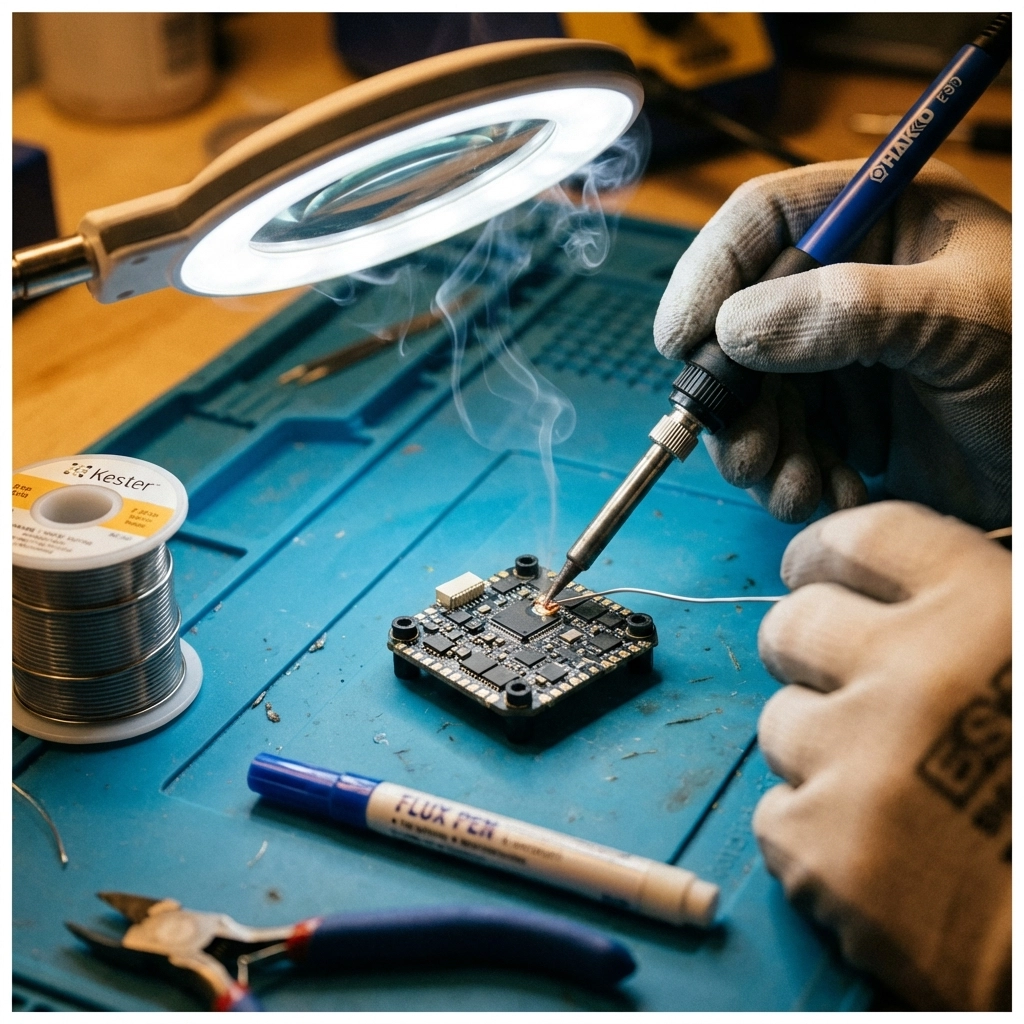
Soldering iron tip melting solder on a drone flight controller pad during drone repair

Understanding the specifics of soldering for FPV drone repairs will give you an edge.

The Basic Soldering Technique: Step by Step (The “How To” That Actually Works)

Alright, let’s actually solder something. The most common task you’ll face is attaching a wire to a pad on a flight controller, ESC, or VTX. Here’s the process broken down in a way you can repeat every time.

The basic soldering technique you’ll apply for any soldering for FPV drone repairs is essential to learn.

Step 0: Set up for success (30 seconds that saves boards)

When preparing for soldering for FPV drone repairs, make sure to set everything up correctly.

  • Stabilize everything: flight controller/ESC on a silicone mat, “helping hands” holding the wire.
  • Ventilation: flux smoke is real—use airflow.
  • Tip condition: wipe, then add a tiny bit of solder to the tip (a “tinned tip” transfers heat way better).
  • Check polarity + pad labels before heat (especially on power leads).

Step 1: Prep your materials

Cut your wire to the correct length first. Then strip just enough insulation to make the connection: about 2-3mm is usually plenty. Too much exposed wire creates opportunities for shorts and stress fractures.

Step 2: Twist the strands and apply flux

Lightly twist the exposed strands so they stay together. Add a small dab of flux to the wire end and to the pad. Flux is what makes solder flow clean and fast—fast is how you avoid cooking pads.

Using flux while soldering for FPV drone repairs can seriously improve your results.

Step 3: Tin everything separately (this is the whole game)

Before you try to join the wire to the pad, apply a thin layer of solder to each one individually.

For the wire: Heat the stripped end with your iron while touching solder to the wire (not the iron). The solder should wick into the strands, making them stiff and shiny. Stop as soon as it’s fully soaked—don’t build a blob.

For the pad: Apply a tiny bit of flux, then touch your iron to the pad and add just enough solder to create a small dome. This “pre-tinning” means you won’t have to fumble with solder wire while trying to hold everything in place later.

Step 4: Join the connection (heat both, then leave)

Now place your tinned wire on the tinned pad. Touch your soldering iron to both at the same time (pad + wire). When you see the solder turn glossy and “merge,” pull the iron away. This should only take 1–3 seconds.

If it takes longer than that, don’t keep cooking it—pause, re-flux, clean the tip, and try again.

Step 5: Hold steady while cooling

Once you remove the iron, keep the wire absolutely still for a few seconds while the solder solidifies. Moving it during cooling creates micro-fractures that will fail the moment you hit a hard landing.

Step 6: Inspect + strain relief

A good joint looks smooth and shiny, like a tiny silver dome. If it looks dull or grainy, add flux and reflow.

Inspecting your work after soldering for FPV drone repairs is crucial for longevity.

Then do a quick “tug test” (gentle). If the wire moves, it’s not done. Finally, add strain relief where appropriate (heat shrink, zip tie, or routing the wire so the pad isn’t taking vibration).

Need the right leads/connectors to make clean builds easier? Stock up here: FPV Parts (Wires + Connectors).

Common Mistakes and How to Avoid Them

Being aware of common mistakes in soldering for FPV drone repairs can save you time and headaches.

Even experienced solderers mess up sometimes. Here are the most common pitfalls and how to dodge them:

Overheating the pad

This is the big one. If you leave your iron on a small pad for too long, the copper trace can literally peel off the fiberglass board. Once that happens, you’re looking at either a tricky repair or a replacement component. Keep your contact time short: get in, make the joint, get out.

Using too much solder

More isn’t better. Excess solder can bridge connections, creating shorts that cause all kinds of weird behavior. If you’ve got a blob, use solder wick or a desoldering pump to remove the excess.

Dirty soldering iron tip

If your tip is black and crusty, it won’t transfer heat efficiently. Clean it frequently on your brass wire cleaner or wet sponge. A shiny tip is a happy tip.

Not using flux

Flux is your friend. It cleans oxidation and helps solder flow exactly where you want it. If your joints aren’t looking great, add more flux before your next attempt.

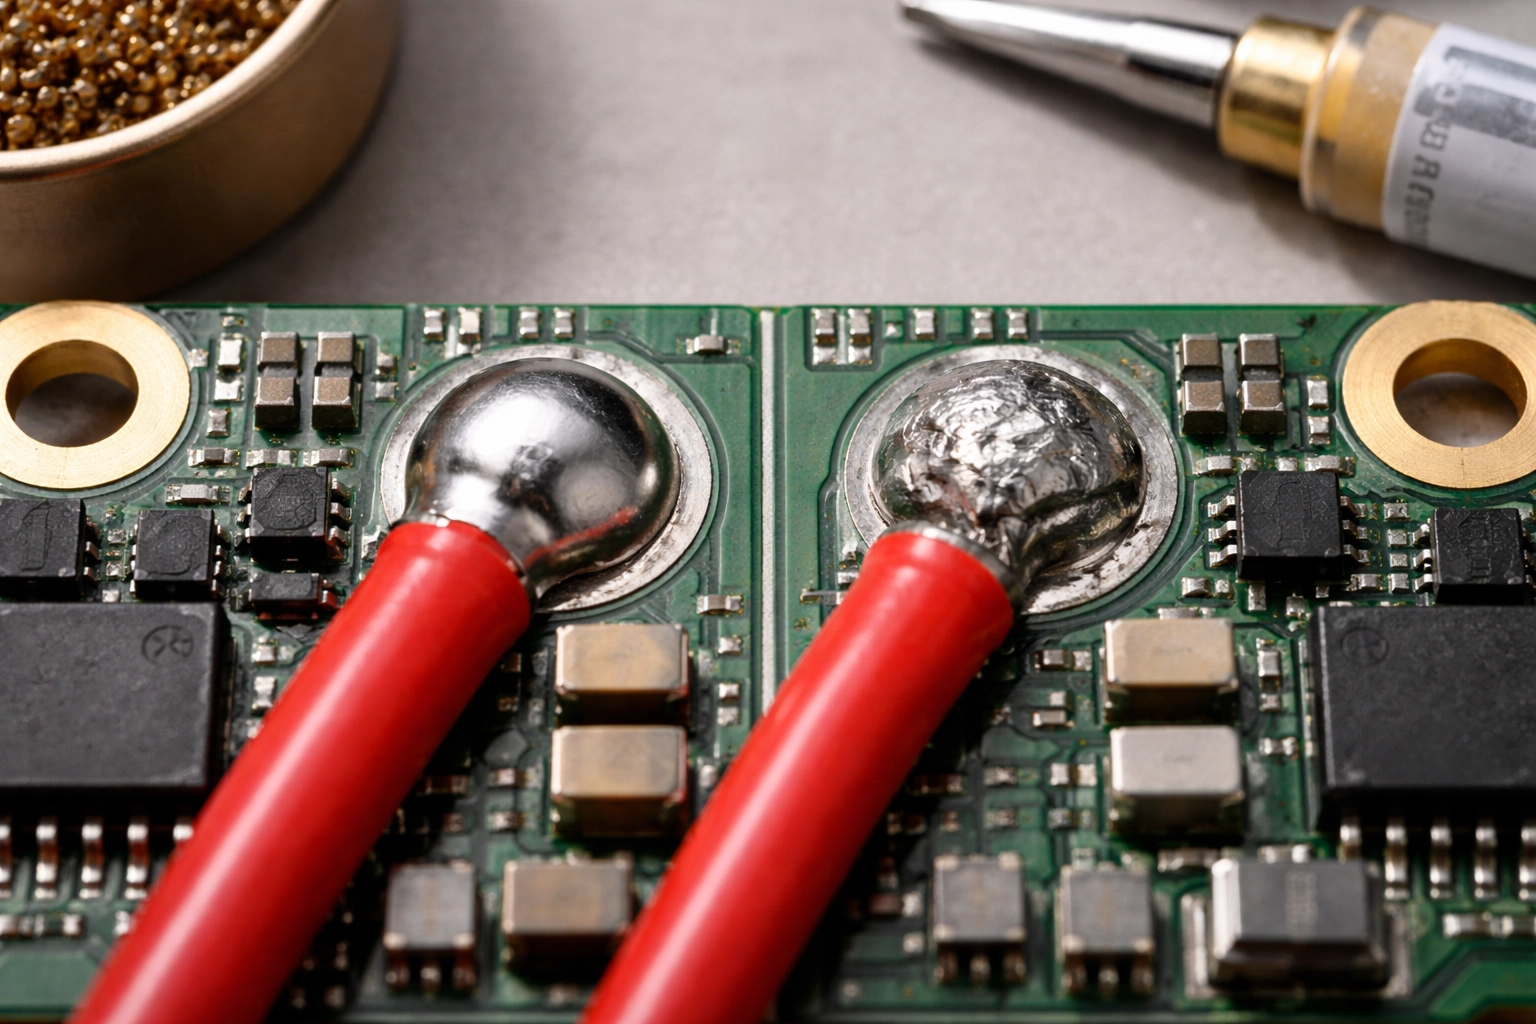
Comparison of good and bad solder joints on a drone ESC board for FPV drone maintenance

Practice Makes Progress

Here’s my honest advice: don’t practice on your flight controller. Grab some old electronics from a thrift store, a dead ESC, or even just some spare wire and practice pads. Get comfortable with the heat, the flow, and the timing before you touch anything you actually care about.

Practicing soldering for FPV drone repairs is the key to improvement and confidence.

Spend an afternoon just tinning wires and making joints on scrap components. You’ll be amazed how quickly the muscle memory develops.

When to Call in the Pros

Ultimately, knowing when to seek help with soldering for FPV drone repairs is as important as learning the skill itself.

Look, there’s no shame in knowing your limits. Some repairs are genuinely tricky: like replacing tiny surface-mount components, fixing lifted pads, or troubleshooting intermittent electrical issues that could be caused by a dozen different things.

If you’ve tried a repair and it’s just not working, or if the thought of soldering on your brand new DJI O5 camera gives you anxiety, that’s exactly why professional support exists.

At TechInMotion360, we offer FPV Drone Support Packages designed for exactly these situations. Whether you need a quick fix consultation to talk through a problem, basic maintenance and repair guidance, or advanced troubleshooting support for complex issues, we’ve got your back.

Think of it this way: learning to solder handles 80% of your repair needs. For that other 20%—the weird stuff, the expensive stuff, the “I really can’t afford to mess this up” stuff—having expert support on call is worth its weight in gold.

And if you’d rather skip the trial-and-error entirely, bookmark this now: FPV Drone Support Packages.

Professional guidance can be beneficial, especially if you’re unsure about soldering for FPV drone repairs.

Go Forth and Solder

You’ve got this. Soldering isn’t some mystical art reserved for electrical engineers. It’s a practical skill that any FPV pilot can learn with a little patience and practice. Start small, build your confidence, and before you know it, you’ll be the one your flying buddies call when they need help fixing their quads.

So go ahead, dive into soldering for FPV drone repairs and enjoy the journey!

And remember: whether you’re tackling repairs yourself or need a hand from the pros, the goal is the same: getting you back in the air where you belong. Happy flying! 🚁

With soldering for FPV drone repairs, you’ll be back in the air in no time!

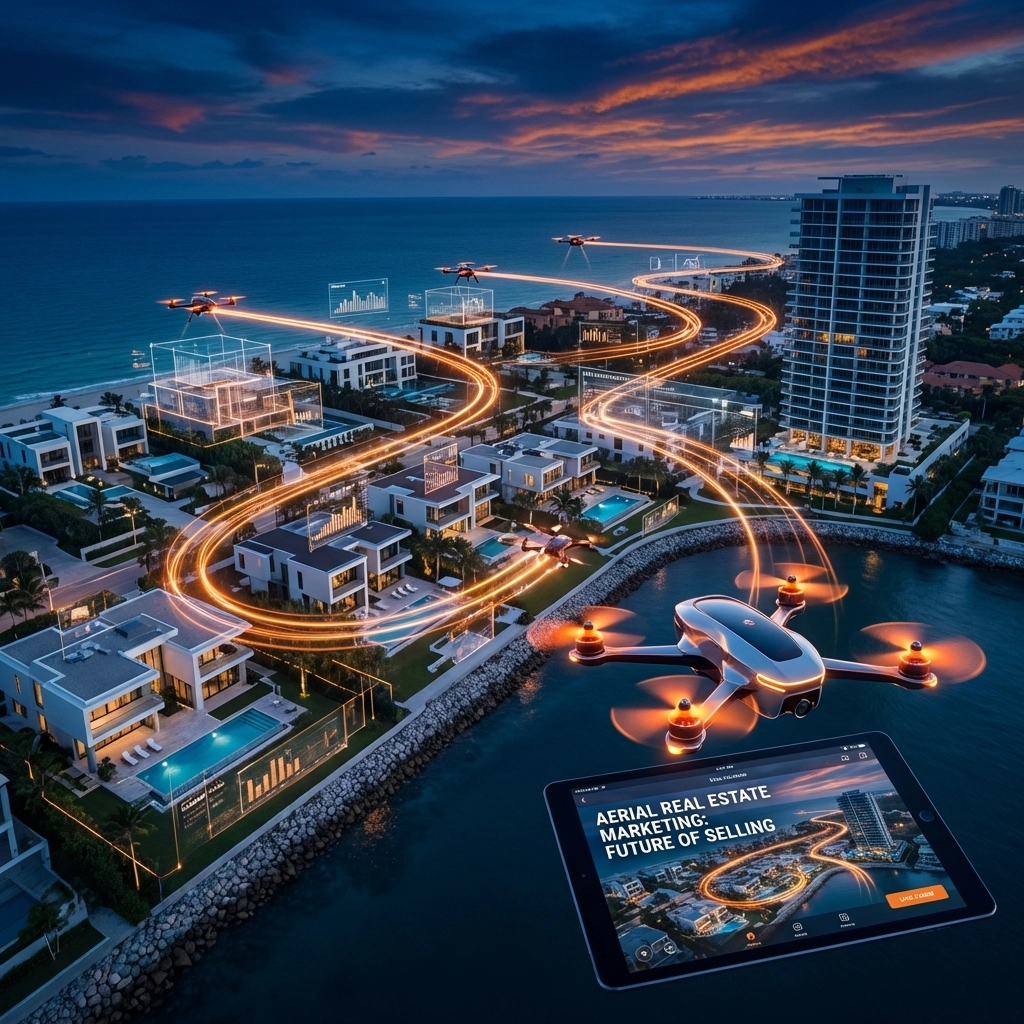
Drone Videography Pricing for Luxury Listings: Why Indoor FPV Fly-Throughs Are the New Standard for $10M+ Estates (and the Best Real Estate Drones to Use)

Picture this: A potential buyer in Dubai pulls up a listing for a $15 million mansion in Scottsdale. They’ve got twelve tabs open, each showcasing a different luxury property. Within three seconds, they’ll decide which one gets their attention: and which ones get closed forever.

In the ultra-competitive world of luxury real estate, static photos and even traditional video tours are no longer enough. The properties that capture attention, generate buzz, and ultimately sell faster share one thing in common: they’ve embraced the cinematic magic of indoor FPV fly-throughs, which is crucial in understanding drone videography pricing for luxury listings.

Understanding drone videography pricing for luxury listings is vital for any agent looking to excel in the luxury market.

Welcome to the future of luxury property marketing. And trust us: once you see what’s possible, there’s no going back.

Understanding the implications of drone videography pricing for luxury listings can significantly enhance your marketing strategy.

By mastering drone videography pricing for luxury listings, you can elevate your marketing strategy significantly.

The Problem with Traditional Real Estate Media

Let’s be honest. Even the most beautifully photographed luxury listing has limitations. Wide-angle shots can only convey so much about spatial flow. Walking video tours feel slow and dated. And those click-through 3D virtual tours? They require effort from viewers who are already scrolling past dozens of properties.

Luxury buyers: especially international clients and high-net-worth individuals: shop online first. They’re making decisions about whether a property is even worth a private showing based entirely on what they see on screen. Your listing has mere seconds to make an impression that sticks.

This is where traditional media falls short. It can show a home, but it can’t make someone feel like they’re gliding through it. It can’t capture the drama of a 30-foot ceiling or the seamless transition from a chef’s kitchen to an infinity pool overlooking the valley.

That emotional connection? That’s what sells $10M+ estates. And that’s exactly what FPV fly-throughs deliver.

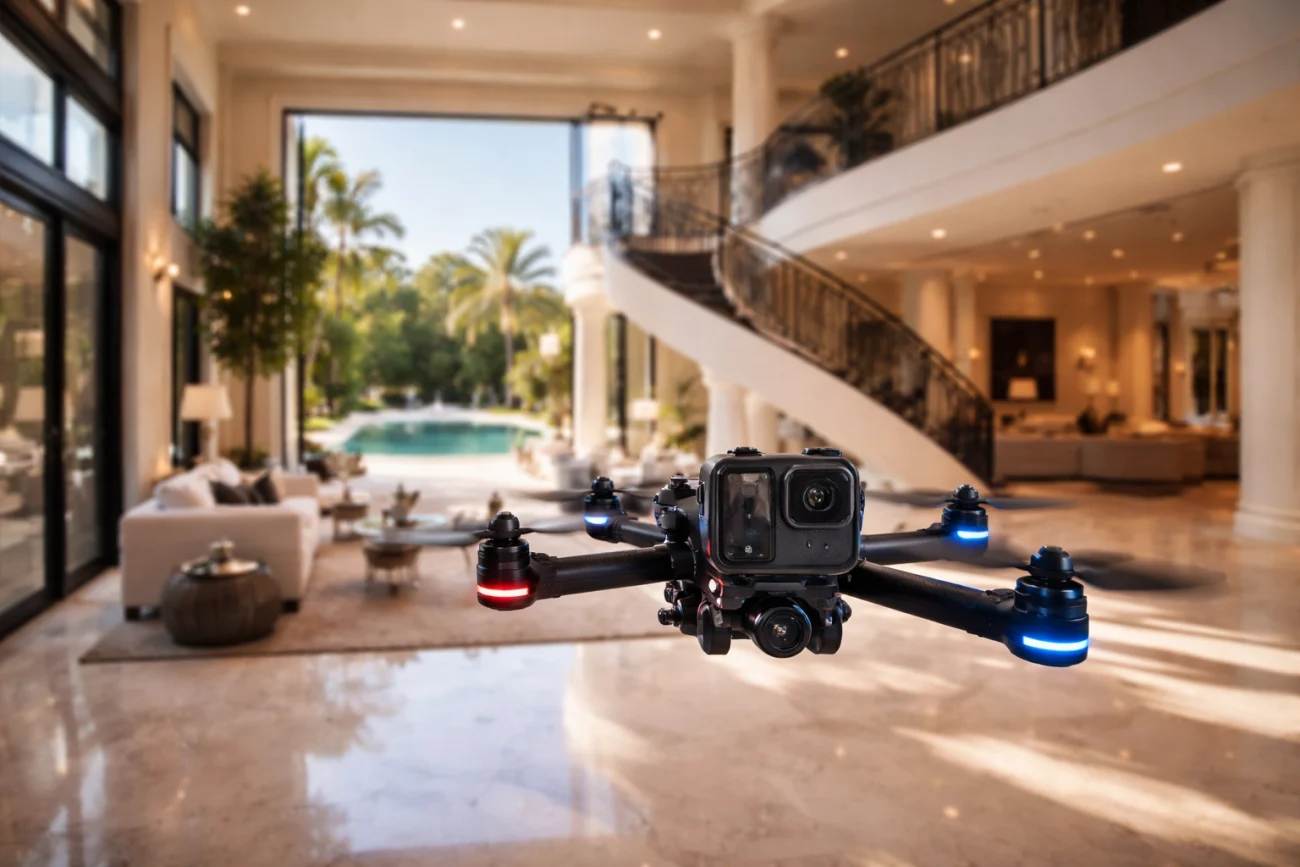
FPV drone flying inside a luxury mansion with an infinity pool and mountain views, showcasing real estate videography

What Makes the “One-Shot” Technique So Powerful

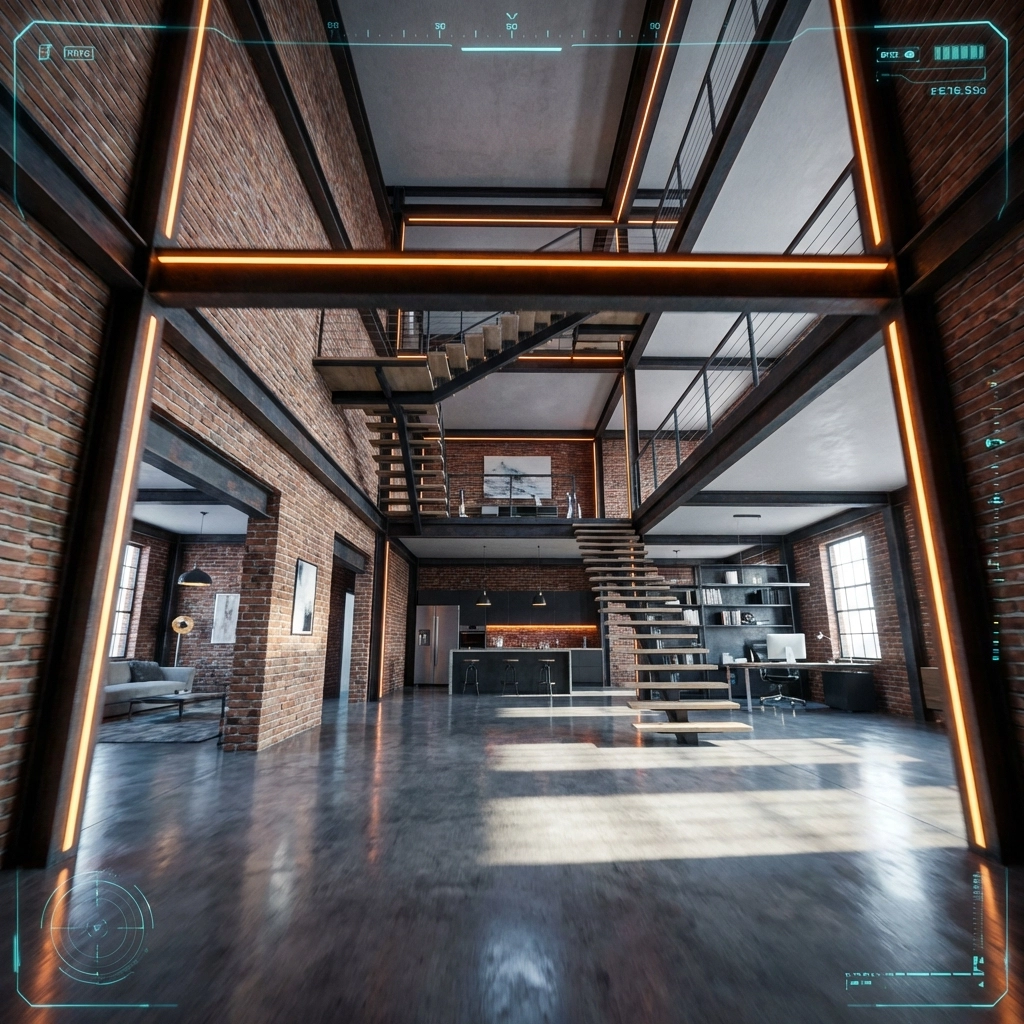
The signature move of luxury FPV real estate videography is the one-shot fly-through. It’s exactly what it sounds like: a single, unbroken camera movement that takes viewers on a cinematic journey through an entire property: inside and out: without a single cut.

Think of it like a movie scene that never breaks. The drone starts outside, sweeps past manicured landscaping, glides through an open doorway, rises up a grand staircase, orbits around a crystal chandelier, dips down through a double-height living room, and exits through French doors to reveal a sparkling pool and mountain views beyond.

No cuts. No transitions. Just pure, immersive storytelling.

Why does this matter for luxury listings? Because it creates an emotional experience that static images simply cannot replicate. Viewers don’t just see the property: they experience it. They understand how spaces connect. They feel the flow and the grandeur. They imagine themselves living there.

As one industry pilot put it: “You can’t orbit around a chandelier and fly up escalators to 20 feet to show the height of a space. You can’t do that with much else than a small FPV drone.”

For properties in the $10M+ range, where buyers expect extraordinary presentation, the one-shot technique isn’t just impressive: it’s becoming essential.

The Secret Weapon: Lightweight Cinewhoops

Investing in drone videography pricing for luxury listings allows for safe and creative indoor filming techniques.

Now, you might be wondering: how do you safely fly a drone inside a home filled with priceless art, custom millwork, and floor-to-ceiling windows?

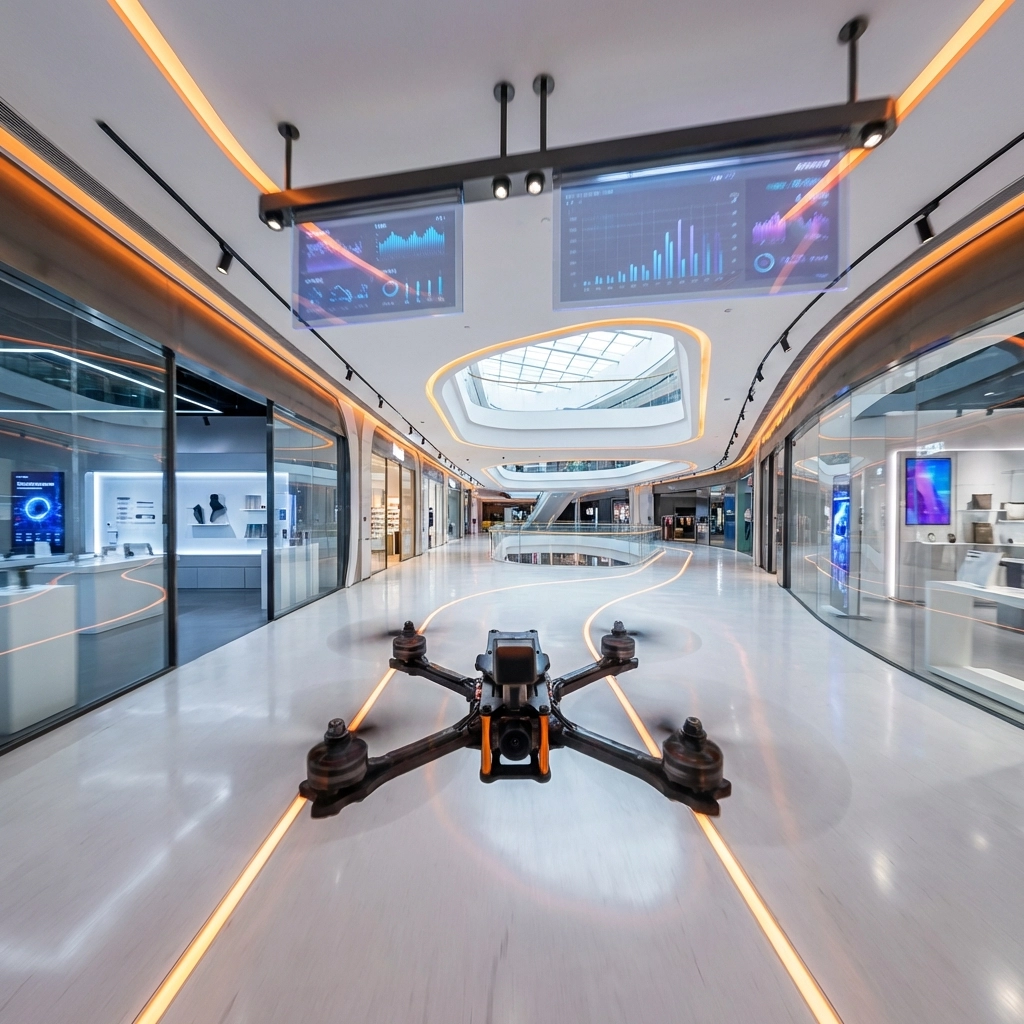
The answer lies in specialized aircraft called cinewhoops. These are compact, lightweight FPV drones specifically designed for indoor and close-proximity filming. What makes them special is their ducted propeller design: the spinning blades are fully enclosed within protective guards.

This matters for two critical reasons:

Safety first. In a $15 million estate, one wrong move could mean a shattered Murano glass sculpture or a scratch across a hand-painted ceiling mural. Cinewhoops dramatically reduce risk. If they bump into something (which skilled pilots avoid, but preparation matters), the ducted design prevents the props from causing damage. Many cinewhoops weigh under 250 grams: lighter than a smartphone: which means even in worst-case scenarios, the potential for harm is minimal.
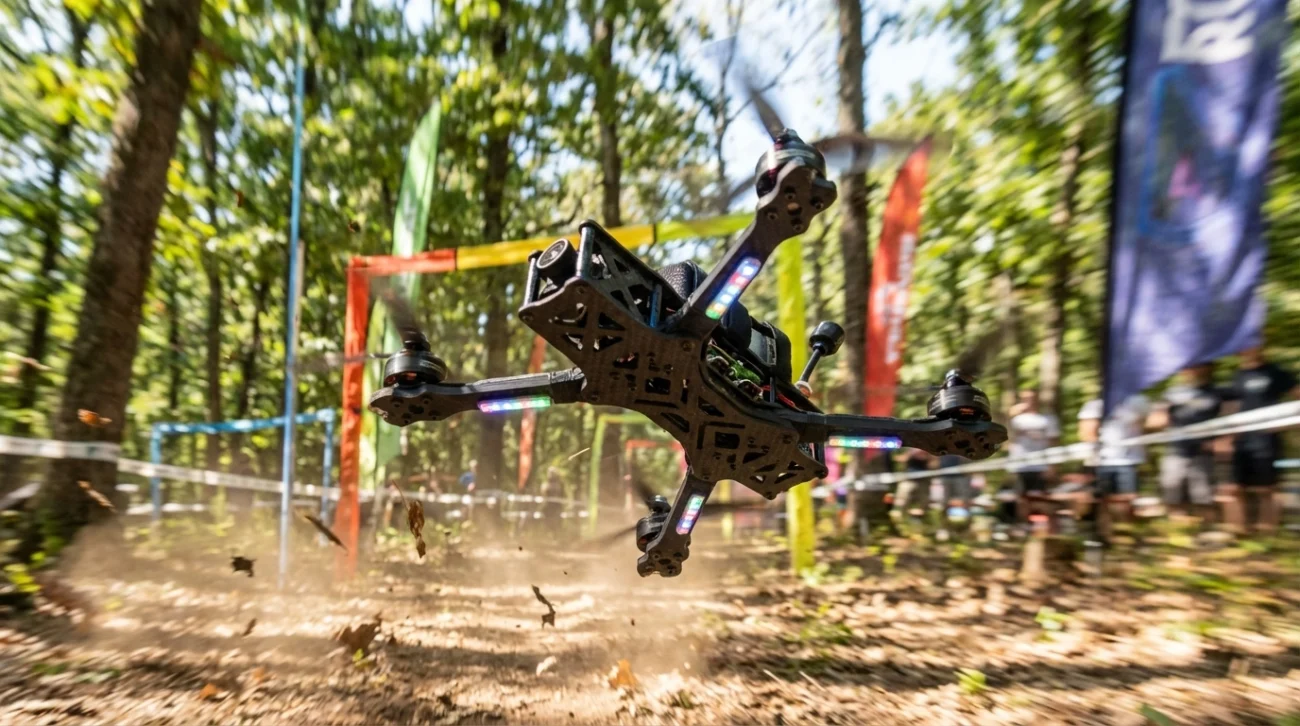
When considering drone videography pricing for luxury listings, ensure you’re prioritizing safety and creativity.

Access to tight spaces. Cinewhoops can navigate hallways, fly through doorways, and weave between furniture in ways that larger drones simply cannot. This opens up creative possibilities that transform a standard property tour into a cinematic masterpiece.

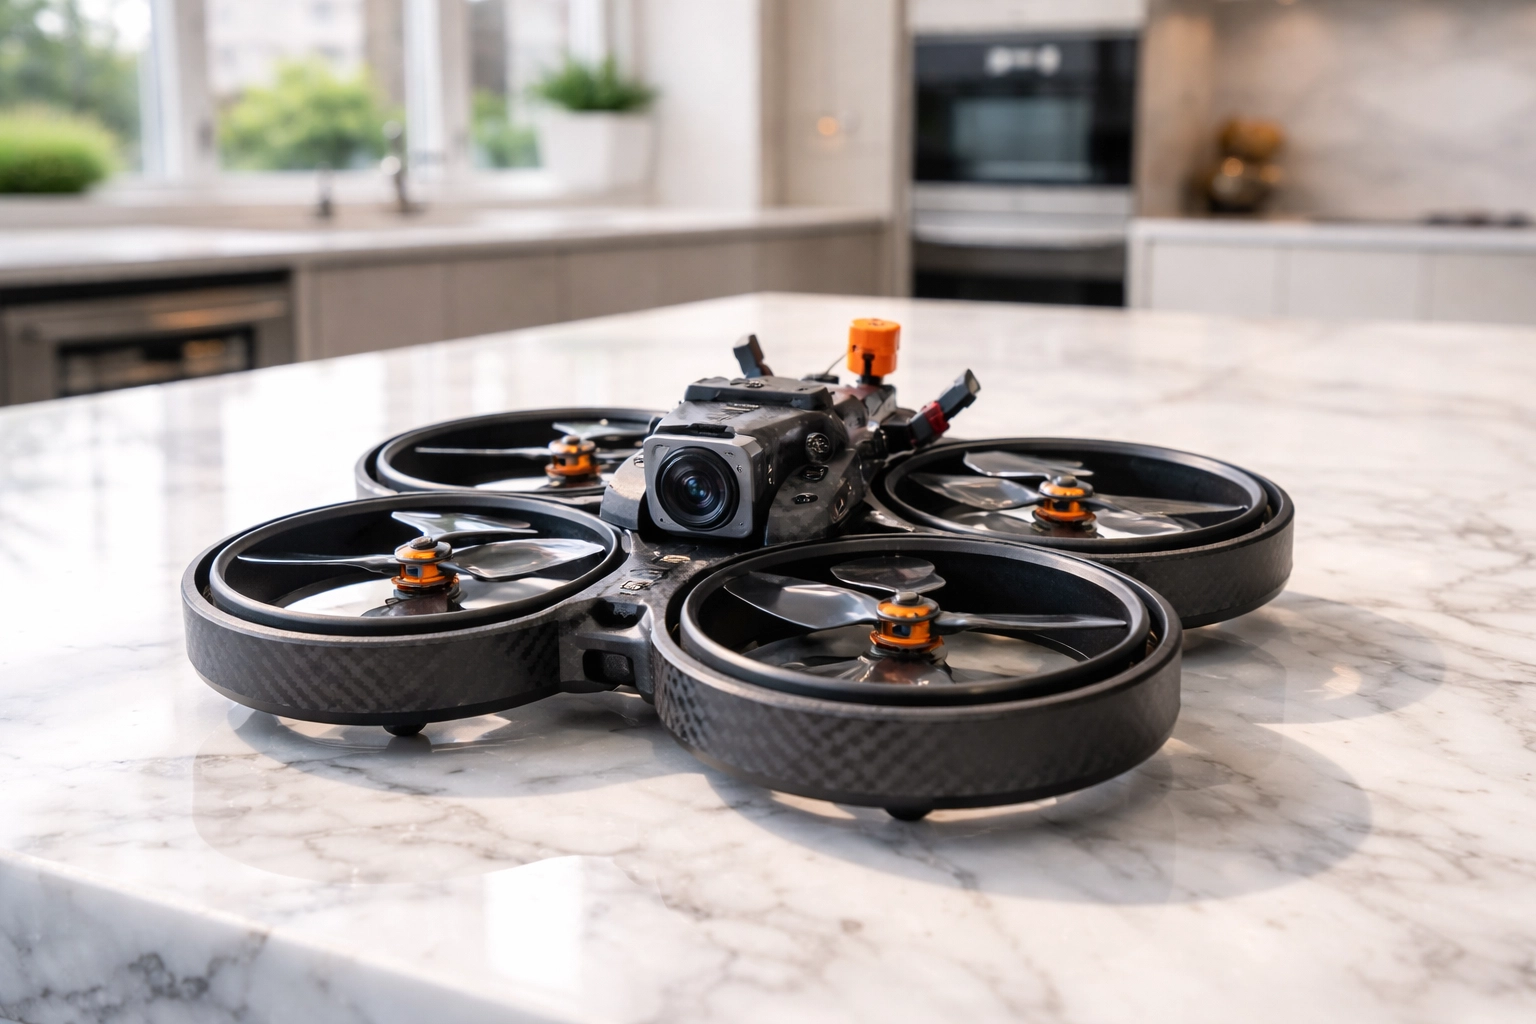
Close-up of a lightweight cinewhoop drone on a marble countertop in a modern luxury kitchen for real estate tours

When you’re marketing properties at this price point, every detail matters. Using the right equipment isn’t just about getting the shot: it’s about protecting your client’s investment while delivering world-class results.

Understanding the drone videography pricing for luxury listings can help ensure every filming detail is covered.

Why Luxury Agents and Developers Are Making the Switch

The shift toward FPV fly-throughs in the luxury market isn’t just about keeping up with trends. It’s driven by measurable results and undeniable competitive advantages.

Are you aware of the drone videography pricing for luxury listings? It can have a significant impact on your sales strategy.

Stand out in a crowded market. At the top end of real estate, every listing is beautiful. FPV fly-throughs give your property a presentation style that instantly differentiates it from competitors still relying on traditional photography and video.

Capture remote buyers. International and out-of-state buyers make up a significant portion of the luxury market. These clients may never visit in person until they’re ready to make an offer. A cinematic fly-through lets them experience the property’s flow and energy in a way that builds confidence and emotional investment before they ever step foot inside.

Showcase architectural details. Luxury homes are defined by their details: soaring ceilings, custom stonework, seamless indoor-outdoor transitions. FPV drones can highlight these features dynamically, drawing the viewer’s eye exactly where you want it to go.

Highlighting architectural details through drone videography pricing for luxury listings can attract more buyers.

Generate social buzz. Let’s not underestimate the power of shareability. A stunning one-shot fly-through doesn’t just live on the MLS listing: it gets shared on Instagram, featured in marketing emails, and embedded in digital ad campaigns. It becomes a piece of content that works for you across every platform.

Incorporating drone videography pricing for luxury listings into your strategy can generate significant social buzz.

The bottom line? Properties with exceptional visual presentation sell faster and often closer to asking price. In a market where carrying costs on a $10M+ estate can run into the tens of thousands per month, that speed matters.

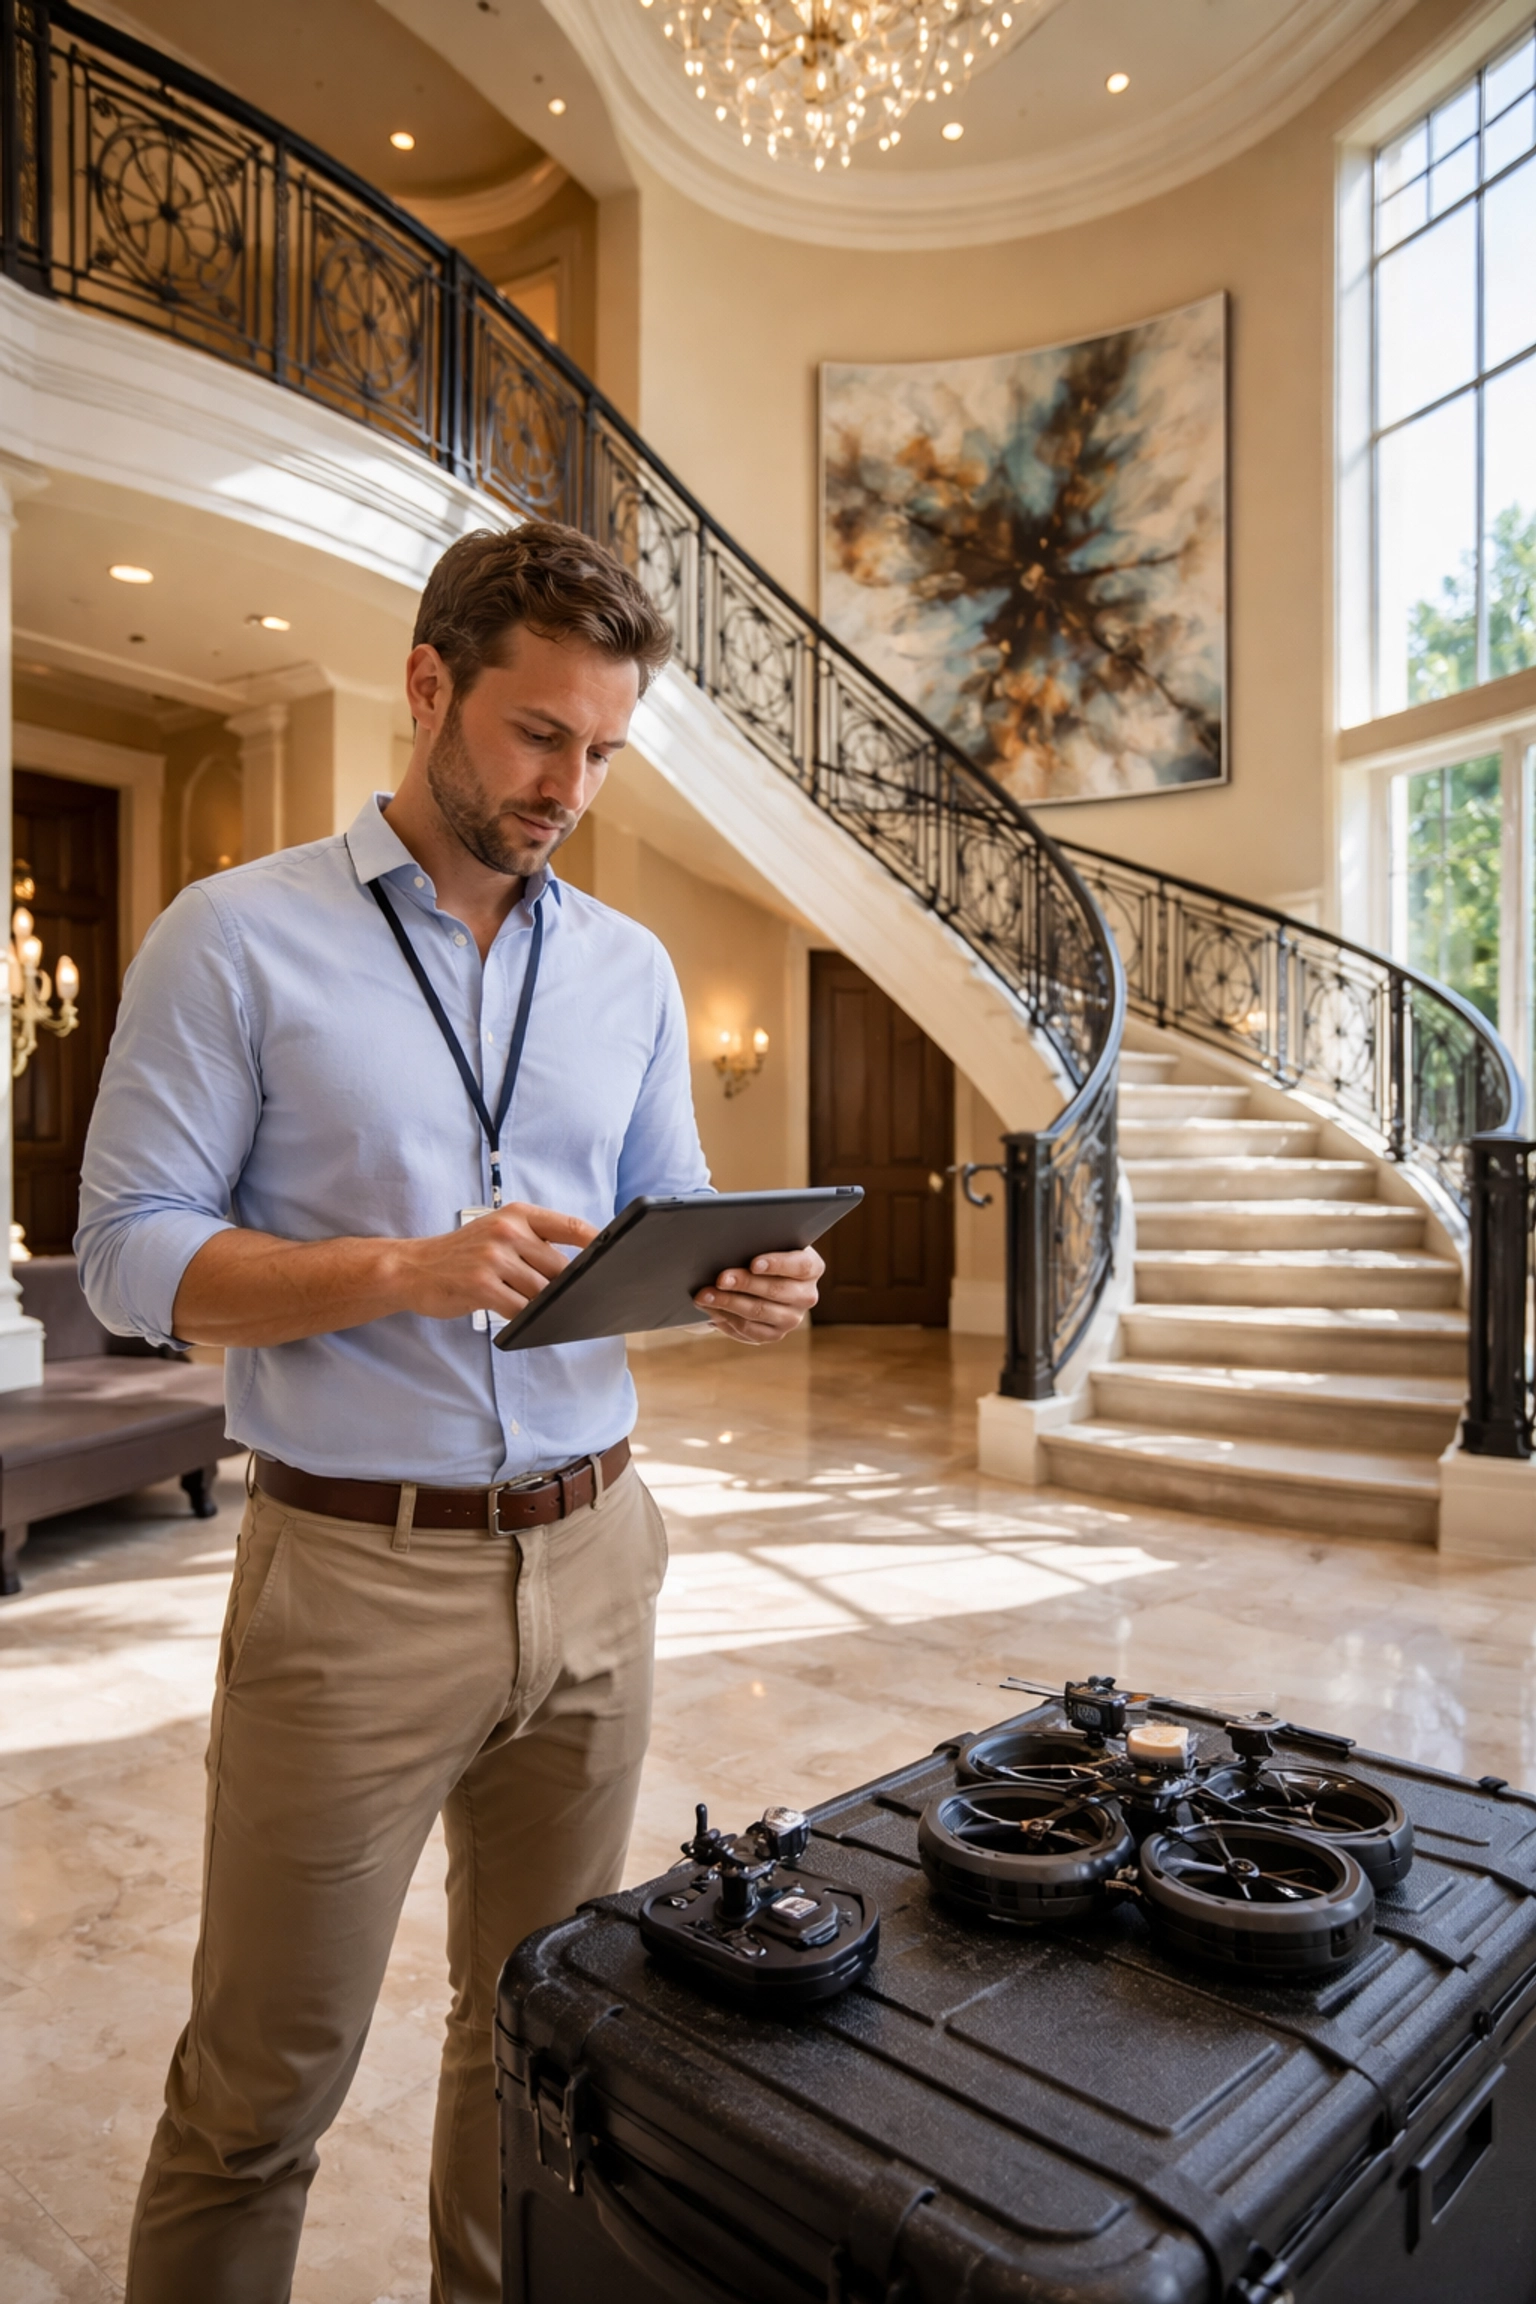
Professional drone pilot reviewing footage in a grand foyer of a multi-million dollar estate, highlighting indoor FPV fly-through services

What to Expect from a Professional FPV Real Estate Shoot

When preparing for a professional shoot, consider how drone videography pricing for luxury listings affects your overall budget.

If you’re considering FPV fly-throughs for your luxury listings, here’s what the process typically looks like:

Pre-production planning. A skilled pilot will walk the property beforehand, mapping out the flight path and identifying key features to highlight. This is where the storytelling happens: deciding how to guide the viewer’s eye through the home in a way that feels natural and captivating.

The shoot itself. Depending on the property’s size and complexity, filming usually takes a few hours. Multiple takes ensure the final product is flawless. The best pilots combine technical precision with artistic vision, capturing footage that feels effortless despite the immense skill required.

Post-production polish. Raw FPV footage is impressive, but professional color grading, stabilization, and audio design elevate it to cinematic quality. This is where good footage becomes great content. If you’re curious about the technical side of achieving smooth footage, check out our guide on FPV camera settings for cinematic results.

Delivery and deployment. You’ll receive final files optimized for web, social media, and broadcast use: ready to deploy across your entire marketing ecosystem.

Understanding Drone Videography Pricing for Luxury Listings

Drone Videography Pricing: What You’re Really Paying For (and Why It’s Worth It)

If you’re Googling drone videography pricing, here’s the honest truth: pricing isn’t just about “showing up with a drone.” It’s about reducing risk, nailing the story, and delivering a finished asset that helps the listing perform.

When researching drone videography pricing for luxury listings, remember that quality is paramount to achieving great results.

A professional fly-through includes value most people don’t see on the surface:

  • A flight plan built for the home. The route is designed to highlight flow, ceiling height, and indoor-outdoor transitions without feeling random or shaky.
  • Clean, repeatable execution. Multiple takes, controlled speed, and precision lines so the finished video feels effortless.
  • Cinematic finishing. Color grading, stabilization, music/audio choices, and exports sized for MLS, YouTube, Instagram, and ads.
  • Risk management. The right indoor aircraft (often a lightweight cinewhoop) and a pilot who’s trained to fly tight spaces safely.

For a luxury listing, this isn’t a “nice-to-have.” A high-quality fly-through can reduce friction for remote buyers, increase saves/shares, and create the kind of emotional momentum that gets showings booked.

In the luxury market, drone videography pricing for luxury listings can directly affect how quickly properties are sold.

The Value of Professional Fly-Throughs (Why They Convert Better Than Standard Video)

Understanding drone videography pricing for luxury listings can ensure clients feel confident in your services.

A standard walk-through video documents rooms. A professional FPV fly-through sells the experience.

With the right drone videography pricing for luxury listings, you can create a compelling narrative that sells.

    • FPV fly-through builds a mental map fast. Buyers instantly understand layout and how spaces connect, which is hard to communicate with photos alone.
    • It creates a premium first impression. In the first few seconds, viewers feel the scale and finish level—before they scroll away.

These insights into drone videography pricing for luxury listings can enhance your marketing approach.

  • These are made for modern marketing. The same fly-through can power your listing page, reels, ads, email campaigns, and your “just listed” social push.
  • This gives remote buyers confidence. For out-of-state and international clients, that smooth “I’m there” feeling matters.

If you want something that looks expensive, feels effortless, and makes people watch to the end, this is the format.

Emphasizing drone videography pricing for luxury listings in your marketing can elevate client expectations.

Best Real Estate Drones: What Pros Actually Use (and Why It Matters)

“Best real estate drones” depends on what you’re filming. For luxury marketing, pros usually match the tool to the shot:

  • Indoor fly-throughs: lightweight FPV cinewhoops (ducted props) for safety and tight control in furnished spaces.
  • Exterior cinematic shots: stabilized aerial platforms for smooth reveals, pullbacks, and high dynamic range in harsh sun.
  • Detail + motion shots: smaller rigs that can move through gates, under overhangs, and around landscaping with precision.

The key isn’t owning the most expensive drone—it’s using the right aircraft, camera setup, and pilot skill so the final deliverable looks premium and the shoot stays safe.

Ready to book a pro fly-through that makes your listing feel like a film trailer? Book your shoot here: Professional Drone Services.

Ready to explore drone videography pricing for luxury listings? Let us help you create stunning visual content.

The Future of Luxury Real Estate Marketing is Here

We’re standing at a turning point in how luxury properties are presented to the world. The agents and developers who embrace FPV fly-throughs today aren’t just adopting a new tool: they’re positioning themselves as innovators in a market that rewards bold, forward-thinking approaches.

Understanding drone videography pricing for luxury listings ensures you remain competitive in the luxury market.

Your listings deserve more than photos. They deserve to be experienced.

The question isn’t whether FPV fly-throughs will become the standard for high-end real estate marketing. The question is whether you’ll be ahead of the curve: or playing catch-up.

Ready to transform how you showcase luxury properties? Book a shoot with our team here: Professional Drone Services.

The future of luxury real estate marketing hinges on understanding drone videography pricing for luxury listings.

The future of luxury real estate marketing is in motion. Are you ready to fly?

Ultimately, drone videography pricing for luxury listings will shape how properties are marketed in the years to come.

Night Owl FPV: Best Low Light FPV Camera Picks + How to Shoot Drone Video at Night (Without the Noise)

There’s something magical about twilight. The sky shifts through impossible shades of purple and blue, city lights flicker to life, and the world takes on a cinematic quality that daylight simply can’t match. For FPV pilots, these golden (or should I say, blue) moments represent some of the most compelling footage opportunities available.

To capture this stunning footage, using the best low light FPV camera is crucial.

For those looking to enhance their night flying experience, finding the best low light FPV camera is essential.

But here’s the catch, low-light FPV cinematography is notoriously unforgiving. Push your settings wrong, and you’ll end up with grainy, unusable footage that no amount of post-production magic can save. Get it right, though, and you’ll capture visuals that make clients’ jaws drop and set your work apart from every other pilot still chasing noon-day sun.

Let’s break down exactly how to master the darkness.

Understanding the Low-Light Challenge

Before we dive into solutions, let’s understand what we’re fighting against. When light levels drop, your camera’s sensor struggles to gather enough photons to create a clean image. To compensate, the camera amplifies the signal, and that amplification introduces noise. It’s the visual equivalent of turning up the volume on a quiet recording and hearing all that hiss and static come through.

Investing in the best low light FPV camera can make a significant difference in the quality of your night footage.

Having the best low light FPV camera allows for more detailed imagery in dim environments.

The goal of low-light cinematography isn’t to eliminate this problem entirely (physics won’t allow it), but to manage it strategically so the noise stays invisible to your audience while your subject stays properly exposed and beautifully rendered.

Choosing the best low light FPV camera can ensure that you effectively manage noise in your footage.

FPV drone aerial view of a city at blue hour, showcasing low-light cinematography techniques and colorful sky gradients.

The Holy Trinity: Frame Rate, Shutter Speed, and ISO

The right settings on the best low light FPV camera can enhance your night footage significantly.

These three settings work together to determine your exposure, and in low-light situations, every decision involves trade-offs. Here’s how to navigate them like a pro.

Frame Rate: Go Low to Gather More Light

Using the best low light FPV camera at lower frame rates can maximize light capture.

This is counterintuitive for many pilots who’ve been told “always shoot 60fps for that smooth FPV look.” But here’s the reality, lower frame rates give you a massive advantage when light is scarce.

The reason comes down to the 180° shutter rule. At 24fps, your shutter speed should sit around 1/48. At 60fps, you’re looking at 1/120. That’s nearly three times less light hitting your sensor at the higher frame rate.

For low-light work, 24fps or 30fps should be your go-to. Yes, you’ll sacrifice some of that buttery slow-motion capability, but you’ll gain exposure headroom that makes the difference between usable footage and digital mud. Plus, 24fps has that classic cinematic motion blur that high-end productions have relied on for decades.

ISO: The Noise Threshold You Can’t Ignore

ISO is where most pilots blow their low-light footage. It’s tempting to crank it up when the image looks dark, but there’s a hard ceiling you need to respect.

For most action cameras commonly used in FPV (like GoPros), clean footage tops out around ISO 400. Push to 800, and you’ll start seeing noticeable grain that degrades your image quality. Beyond that? You’re in emergency-only territory.

With the best low light FPV camera, you can effectively manage ISO for improved footage.

The key is to treat ISO as your last resort, not your first adjustment. Lock it at the lowest value that gives you proper exposure after you’ve optimized everything else. If you find yourself needing ISO 1600+ to get a usable image, that’s your cue to add supplementary lighting or wait for better ambient conditions, not to accept the noise.

Shutter Speed: Follow the Rule (Mostly)

Stick to the 180° shutter rule for natural-looking motion blur. At 24fps, that’s 1/48 (or 1/50 on cameras that don’t offer 1/48). At 30fps, aim for 1/60.

Can you go slower to gather more light? Technically yes, but you’ll introduce motion blur that looks unnatural and can make your footage feel dreamy or disorienting, not usually what clients want. Stay disciplined here.

If you want to dive deeper into optimizing your camera settings for cinematic results, check out our complete guide to FPV camera settings.

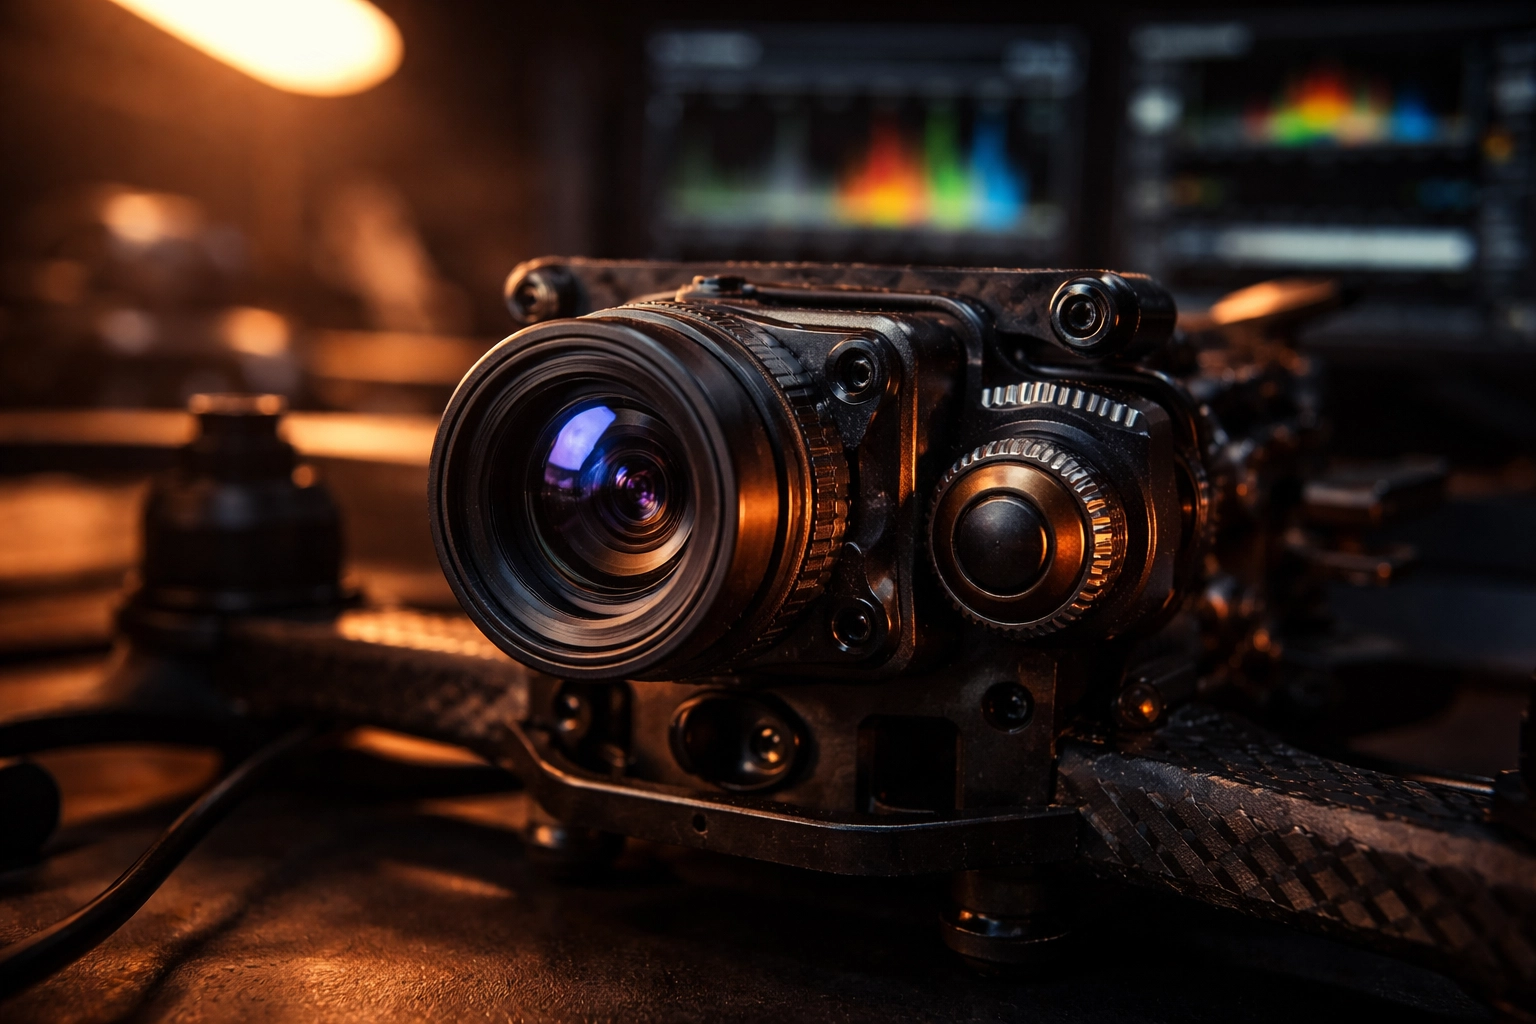
Close-up of an FPV drone camera in a dim workshop, illustrating camera setup and precise low-light adjustments.

Aperture and Lens Selection: Your Secret Weapon (and What to Look For in the Best Low Light FPV Camera)

Here’s where hardware choices make a dramatic difference. Aperture, measured in f-stops, determines how much light your lens gathers. A wider aperture (lower f-number) means more light hitting the sensor.

Opting for the best low light FPV camera with wider apertures can greatly improve your results.

Standard FPV cameras typically ship with f/2.8 lenses. That’s decent for daytime work, but limiting when the sun goes down. If you’re shopping for the best low light FPV camera, prioritize fast glass and sensitivity over “general purpose” specs—because low light punishes anything that’s just average.

For serious low-light work, look for:

  • f/2.0 or wider apertures for maximum light gathering
  • High sensitivity ratings (measured in lux, lower is better)
  • Clean low-light processing (less smearing/noise reduction artifacts)
  • Larger sensors when possible, as bigger sensors handle noise better

Specialized low-light options like the Owl-style cameras (popular in the FPV community) are designed to keep an image usable in scenes that would turn standard cams into grain. One caveat: these specialized cameras often have limited dynamic range. If you’re shooting a scene with both dark areas and bright light sources (like streetlights), you may struggle to expose both properly. Plan your shots accordingly.

For optimal performance, look for the best low light FPV camera that maintains image quality in low-light scenarios.

If you want to build the right video chain for night flights (camera + VTX + accessories that actually play nice together), browse our VTX + camera hardware here: TechInMotion360 VTX & Camera category.

Need help selecting and configuring the right camera system for your low-light work? Our Video Camera Systems support package can get you dialed in.

The Blue Hour Advantage

The best low light FPV camera can take your blue hour shots to the next level.

Here’s a pro tip that separates amateurs from professionals: you don’t actually need to shoot in complete darkness to create stunning “night” footage.

Blue hour, that magical window immediately after sunset when the sun dips below the horizon, offers the best of both worlds. There’s enough ambient light to properly expose your image without cranking ISO into noise territory, but the natural blue hue of the sky creates that unmistakable nighttime aesthetic.

Your audience’s brain reads “blue + city lights = night.” You get the look without the technical nightmare of true darkness.

Plan your shoots around this window. It’s typically 20-40 minutes long depending on your location and time of year. Scout your location during daylight, have your batteries charged and ready, and be in position before sunset so you can maximize every minute of usable light.

Specialized low-light FPV camera with wide aperture displayed on a dark surface, highlighting lens choice for night flying.

Strategic Supplementary Lighting

When blue hour isn’t enough or you need to shoot in genuinely dark environments, supplementary lighting becomes essential.

Incorporate the best low light FPV camera along with supplementary lighting for incredible night shots.

Diffused lights (softboxes, LED tubes, or panels) work far better than harsh point sources. They cast fewer shadows and reduce the risk of blown-out footage if your drone happens to fly directly in front of a light.

Position lights strategically around your flight area to add texture and visual interest. Side lighting creates depth and dimension. Backlighting can produce stunning silhouettes. Experiment during your scout to find angles that enhance your subject.

Infrared lighting opens up another possibility for truly dark environments. IR LEDs emit light invisible to the human eye but detectable by digital camera sensors. This maintains the stealth aspect of night flying while providing your camera with enough illumination to reduce noise from excessive digital amplification.

White Balance and Color: Setting the Mood

Auto white balance is your enemy in low-light cinematography. It shifts constantly as your drone moves through areas with different light sources, creating inconsistent footage that’s a nightmare to color grade.

Setting the right white balance on the best low light FPV camera is essential for capturing night scenes.

Lock your white balance manually before each shoot. For convincing nighttime aesthetics, set a lower color temperature around 4000K. This introduces those blue tones viewers instinctively associate with night scenes.

Shoot in a flat color profile whenever possible. Yes, the footage looks washed out straight from the camera, but you’re preserving maximum dynamic range and color information for post-production. You can always add contrast and saturation later: you can’t recover detail that was crushed in-camera.

Post-Production: Your Safety Net

Even with perfect technique, low-light footage benefits from thoughtful post-processing.

The best low light FPV camera footage can be enhanced significantly with thoughtful post-production.

Noise reduction tools in modern editing software (DaVinci Resolve, Premiere Pro, Final Cut) can work wonders on mild grain. Just don’t overdo it: aggressive noise reduction creates that waxy, artificial look that’s arguably worse than the noise itself.

Color grading lets you enhance the mood you established in-camera. Push those blue shadows, add warmth to practical light sources, and create separation between your subject and background.

If you’re struggling with footage that didn’t turn out as planned, our Advanced Support package includes troubleshooting for camera and video issues.

With the best low light FPV camera, you can achieve stunning results that resonate with your audience.

Drone photo of a coastal city at blue hour with glowing city lights, demonstrating optimal timing for cinematic FPV footage.

Putting It All Together (How to Shoot Drone Video at Night)

How to shoot drone video at night isn’t about finding one magic setting—it’s about understanding how all the pieces interact and making informed trade-offs based on your specific shooting conditions.

Start with the lowest practical frame rate. Keep ISO under 400 whenever possible. Choose cameras with wide apertures and high sensitivity ratings. Shoot during blue hour when you can. Add supplementary lighting when you can’t. Lock your white balance. Shoot flat. And give yourself grace in post.

Utilizing the best low light FPV camera during your shoots can unlock impressive cinematic potential.

Master these techniques, and you’ll unlock an entire world of cinematic possibilities that most pilots never touch. The night is calling( go capture something beautiful.)

With these tips and the best low light FPV camera, you’re ready to capture breathtaking visuals.

ELRS vs Crossfire 2026: The Definitive Guide to Link Reliability for Professional FPV Pilots

ExpressLRS/ELRS and TBS Crossfire are trademarks of their respective owners. TechInMotion360.org is an independent service provider and references these brands for educational and compatibility purposes only.

There’s a moment every professional FPV pilot dreads. You’re deep into a cinematic long-range shot, the client is watching the feed, and suddenly: your signal starts to stutter. In that split second, the difference between a flawless take and a crashed quad comes down to one thing: your radio link.

In 2026, the debate between ExpressLRS (ELRS) and TBS Crossfire continues to dominate hangar conversations and online forums alike. The discussion often centers around the topic of ELRS vs Crossfire 2026, but here’s the thing: both protocols have evolved significantly, and the “right” choice isn’t as clear-cut as it was a few years ago.

The ongoing discussion of ELRS vs Crossfire 2026 has become essential for every professional pilot.

This guide breaks down everything you need to know about link reliability for professional applications. No fanboy wars. No hype. Just the facts that matter when your reputation (and expensive gear) is on the line.

The Stakes Have Never Been Higher

Professional FPV work in 2026 looks nothing like it did even three years ago. We’re flying through luxury estates, capturing live events, threading needles in industrial inspections, and pushing the boundaries of what’s cinematically possible.

With stakes this high, your control link isn’t just a spec on a product page: it’s the invisible thread keeping everything together. A failsafe during a real estate walkthrough doesn’t just ruin a shot; it can damage property, hurt your reputation, and cost you future contracts.

That’s why understanding the nuances between ELRS and Crossfire matters more than ever.

Understanding the differences in ELRS vs Crossfire 2026 can lead to better decision-making.

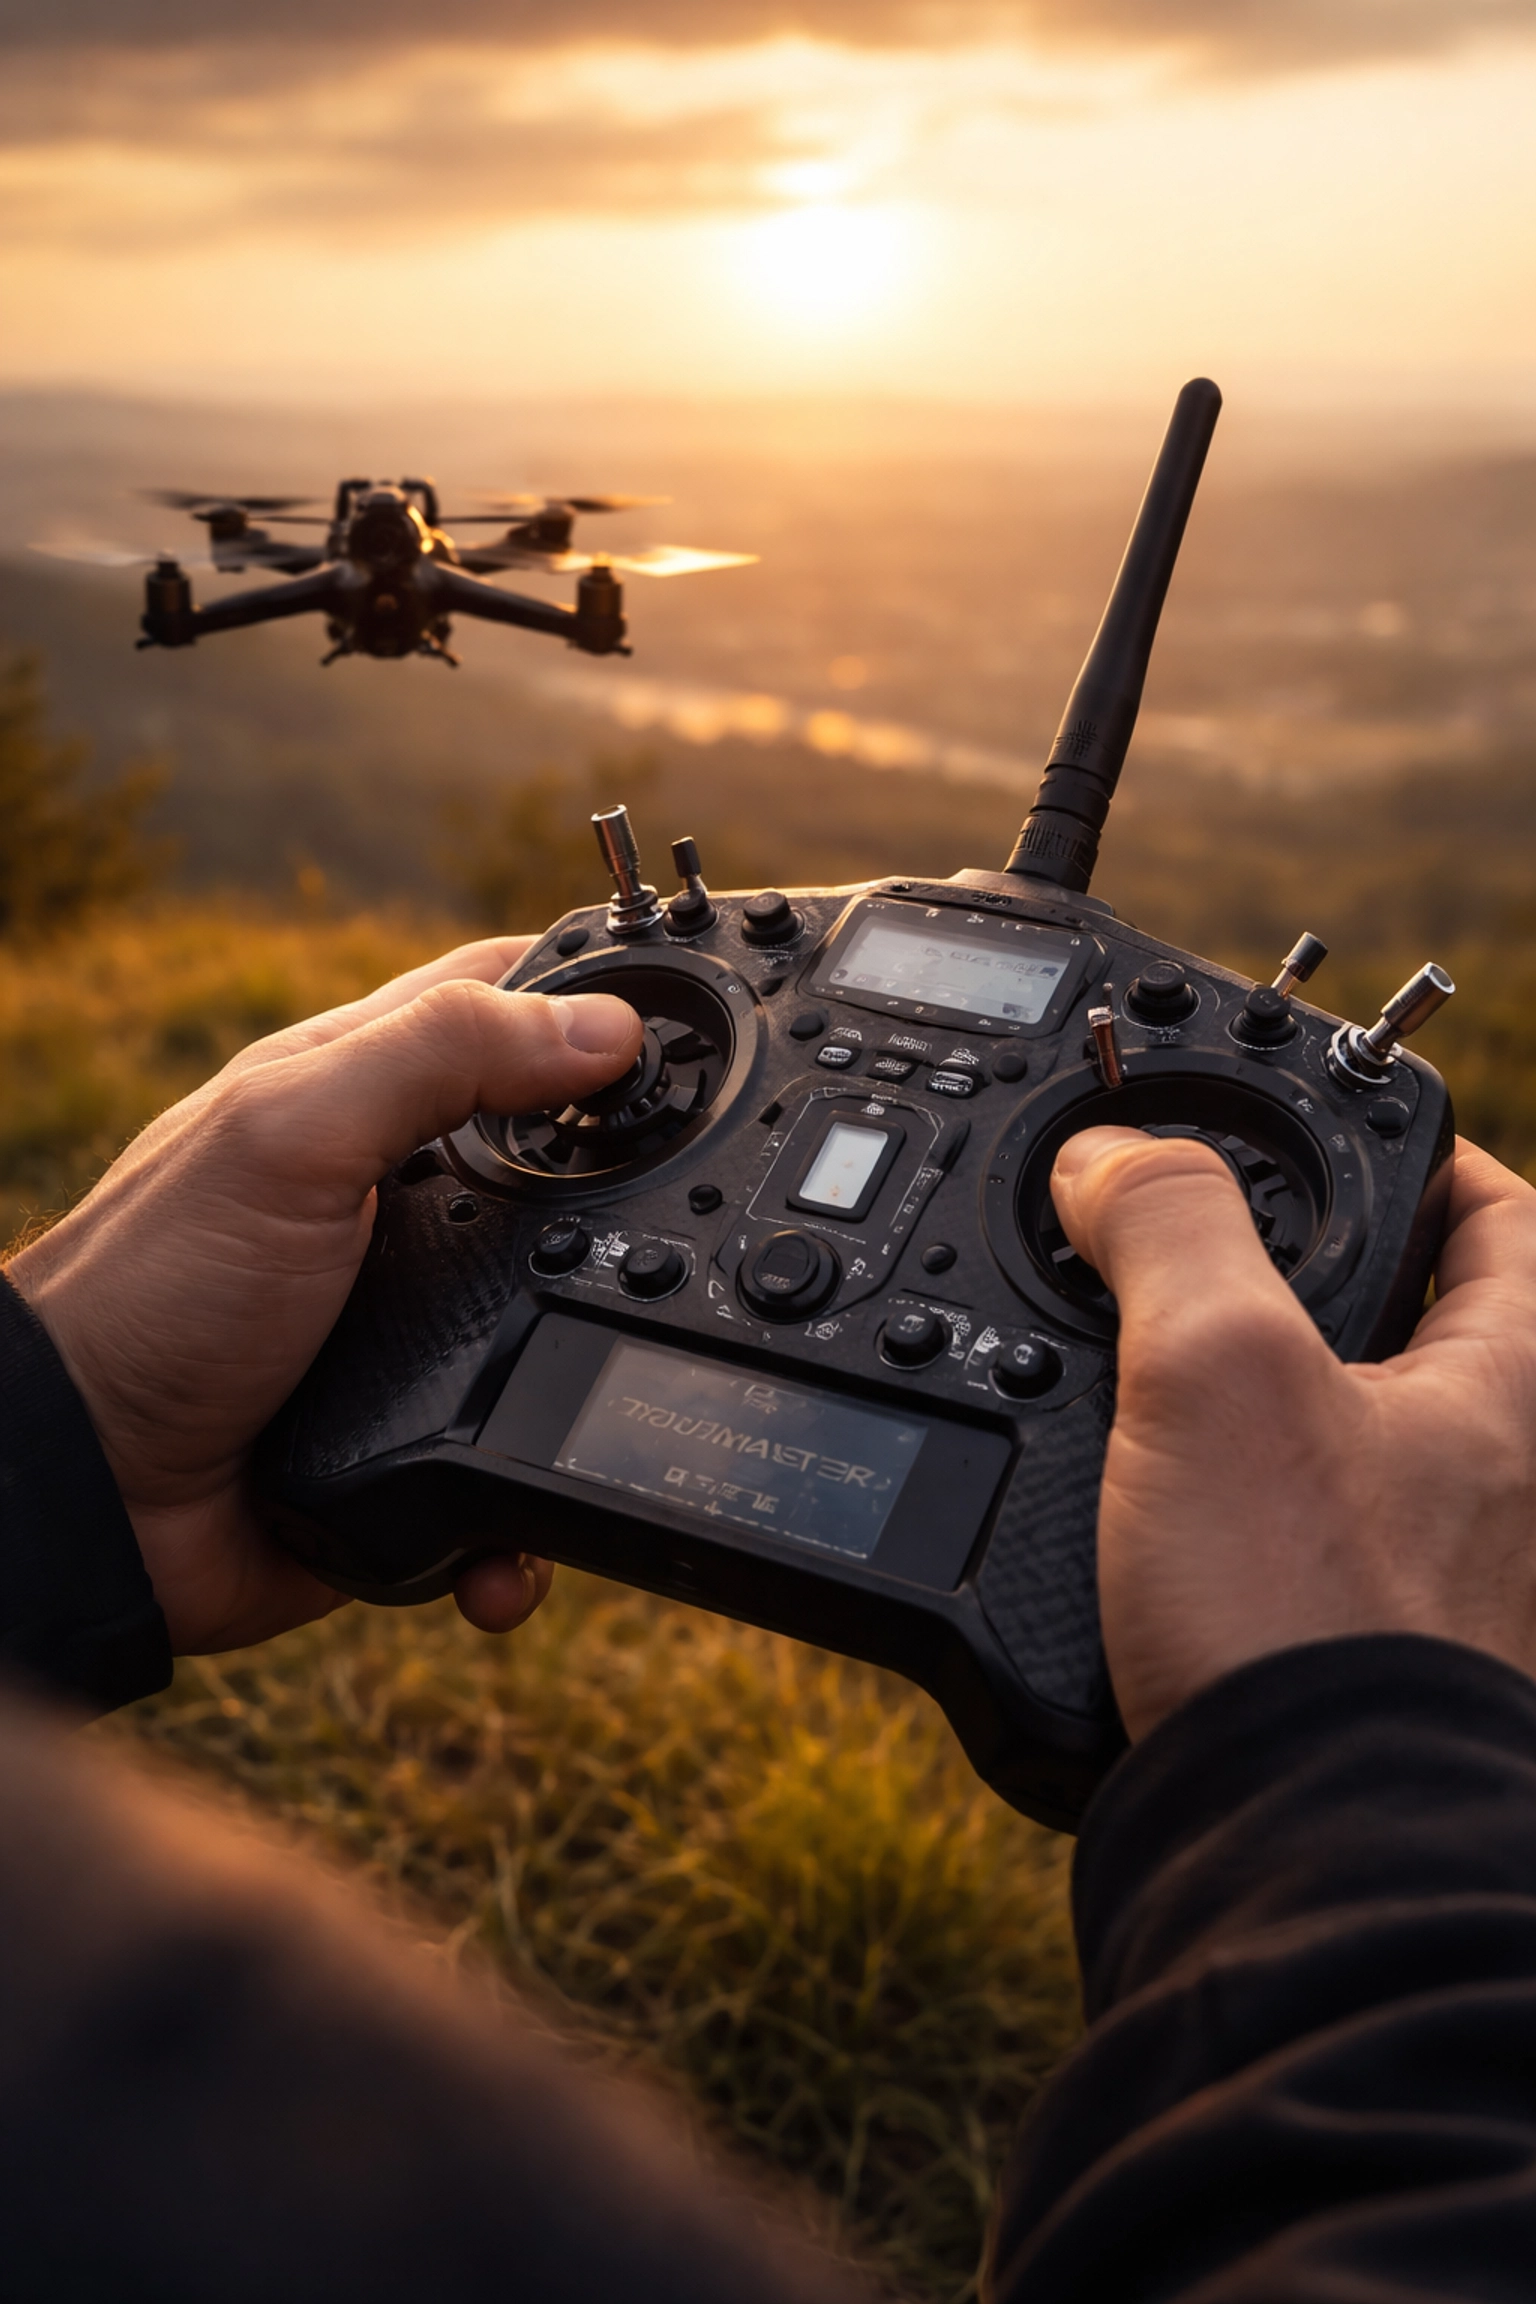
Professional FPV pilot controlling a drone at golden hour, illustrating link reliability in action.

Understanding the Core Technologies

When looking at ELRS vs Crossfire 2026, it’s crucial to understand their respective technologies.

Before we dive into comparisons, let’s establish what we’re actually comparing.

The tech community is buzzing about ELRS vs Crossfire 2026, and it’s important to stay informed.

ExpressLRS (ELRS) is an open-source radio control link that has taken the FPV community by storm. Available in both 2.4 GHz and 900 MHz variants, it’s built on LoRa modulation and has become known for its impressive latency figures and budget-friendly pricing.

In discussions about ELRS vs Crossfire 2026, many emphasize performance and reliability.

TBS Crossfire is the established professional standard from Team BlackSheep. Operating on 900 MHz, it’s been the go-to choice for long-range pilots and professionals for years. It’s a closed ecosystem with premium pricing but offers features specifically designed for mission-critical applications.

Both systems use similar underlying technology, but their implementation philosophies couldn’t be more different.

Latency and Update Rates: The Speed Game

Let’s talk numbers, because this is where ELRS really flexes.

The 2.4 GHz version of ELRS can achieve update rates up to 500 Hz with estimated latency as low as ~3–5 milliseconds under ideal conditions. That’s seriously fast. The 900 MHz variant runs at up to 200 Hz, which is still incredibly responsive for long-range work.

Crossfire, by comparison, tops out at 150 Hz. At this rate, it switches from LoRa to FSK modulation, which affects range performance compared to its lower update rate modes.

What does this mean practically?

For acrobatic freestyle or tight indoor cinewhoops, that extra responsiveness from ELRS can make your sticks feel more connected to the quad. For smooth cinematic long-range work, both protocols offer more than enough speed: you likely won’t notice the difference in the final footage.

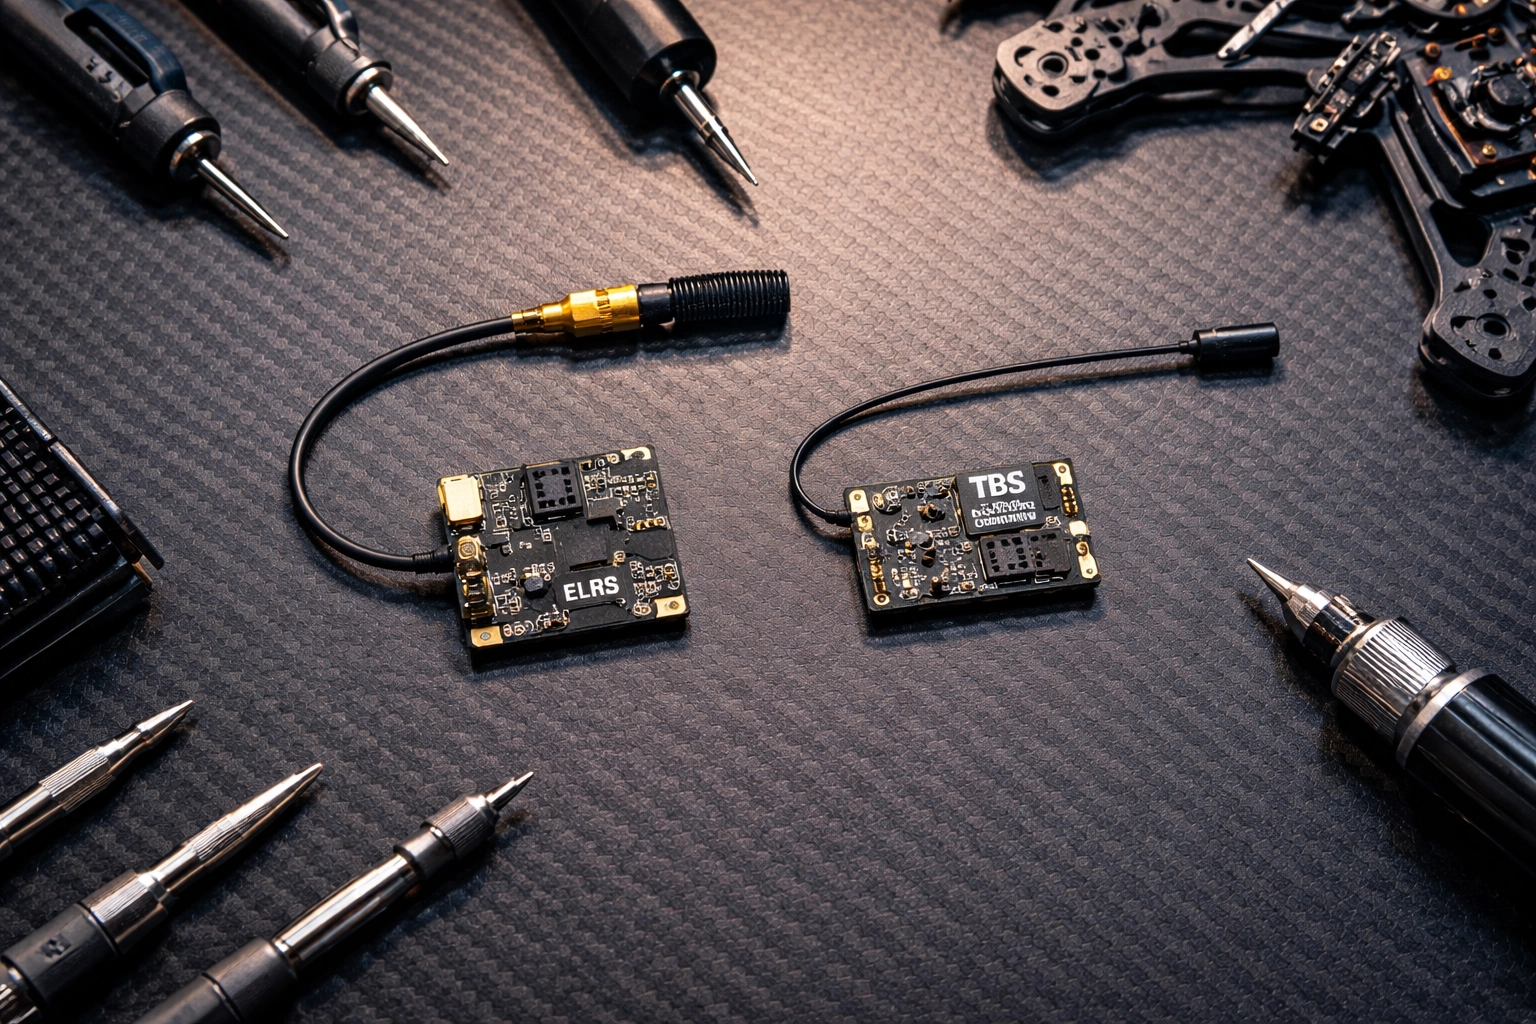
Side-by-side comparison of ELRS and Crossfire receivers on a workbench for FPV drone setup.

Range and Penetration: Going the Distance

Here’s where things get interesting.

At equal power levels (25 mW), ELRS generally achieves longer range thanks to its efficient packet structure. It’s doing more with less, which is impressive engineering.

However, Crossfire supports up to 2 watts (2000 mW) of transmission power. That’s a massive difference when you need to punch through obstacles or maintain solid links at extreme distances. Under ideal conditions and with proper antenna configuration, some pilots report ranges up to ~20–30 kilometers or more.

RF compliance note: Always verify and comply with your local RF power limits and licensing requirements (FCC, CE, etc.) before increasing output power.

For most professional work: real estate shoots, event coverage, commercial inspections: you’re rarely pushing beyond a few kilometers. But when you need that extra headroom, Crossfire’s raw power output provides a significant safety margin.

The Elephant in the Room: Security and Jam Resistance

This is the conversation many pilots skip, but it matters enormously for professional applications.

Crossfire offers data encryption and jam resistance. It’s currently the only hobby-level protocol with these features built in. Your control data is encrypted, and the system is designed to resist interference from other RF sources.

The security features of Crossfire make it stand out in the ELRS vs Crossfire 2026 debate.

ELRS communication is not encrypted or jam-resistant. The data transmitted over the air has no special security measures. For hobbyist flying, this is rarely a concern. For professional work in crowded RF environments? It’s worth serious consideration.

There are anecdotal reports from some pilots of ELRS 2.4 GHz systems experiencing failsafes at large events with significant crowd density, while other pilots report stable performance with Crossfire in similar environments. When you’re flying over a concert crowd or at a busy commercial property, even the possibility of RF congestion affecting link stability is worth factoring into your risk assessment.

If you’re regularly flying in challenging RF environments, this security aspect deserves careful thought. For more controlled environments, it may be less of a concern: but it’s something every professional should factor into their decision.

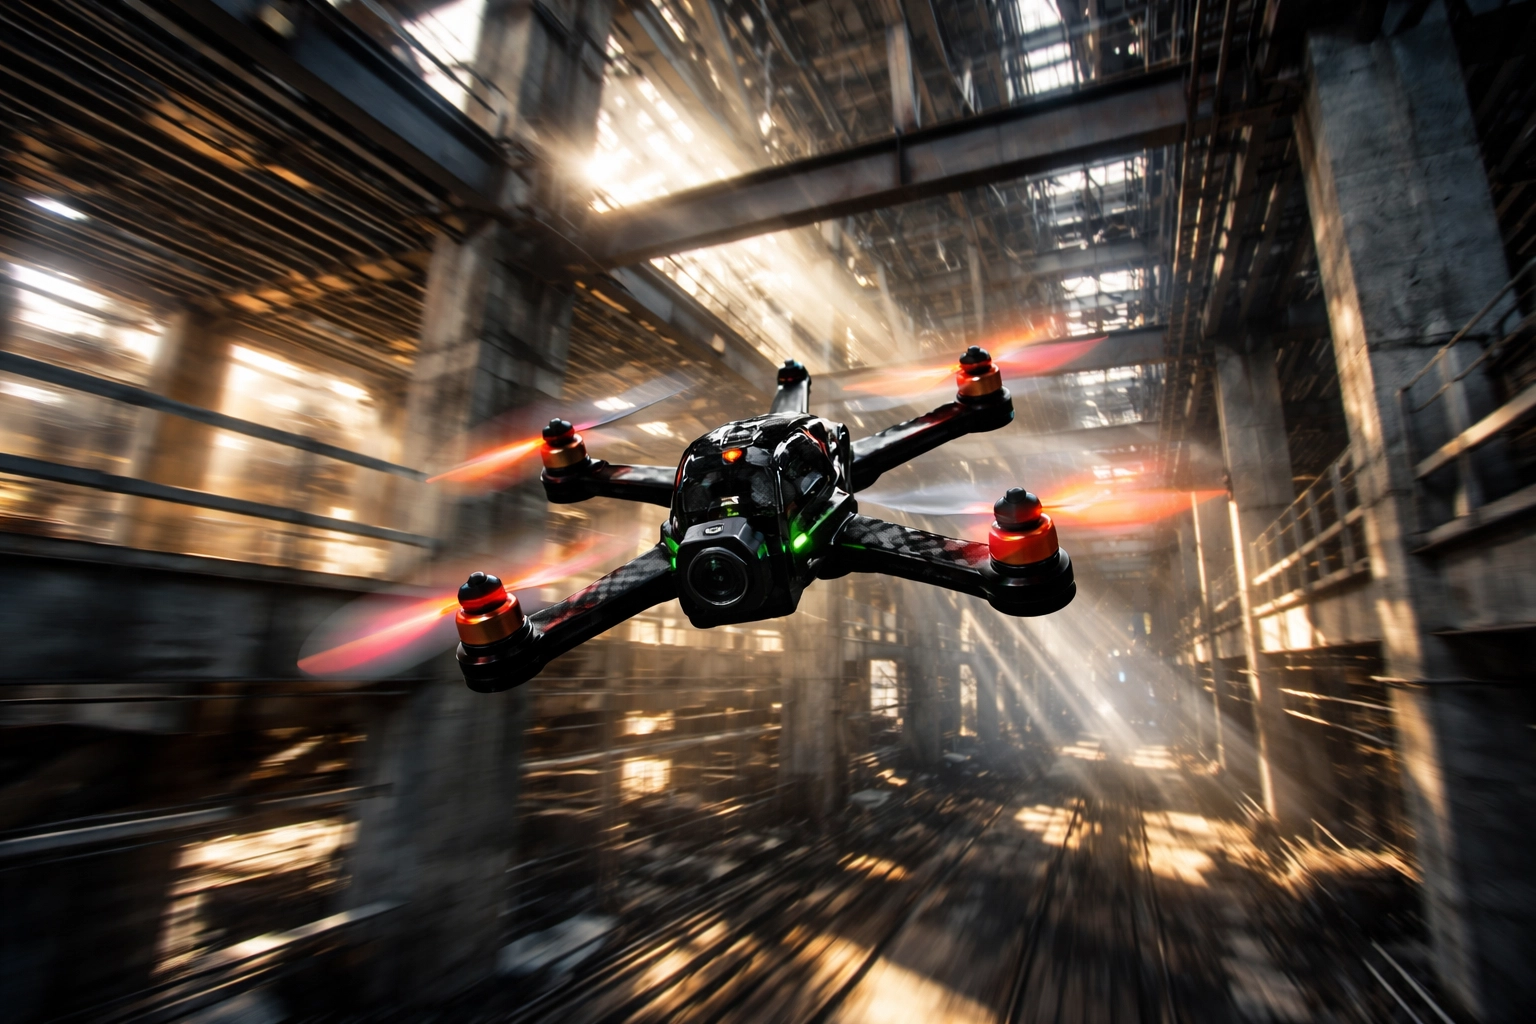
FPV drone flying at high speed through industrial environment, showcasing range and penetration.

Cost and Ecosystem Considerations

Cost is a significant factor in the ELRS vs Crossfire 2026 conversation, influencing many pilots’ choices.

Let’s be real: budget matters, even for professionals.

ELRS is significantly cheaper. As an open-source system, receivers are affordable, and you have compatibility across multiple transmitter brands including Radiomaster, Jumper, and others. You can build out a complete system for a fraction of Crossfire’s cost.

Crossfire commands premium pricing across the board. Receivers, transmitter modules, and accessories all cost more. However, you’re paying for build quality, long-term reliability, and deep integration within the TBS ecosystem (Tango 2, Fusion, Nano receivers).

There’s also the convenience factor. ELRS offers WiFi-based firmware updates, making it easy to stay current. Both systems support telemetry, LUA-based configuration, and dynamic power control: the essential features professionals need for situational awareness and compliance.

Which protocol offers the best value?

“Value” in the ELRS vs Crossfire 2026 debate isn’t just the sticker price—it’s what you spend (and risk) to get a link you trust when the shot matters.

Throughout the ongoing ELRS vs Crossfire 2026 dialogue, many pilots weigh cost against performance.

ELRS is usually the best value for most pilots (dollars-to-performance).
If your priority is modern features, strong performance, and scaling multiple quads without blowing the budget, ELRS tends to win on cost efficiency. Receivers are widely available at lower prices, and the open ecosystem gives you more hardware choices across radios and brands.

Crossfire is often the best value when reliability features are the product.
If your work regularly puts you in messy RF environments and you’re paying for confidence, Crossfire’s premium can make sense—because the “value” is stability headroom and a mature, mission-focused ecosystem. For pilots who can’t afford a failsafe moment (client pressure, complex locations), that margin can be worth more than the upfront cost.

Quick way to decide:

  • If you’re building/maintaining multiple rigs, or want maximum performance per dollar: ELRS is typically the best value.
  • If one failed take could cost more than the price difference in gear: Crossfire can be the better value.

If you’re ready to upgrade link reliability (either direction), start with our radios and receivers options here:
TechInMotion360 Radios & Receivers

Making the Right Choice for Your Operation

The choice between ELRS vs Crossfire 2026 can define your flying experience.

After weighing all the factors, here’s how I’d break it down for professional pilots:

Choose Crossfire if:

  • You regularly fly in crowded RF environments (events, urban areas, industrial sites)
  • Long-range exploration or stability-critical missions are your bread and butter
  • Encryption and jam resistance are non-negotiable for your clients
  • You value proven, mature firmware over cutting-edge features
  • Premium pricing fits your business model

Choose ELRS if:

  • You primarily fly in controlled environments with predictable RF conditions
  • Ultra-low latency is crucial for your flying style
  • Budget efficiency matters for scaling your fleet
  • You enjoy the flexibility of open-source and community-driven development
  • The 900 MHz variant (which offers better stability than 2.4 GHz in crowded spaces) meets your needs

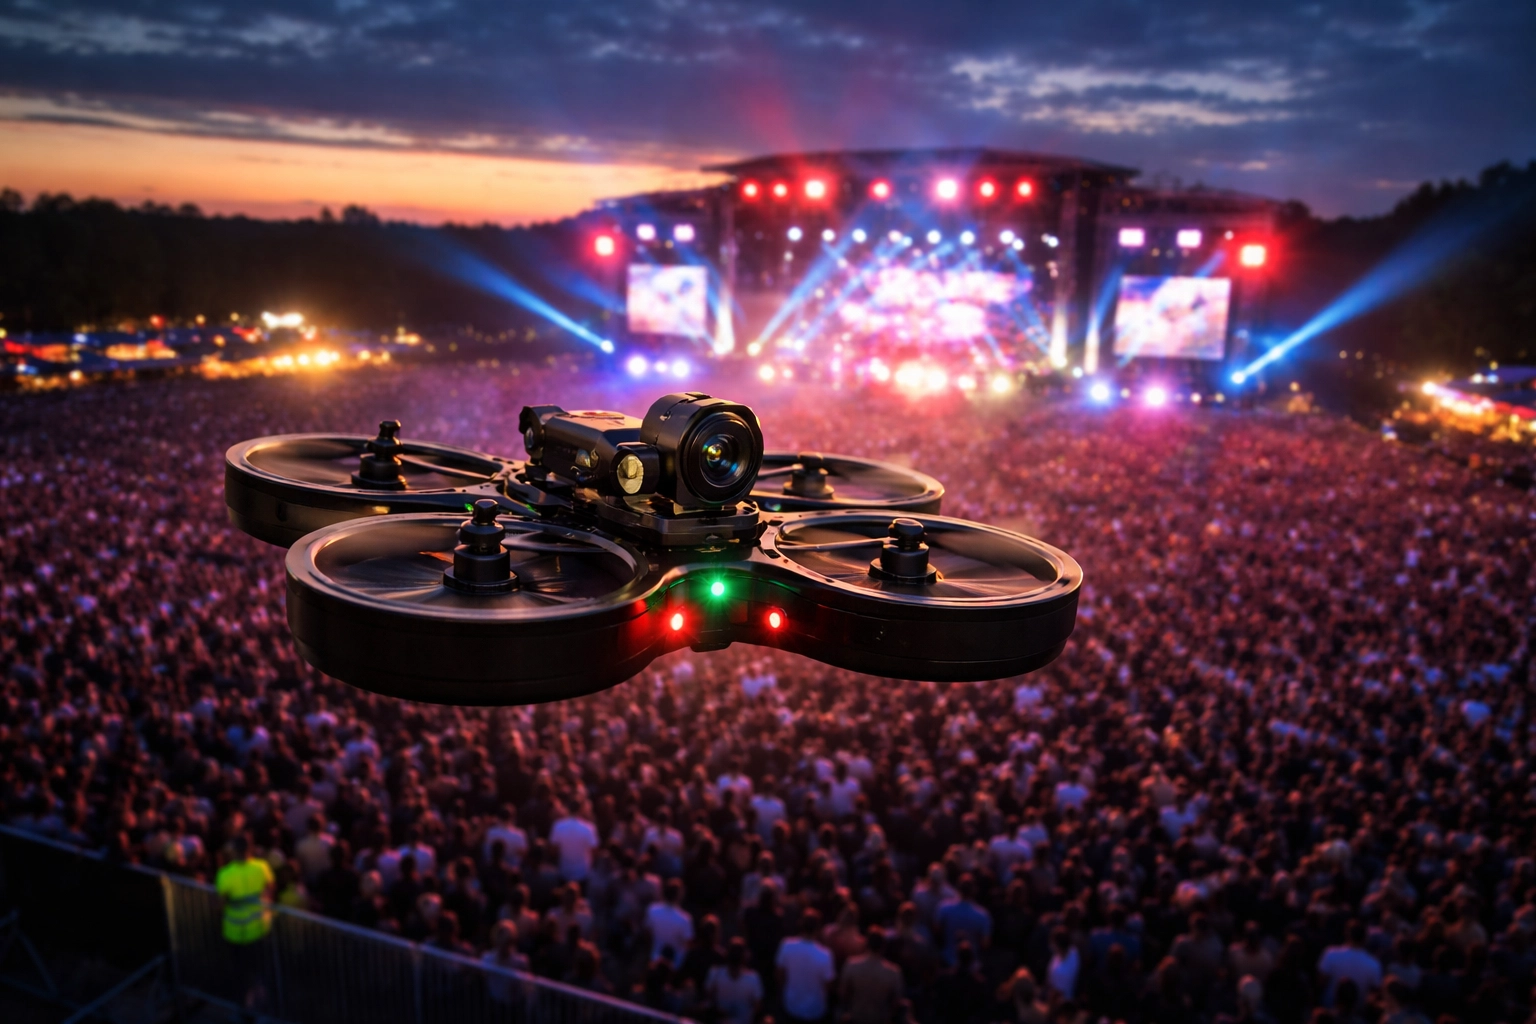
Cinewhoop drone hovering above a crowded outdoor festival, emphasizing reliable RF link in dense environments.

As the debate on ELRS vs Crossfire 2026 continues, pilots must assess their unique needs.

The Professional’s Perspective

Here’s the truth that transcends any protocol debate: your link is only as reliable as your overall system.

Antenna placement, receiver positioning, proper failsafe configuration, and regular equipment checks matter just as much as which protocol you choose. We’ve seen Crossfire setups fail due to poor antenna orientation, and we’ve seen ELRS rigs perform flawlessly in demanding conditions because they were built and configured properly.

Ultimately, the ELRS vs Crossfire 2026 decision comes down to personal preference and requirements.

If you’re struggling with link reliability or want to optimize your current setup, our Advanced Support Performance Tune & Troubleshoot package can help you dial everything in for maximum reliability.

And before any flight: regardless of your control link: make sure you’re running through proper pre-flight procedures. Check out our Pre-Flight Checklist and Safety Tips to ensure you’re starting every session on the right foot.

Looking Forward

The gap between ELRS and Crossfire has narrowed significantly in 2026, and that’s great news for pilots. Competition drives innovation, and both ecosystems continue to improve.

For TechInMotion360, we believe the future belongs to pilots who understand their tools deeply and choose based on their specific mission requirements: not forum hype or brand loyalty.

In the context of ELRS vs Crossfire 2026, knowledge is power.

Whether you’re Team Crossfire or Team ELRS, what matters most is that you fly with confidence, knowing your link will hold when it counts.

The sky’s waiting. Choose your link wisely, configure it properly, and go create something incredible.

With the ongoing evolution of ELRS vs Crossfire 2026, staying educated is vital.


Have questions about optimizing your control link setup? Reach out to our team at TechInMotion360.org for personalized guidance.

Explore the options in the ELRS vs Crossfire 2026 realm to find your ideal setup.

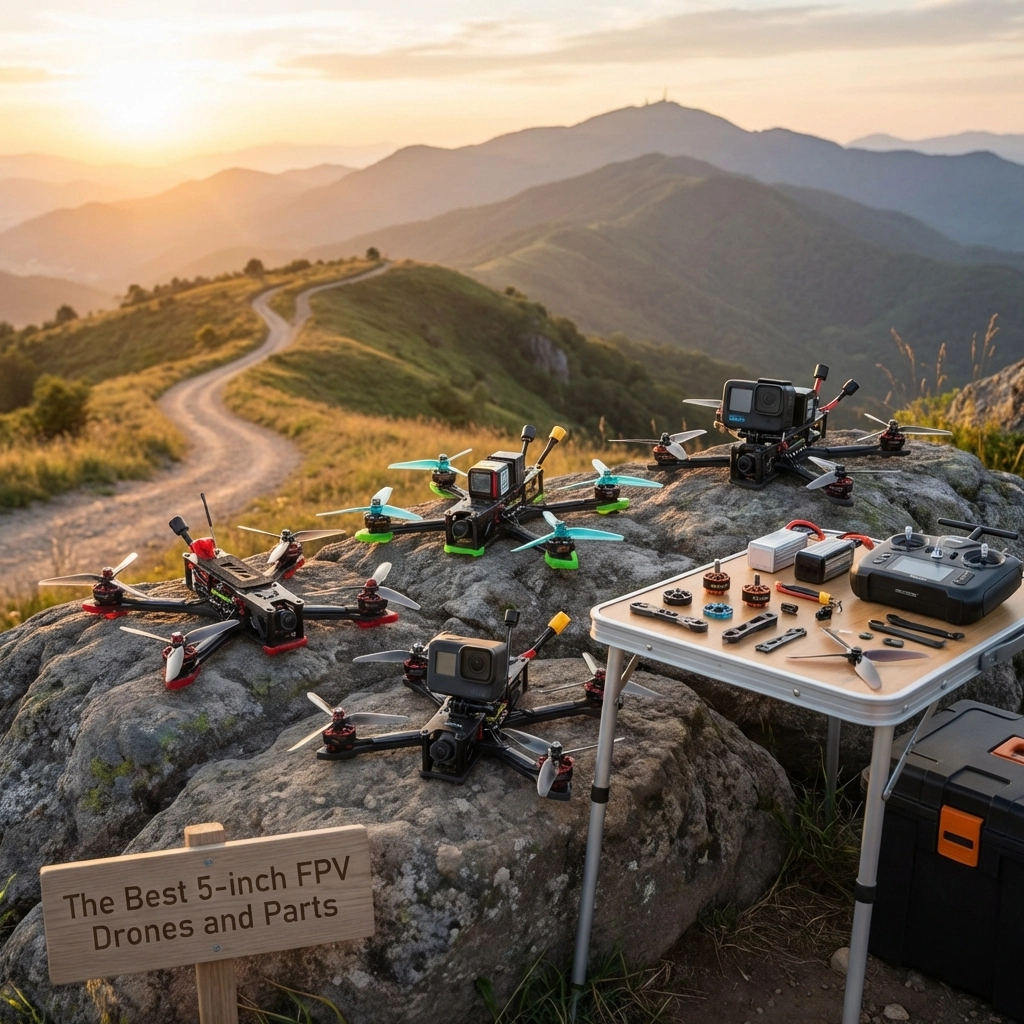
The Best 5-inch FPV Drones and Parts


Best 5-inch FPV drones and parts

If you’re diving into the world of FPV drones, you’ve probably noticed that 5-inch quads dominate the scene. There’s a good reason for that: they hit the perfect balance between power, agility, and versatility.

When considering the best 5-inch FPV drones and parts, understanding their unique characteristics is essential.

Five-inch drones are large enough to carry quality cameras and punch through wind, yet nimble enough for tight freestyle maneuvers and racing. They’re the jack-of-all-trades in the FPV world, which is exactly why most pilots: from beginners to pros: build or buy in this class.

The versatility of the best 5-inch FPV drones and parts makes them a favorite among enthusiasts.

Whether you’re chasing cinematic footage, ripping through bandos, or just learning the ropes, a 5-inch setup gives you room to grow without outgrowing your gear. In this guide, we’ll move from prebuilt BNF options into frames, FC/ESC stacks, motors, propellers, batteries, accessories (with GPS and beeper), FPV camera/VTX/antennas, and the tools and wires that tie it all together.

Additionally, the best 5-inch FPV drones and parts provide a solid foundation for customization and upgrades.

In this guide, we’ll explore the best 5-inch FPV drones and parts to help you make informed choices about the best 5-inch FPV drones and parts available in the market, ensuring you have all the necessary information to select the ideal setup for your needs, including the best 5-inch FPV drones and parts that suit various skill levels and preferences.

In our experience, the best 5-inch FPV drones and parts cater to a wide range of flying styles and preferences.


Prebuilt 5-inch FPV Drone (BNF)

The best 5-inch FPV drones and parts come with various options, making it easier to find what fits your needs.

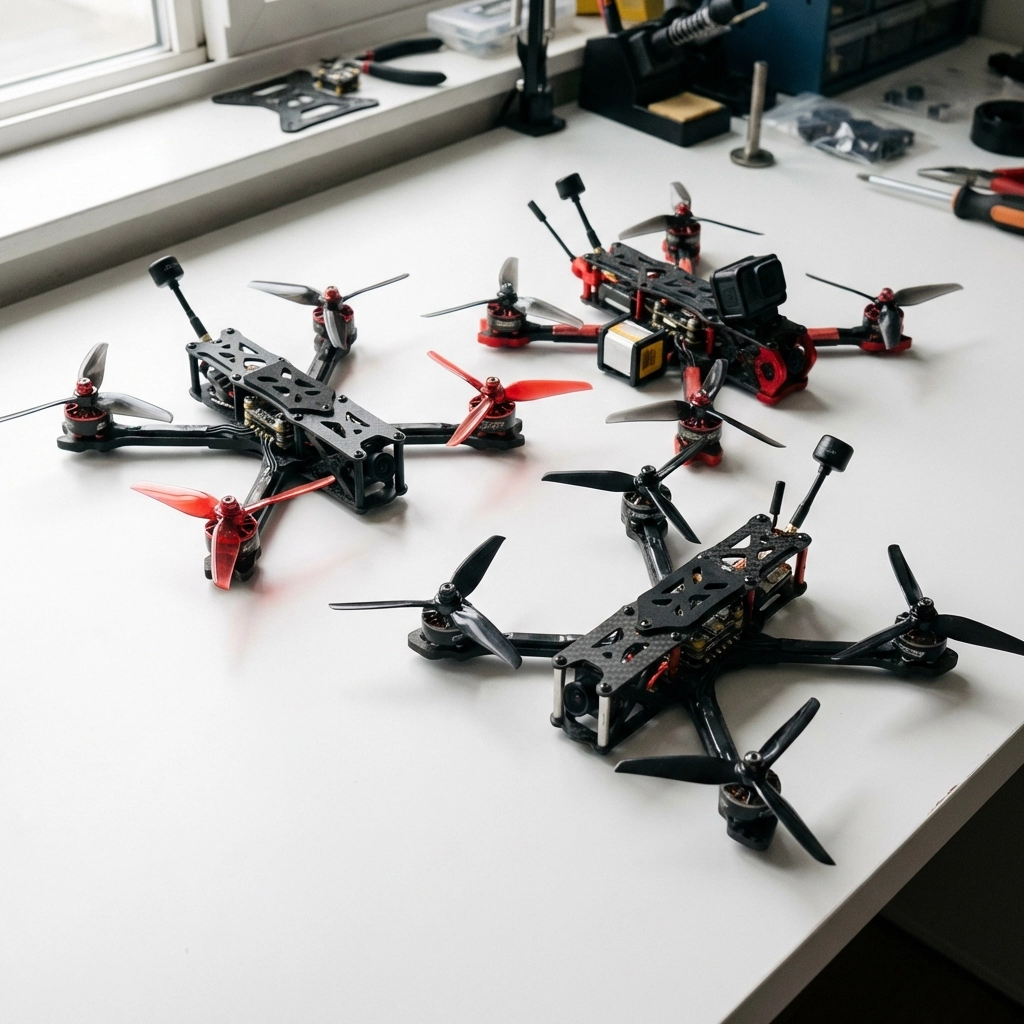
Not everyone wants to build from scratch: and that’s totally fine. Bind-N-Fly (BNF) drones come fully assembled and tested. You just bind them to your radio and goggles, and you’re in the air.

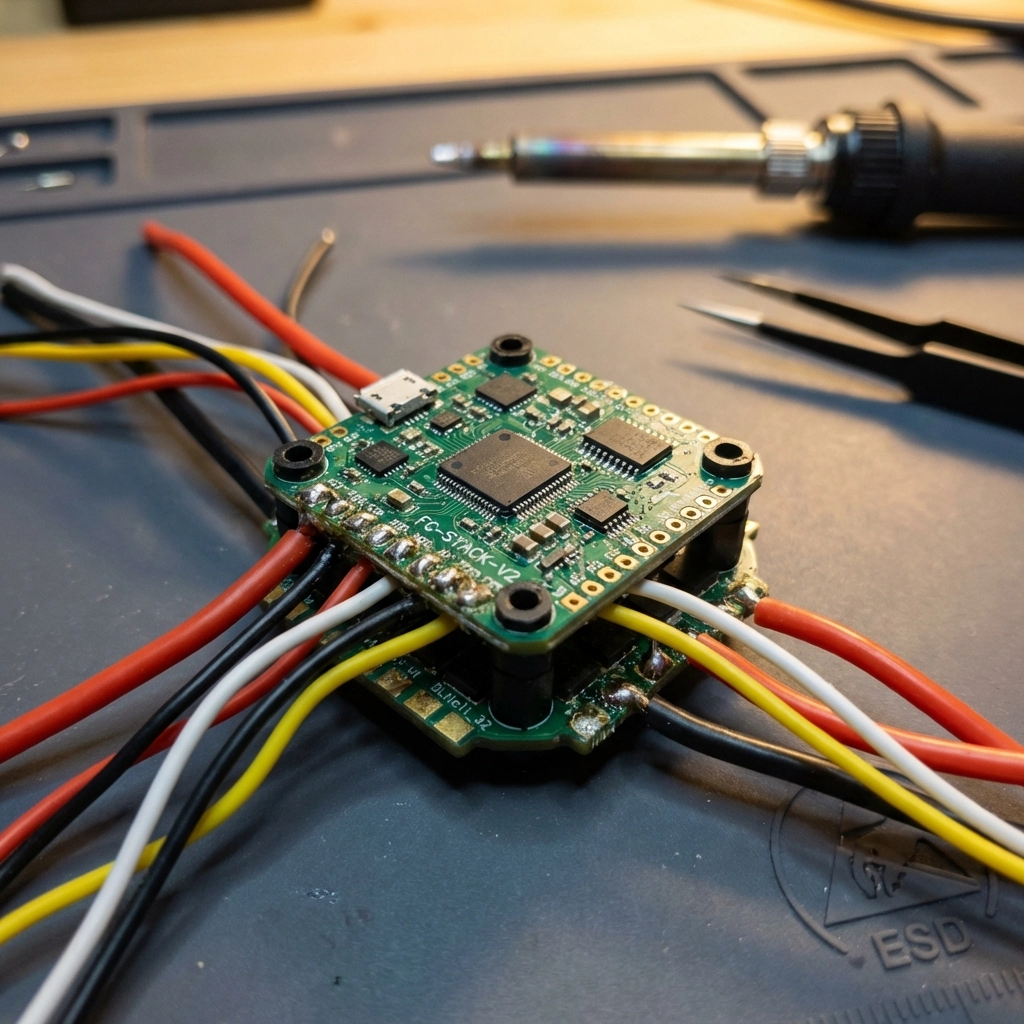
image_1

Choosing from the best 5-inch FPV drones and parts will enhance your flying experience significantly.

Premium Performance Picks

For pilots who want top-tier flight characteristics right out of the box, look for BNF options featuring robust ESCs, reliable flight controllers, and powerful motors. Many premium models now ship with DJI O3 or O4 digital systems, giving you crystal-clear video transmission from day one.

For those serious about FPV, investing in the best 5-inch FPV drones and parts is crucial.

These quads typically offer smooth, locked-in flight characteristics that inspire confidence whether you’re a beginner or seasoned ripper.

Budget-Friendly Options

If you’re just starting out or want a solid beater quad, there are excellent budget options featuring F7 processors and open frame designs for easy maintenance. These drones deliver responsive flight at a fraction of the premium price, making them ideal for learning without the financial stress of crashing expensive gear.

With so many choices in the best 5-inch FPV drones and parts, it’s beneficial to do thorough research.

Analog vs Digital

Quick note: analog BNF models often provide better value since you avoid “prop in view” issues that sometimes plague digital camera placements. However, if you’re committed to digital long-term, starting with a digital BNF can save you upgrade costs later.


Frame

The right frame is vital when selecting the best 5-inch FPV drones and parts for your build.

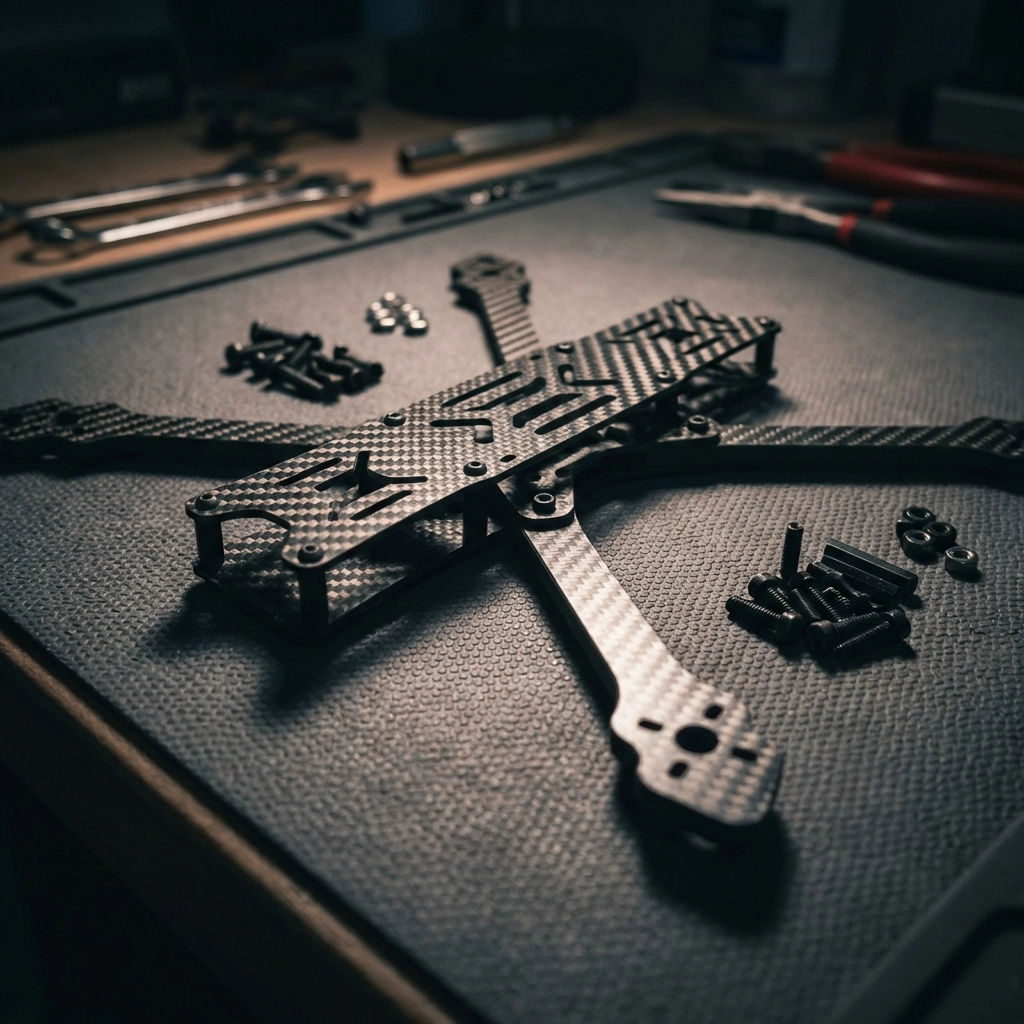
Your frame is literally what holds everything together. For 5-inch builds, you want carbon fiber construction that’s durable without adding unnecessary weight.

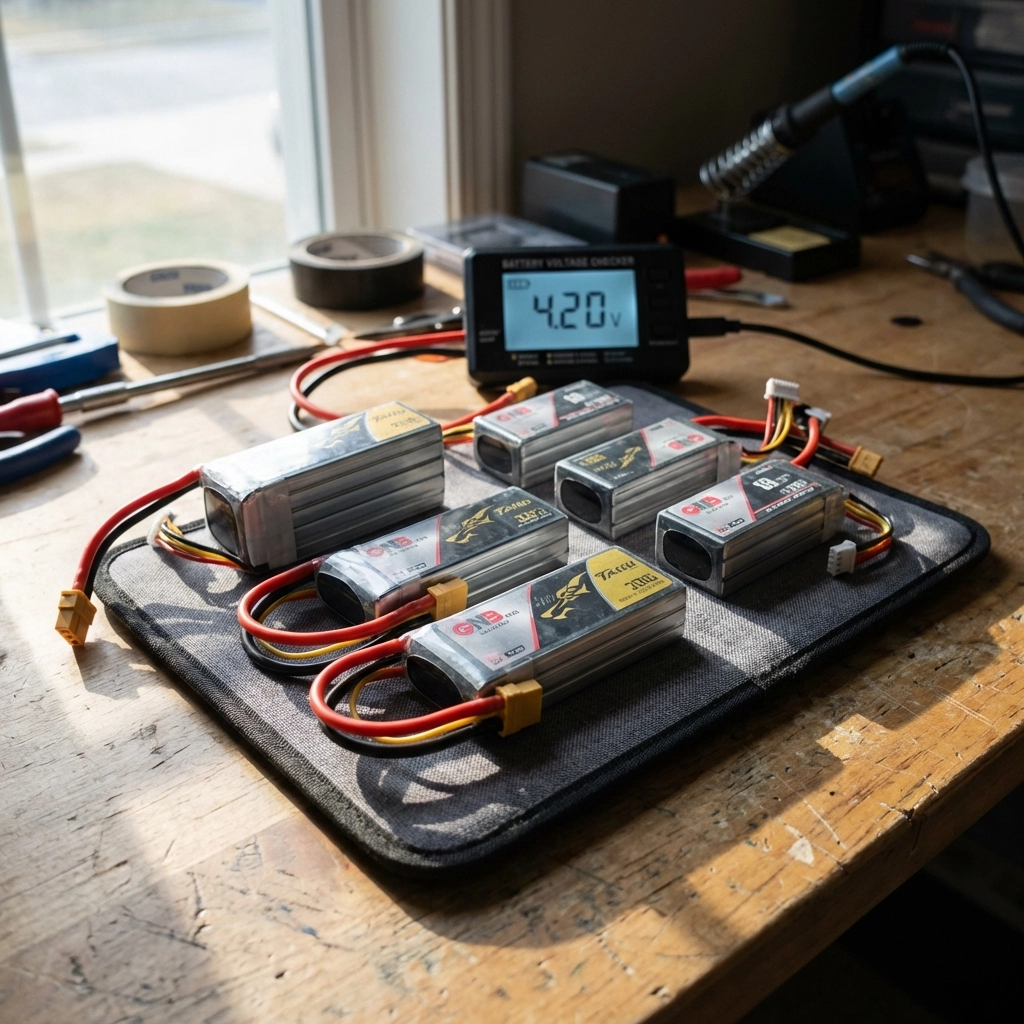
image_2

What to Look For

  • Carbon thickness: 4mm-5mm arms are standard for freestyle; thinner arms save weight but sacrifice durability
  • Mounting patterns: Ensure compatibility with your chosen stack and VTX
  • Wire management: Look for thoughtful routing channels and mounting options
  • Repairability: Can you replace individual arms, or do you need a whole new frame after a crash?

Popular Frame Styles

Finding the best 5-inch FPV drones and parts often involves experimenting with different styles.

True-X frames offer balanced flight characteristics and are forgiving for beginners. Stretched-X frames push the rear motors back for better camera angles and slightly different handling. Deadcat frames keep props out of your camera view entirely.

Pick a frame that matches your flying style and accommodates your preferred video system: especially if you’re running DJI units that need specific mounting configurations.


FC and ESC

The flight controller (FC) is your drone’s brain, while the electronic speed controller (ESC) manages motor power. Most builders opt for “stacks”: FC and ESC boards designed to mount together.

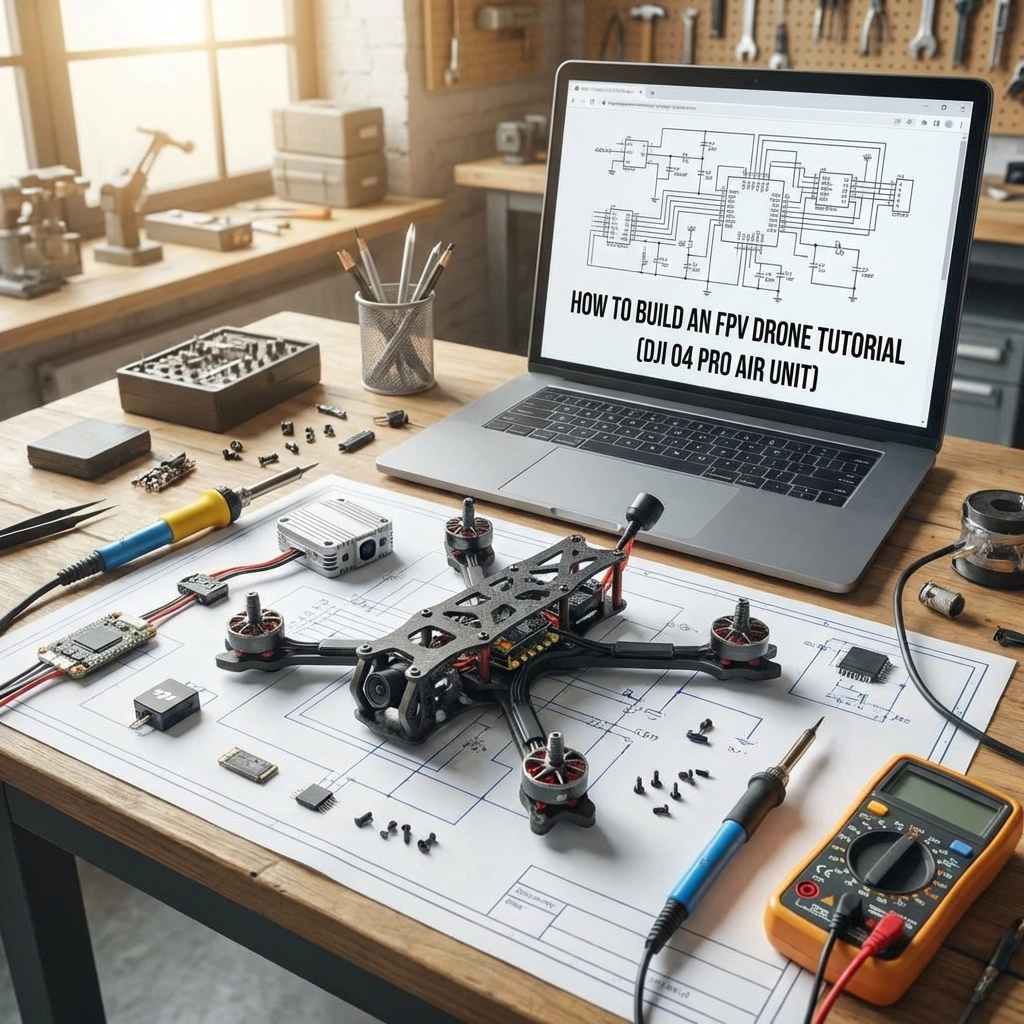
image_3

Flight Controller Considerations

  • Processor: F4 processors are budget-friendly; F7 and H7 offer faster processing and more features
  • Gyro quality: Better gyros mean smoother flight and easier tuning
  • Connectivity: Ensure compatibility with your radio protocol and GPS if desired
  • Betaflight support: Most modern FCs run Betaflight firmware: check for current compatibility

ESC Considerations

To ensure optimal performance, consider the best 5-inch FPV drones and parts available today.

  • Amperage rating: 45A-55A continuous is standard for 5-inch builds
  • BLHeli_32 or AM32 firmware: Enables advanced features like bidirectional DShot
  • Quality MOSFETs: Cheap ESCs with weak components are the #1 cause of mid-flight failures

Investing in a quality stack saves headaches. The budget options that combine FC and ESC at competitive prices while maintaining solid build quality are worth considering for most builds.


Motors

The motor choice is critical in the best 5-inch FPV drones and parts for your specific needs.

Motors determine your drone’s power, efficiency, and flight feel. For 5-inch quads, you’re typically looking at 2306 or 2207 motor sizes.

KV Ratings Explained

  • 1700-1800KV: Best for 6S batteries; smoother power delivery, longer flight times
  • 2400-2550KV: Best for 4S batteries; snappier response, more affordable batteries

Most pilots are moving toward 6S setups for the efficiency gains and smoother throttle feel, but 4S remains popular for beginners due to lower battery costs.

What Makes a Good Motor

Look for quality bearings, strong magnets, and proven reliability. Motors take serious abuse in crashes, so repairability matters too. Some brands offer replacement bells and shafts, which can save you from buying entirely new motors after a bad hit.


Propellers

Props are your connection to the air: and they’re consumables. You’ll break a lot of them, so buy in bulk.

When purchasing, prioritize the best 5-inch FPV drones and parts for longevity and performance.

Prop Styles by Use Case

  • Racing props: Aggressive pitch, lighter weight, maximum speed
  • Freestyle props: Balanced design, good grip, responsive feel
  • Cinematic props: Lower pitch, quieter, smoother footage

For 5-inch builds, you’re looking at props in the 5.1″ to 5.3″ range with varying blade counts (bi-blade for efficiency, tri-blade for grip). Start with tri-blade props: they’re forgiving and versatile.


Batteries

Your battery choice dramatically affects flight time, power delivery, and overall weight.

image_4

LiPo vs LiHV

Standard LiPo batteries are the default choice. LiHV (high-voltage) packs charge to 4.35V per cell instead of 4.2V, offering slightly more capacity but potentially shorter lifespan if not handled properly.

Capacity and C-Rating

  • 1300-1500mAh: Standard for freestyle and racing; good balance of weight and flight time
  • 1800-2200mAh: Extended flight times for cinematic work; heavier

C-rating indicates discharge capability. Higher quality packs maintain voltage better under load, giving you consistent power throughout your flight instead of sagging during hard maneuvers.

Invest in quality batteries: cheap packs with poor energy density and high voltage sag will make even the best drone feel sluggish.


Accessories

Lastly, accessories can complement the best 5-inch FPV drones and parts for a complete setup.

GPS

For Return-to-Home functionality and finding crashed quads.

Beeper

Absolutely essential for locating your drone after crashes.

  • Action camera mount: If you’re shooting with a GoPro or similar

FPV Camera, VTX, Antennas

Your FPV system is how you see the world from your drone’s perspective.

Digital vs Analog

Digital systems (DJI, Walksnail, HDZero) offer dramatically better image quality and range. Analog is cheaper, has lower latency, and remains popular for racing. For most new pilots, digital is worth the investment.

Antennas Matter

Don’t overlook antenna choice. Quality antennas with proper polarization (RHCP or LHCP: just match your goggles and VTX) significantly improve range and signal penetration.


Tools and Wires

  • Hex drivers (1.5mm, 2mm, 2.5mm)
  • Soldering iron with fine tip
  • Quality solder and flux
  • Wire strippers
  • Heat shrink tubing
  • Zip ties and electrical tape
  • Multimeter for testing

Need Help With Your Build?

Building your first 5-inch FPV drone can feel overwhelming, but you don’t have to figure it out alone. TechInMotion360 offers FPV Drone Support Packages to help you through every step: from selecting compatible parts to troubleshooting your Betaflight configuration.

Whether you need help with performance tuning, power system upgrades, or basic maintenance and repair, we’ve got your back.

The 5-inch class is where FPV magic happens. Pick your parts wisely, build with patience, and get ready to experience flight like never before. 🚀

How to Build an FPV Drone Tutorial (DJI O4 Pro Air Unit)

Building your own FPV drone is one of the most rewarding experiences in the hobby. When you combine a custom build with the DJI O4 Pro Air Unit, you get crystal-clear digital video transmission with the performance of a purpose-built racing or freestyle quad. This tutorial walks you through every step: from selecting parts to your first flight. Follow this guide on how to build an FPV drone with DJI O4 Pro Air Unit. Additionally, understanding how to build an FPV drone with DJI O4 Pro Air Unit will enhance your skills in the hobby.


Table of Contents


Can Beginners Build FPV Drones?

Absolutely. If you can follow instructions, handle a soldering iron, and exercise patience, you can build an FPV drone. The key is starting with quality components and taking your time. Many pilots assume building requires electrical engineering knowledge: it doesn’t. What it requires is attention to detail and a willingness to learn.

That said, mistakes happen. Wires get crossed, motors spin the wrong direction, and configurations get scrambled. If you ever feel stuck, TechInMotion360’s troubleshooting support packages can help you diagnose and fix issues remotely.


Mastering the Basics

Before diving into the build, understand what each component does:

  • Frame: The skeleton holding everything together
  • Flight Controller (FC): The brain processing inputs and stabilizing flight
  • Electronic Speed Controller (ESC): Regulates power to each motor
  • Motors: Generate thrust via propellers
  • FPV System: Camera and video transmitter for real-time video
  • Radio Receiver: Receives commands from your transmitter

Once you understand how these parts interact, the build process makes much more sense.

image_1


Parts List

Remember, learning how to build an FPV drone with DJI O4 Pro Air Unit requires practice and patience, but the results are worth it.

Frame

For this build, we recommend a 5-inch freestyle or racing frame. Look for:

  • Material: Carbon fiber (3K or higher weave)
  • Arm thickness: 5mm minimum for durability
  • Stack mounting: 30.5×30.5mm standard pattern
  • Weight: Under 120g for the frame alone

Popular choices include the ImpulseRC Apex, TBS Source One, or Armattan frames with lifetime warranties.

FC and ESC

Your flight controller and ESC can come as separate components or an all-in-one (AIO) stack. For DJI O4 Pro builds, ensure your FC has:

  • F7 or H7 processor for smooth performance
  • DJI SBUS pad for O4 control integration
  • Betaflight compatibility
  • Current sensor for battery monitoring

For ESCs, a 4-in-1 unit rated at 45A-60A continuous handles most 5-inch builds comfortably.

Motors

Motor selection depends on your flying style:

Flying Style Motor Size KV Rating
Freestyle 2306-2407 1750-1950KV
Racing 2207-2306 2400-2750KV
Cinematic 2806-2812 1300-1500KV

Note: KV ratings should match your battery voltage. Higher KV = more RPM but less torque.

FPV Setup

The star of this build: the DJI O4 Pro Air Unit: delivers exceptional video quality with low latency. You’ll need:

The choice of the DJI O4 Pro Air Unit is crucial when learning how to build an FPV drone with DJI O4 Pro Air Unit, as it significantly impacts your flying experience.

  • DJI O4 Pro Air Unit
  • Compatible DJI Goggles (Goggles 3 or Integra)
  • DJI antenna kit
  • Camera mounting hardware

The O4 Pro integrates directly with Betaflight, making setup straightforward compared to earlier DJI systems.

Radio Receiver

Any ExpressLRS (ELRS) or TBS Crossfire receiver works great. ELRS has become the community standard for its range, low latency, and open-source development. Make sure your receiver matches your radio transmitter protocol.

Other Equipment

  • LiPo batteries: 6S 1100-1300mAh for racing, 1300-1550mAh for freestyle
  • Propellers: 5-inch tri-blade (51466 or 5143)
  • Battery straps: 20mm width with rubberized grip
  • Antenna mounts: 3D printed or TPU for protection

Tools and Supplies

Gather these before starting:

  • Soldering iron (60W minimum with fine tip)
  • Lead-free solder (60/40 or 63/37)
  • Flux pen
  • Heat shrink tubing (various sizes)
  • Hex drivers (1.5mm, 2mm, 2.5mm)
  • Wire strippers
  • Multimeter
  • Double-sided foam tape
  • Zip ties
  • Electrical tape

image_2


How to Build an FPV Drone with DJI O4 Pro Air Unit: Key Steps

In this article, we will explore how to build an FPV drone with DJI O4 Pro Air Unit in detail, ensuring you have a comprehensive understanding of the process.

Steps of Building FPV Drone

1. Frame Assembly

Start by laying out all frame pieces. Most frames include a bottom plate, top plate, arms, and standoffs. Loosely assemble everything first to understand the structure, then tighten in stages. Don’t fully torque screws until all components are positioned.

2. Installing Motors

Mount motors to each arm using the provided screws. Ensure screws aren’t too long: penetrating the motor windings destroys the motor. Apply thread locker to prevent vibration loosening. Motor wire orientation matters: route wires toward the center where they’ll connect to the ESC.

3. Wiring Diagrams

By following these wiring diagrams, you will understand how to build an FPV drone with DJI O4 Pro Air Unit effectively.

Before soldering anything, sketch your wiring diagram:

  • Battery lead → ESC power pads
  • ESC signal wires → FC motor outputs (M1-M4)
  • Receiver → FC SBUS/UART pad
  • DJI O4 Pro → FC designated DJI pads (TX/RX and power)

Reference your specific FC’s pinout diagram: they vary between manufacturers.

4. Installing ESC

Mount the ESC to the frame using standoffs or soft-mounting grommets. Solder motor wires to the ESC: each motor connects to its designated output. Triple-check polarity on power connections.

image_3

5. Testing ESC and Motors

Before proceeding further, test your ESC and motors:

  1. Connect battery (props OFF)
  2. Verify ESC powers up (LED indication)
  3. Use Betaflight motor tab to spin each motor individually
  4. Confirm correct rotation direction

If motors spin wrong, swap any two of the three motor wires or reverse direction in BLHeli configurator.

6. Receiver Setup

Mount your receiver away from power wires to reduce interference. Solder the receiver to the appropriate UART on your FC. Bind the receiver to your transmitter following the manufacturer’s binding procedure.

7. Installing DJI O4 Pro

The O4 Pro requires:

  • 9V-26V power (direct from battery or regulated)
  • UART connection for Betaflight MSP
  • Secure mounting to prevent vibration damage

Route the antenna cables carefully: avoid sharp bends. Mount antennas at 90-degree angles to each other for optimal signal reception. The camera connects via ribbon cable to the air unit.

If you need help with video system installation, check out TechInMotion360’s Video Camera Systems upgrade package.

8. Finishing Off

With all electronics installed:

Final checks are essential in how to build an FPV drone with DJI O4 Pro Air Unit, ensuring everything is securely in place.

  • Secure loose wires with zip ties
  • Apply conformal coating to exposed solder joints
  • Install the top plate
  • Mount antennas in protective holders
  • Double-check all connections

image_4

9. Setting Up Betaflight

Connect your FC to Betaflight Configurator via USB:

  1. Ports tab: Enable MSP on the DJI UART, Serial RX on receiver UART
  2. Configuration tab: Set receiver mode (SBUS/CRSF), enable DJI OSD
  3. Receiver tab: Verify channel mapping and stick inputs
  4. Modes tab: Assign arm switch, flight modes, beeper
  5. OSD tab: Configure on-screen display elements

Save and reboot after each major change.

10. Tuning

Stock Betaflight PIDs fly most builds reasonably well. For optimization:

If you face any challenges, remember that learning how to build an FPV drone with DJI O4 Pro Air Unit is a journey, and support is available.

  • Start with Betaflight’s recommended presets for your frame size
  • Use the slider-based tuning for safe adjustments
  • Enable RPM filtering if your ESC supports bidirectional DShot
  • Adjust rates to match your flying style

For advanced performance tuning, TechInMotion360’s Performance Tune & Troubleshoot package offers expert remote assistance.


Learning How to Fly

Practicing the skills you gained from how to build an FPV drone with DJI O4 Pro Air Unit will lead to greater confidence in flying.

Your drone is built: now comes the real challenge. Recommendations for new pilots:

  1. Start in a simulator: Velocidrone, Liftoff, or DRL Simulator build muscle memory risk-free
  2. Find open spaces: Large fields away from people and obstacles
  3. Begin in Angle mode: Self-leveling helps while learning throttle control
  4. Progress to Acro mode: This is true FPV flying: full manual control
  5. Join a community: Local flying groups accelerate learning dramatically

Building your own FPV drone with the DJI O4 Pro creates a machine perfectly tailored to your preferences. When something breaks (and it will), you’ll know exactly how to fix it. That knowledge transforms you from a pilot into a true FPV enthusiast.

Now that you know how to build an FPV drone with DJI O4 Pro Air Unit, you can truly enjoy the freedom of flight.

Need ongoing support as you progress? Consider TechInMotion360’s Annual Remote Support Plan for year-round expert guidance.

Happy building: and happy flying! 🚁

FPV Racing Drones vs DJI FPV: Which One Actually Wins for Speed and Control?

Let’s cut right to it. You’re here because you want to go fast. Really fast. And you’re wondering whether to grab a DJI FPV off the shelf or dive into the world of custom-built FPV racing drones with support from a team that actually knows what they’re doing.

I’m going to break down exactly what you’re getting with each option, the real performance differences, the control you’ll have, the customization possibilities, and ultimately, the value for your money. By the end, you’ll know exactly which path makes sense for your goals.

The DJI FPV: A Solid Entry Point with Clear Limitations

DJI changed the game when they released the DJI FPV. For the first time, someone could unbox a drone, strap on goggles, and experience immersive first-person flight without spending weeks learning to solder and configure. That’s genuinely impressive.

The DJI FPV’s manufacturer-claimed maximum is approximately 87 mph (140 kph) in Manual (M) mode, and it offers three flight modes that gradually introduce pilots to more aggressive flying (source: DJI FPV User Manual, EN PDF). The goggles are crisp, the transmission is reliable, and the whole package just works out of the box.

But here’s where things get interesting for anyone serious about FPV racing or professional cinematic work.

image_1

DJI FPV Trade-offs for Advanced Users

Speed ceiling exists. At a manufacturer-claimed ~87 mph in M mode, you’re fast, but many optimized 5-inch racing builds have been tested around or above ~100 mph in favorable conditions (examples: DJI FPV User Manual, Oscar Liang, SpeedyBee Mario 5 review). In competitive racing, that difference can matter.

Tuning flexibility is narrower. DJI’s flight controller is tuned for broad usability. You don’t get the same depth of access to PID tuning, custom rates, filtering, and firmware options that open racing stacks provide.

Repair costs can be higher. Crash a DJI FPV and you’ll typically source proprietary parts. The arms aren’t designed for quick swaps, so a hard crash may mean ordering OEM components and waiting on shipping or service.

Customization is limited within the OEM ecosystem. Swapping motors, frames, or non-DJI camera systems isn’t supported the way it is on open, modular racing platforms.

Custom FPV Racing Builds: Where Serious Pilots Live

Here’s the truth that experienced FPV pilots know: the real performance, the real control, and the real value comes from custom-built racing drones tailored to exactly how you fly.

When you build or upgrade a custom FPV rig, every single component serves your specific needs. Racing gates in tight indoor courses? You configure for that. Chasing cars through desert terrain? Different setup entirely. Cinematic real estate work that demands smooth, controlled movements? That’s another configuration altogether.

This is where TechInMotion360’s performance upgrade packages become game-changers for pilots who want to level up without the guesswork.

image_2

The Speed Advantage

Custom racing quads built with quality components can exceed ~100 mph in optimized builds and favorable conditions; some dedicated setups reach higher speeds (see examples: Oscar Liang, SpeedyBee Mario 5 review). The difference often comes down to:

  • Motor selection: You choose KV ratings optimized for your battery voltage and prop size
  • Frame weight: Carbon fiber frames purpose-built for racing shed unnecessary grams
  • Power systems: Custom power system upgrades let you run configurations that maximize thrust-to-weight ratios

When milliseconds separate winners from everyone else, these details matter enormously.

The Control Advantage

This is where custom builds tend to stand out for advanced users.

With a custom setup, you’re tuning your flight controller to match your exact preferences. Betaflight, KISS, or other firmware options give you granular control over:

  • PID values for different flight characteristics
  • Rate curves that match your stick movements
  • Filters optimized for your specific motor and prop combination
  • Failsafe behaviors tailored to your flying environment

DJI provides three modes; open racing stacks offer much deeper adjustability.

For pilots struggling with configuration, TechInMotion360’s advanced performance tune and troubleshooting support walks you through optimizing your setup for peak performance.

Real-World Performance Comparison

Feature DJI FPV Custom Racing Build
Top Speed ~87 mph ~100+ mph (build-dependent)
Flight Controller Tuning Limited presets Widely customizable
Camera Options Fixed DJI camera (OEM) Many compatible FPV cameras
Repair Time Days to weeks (service/parts availability) Often minutes with spare parts
Upgrade Path Limited within OEM ecosystem Extensive (component-level)
Racing League Eligible Some classes Most classes (varies by rules)
Long-term Cost Typically higher (proprietary parts) Typically lower (standard components)

Footnote: Specifications are approximate; DJI figures reflect manufacturer-claimed data for DJI FPV in Manual (M) mode under ideal conditions. Custom build performance varies by configuration, tune, weight, battery, props, and environment.

image_3

The Value Equation Most People Miss

Here’s something that surprises newer pilots: custom builds often cost less over time.

Yes, the initial learning curve is steeper. Yes, you’ll spend time understanding components and configurations. But consider this:

Crash a DJI FPV arm: You’re ordering proprietary parts, waiting for shipping, and potentially sending the whole unit in for repair. Cost? Often approximately $200-400+ (estimate; varies by damage, parts, labor, taxes, and shipping).

Crash a custom racing quad arm: You grab an approximately $15 replacement arm from your parts bin, swap it in about 10 minutes, and you’re back in the air.

Multiply that across a year of aggressive flying and the math gets obvious real fast.

For pilots who want professional support maintaining their custom rigs, TechInMotion360’s basic maintenance and repair services keep you flying without the frustration of diagnosing problems alone.

Who Should Choose DJI FPV?

Let’s be fair here. DJI FPV makes sense for specific situations:

  • Complete beginners who want immediate gratification without learning curve
  • Casual flyers who won’t push performance limits
  • Content creators who prioritize convenience over maximum performance
  • Pilots who genuinely don’t want to learn the technical side

There’s no shame in wanting something that just works. DJI delivers that experience reliably.

Who Should Choose Custom FPV Builds?

Custom builds supported by expert services like TechInMotion360 make sense when:

  • Speed matters and you want every possible advantage
  • Racing competitively in leagues that allow (or require) custom builds
  • Professional work demands specific performance characteristics
  • Long-term investment matters more than immediate convenience
  • Learning the craft appeals to you as part of the journey

If you’re nodding along to these points, you already know which direction you’re headed.

image_4

Getting Started with Custom FPV Racing

The biggest barrier to custom builds has always been knowledge and support. Building your first quad can feel overwhelming when you’re staring at component lists and wiring diagrams.

This is exactly why having expert support matters so much.

TechInMotion360’s annual remote support plan gives you year-round access to experienced pilots who can guide you through builds, troubleshoot problems, and help you optimize performance. It’s like having a mentor on speed dial.

For specific upgrades, their control and range enhancement packages and video camera system upgrades let you level up individual components without replacing your entire setup.

The Bottom Line

DJI FPV is a capable machine that opened FPV flying to millions of new pilots. That’s worth celebrating.

But if you prioritize speed, tuning control, customization, and repairability, well-built custom FPV rigs often provide meaningful advantages for advanced users (based on typical configurations and use cases).

The choice comes down to your goals. If FPV is something you’ll do occasionally on weekends and convenience ranks highest, DJI can be a great fit. If you’re chasing podiums, building a career, or want deeper control over your rig, a custom path may be the better long-term fit.

Ready to build something that actually matches your ambitions? Explore TechInMotion360’s full range of FPV support services and start flying the way you were meant to fly.

Performance disclaimer: All performance figures (e.g., speed, repair time) are estimates based on manufacturer claims, documented examples, typical builds, and controlled test conditions. Actual results vary with configuration, weight, tuning, battery health, prop selection, environment, and pilot skill.

Educational purpose disclaimer: This article is for educational and informational purposes only. TechInMotion360.org is not affiliated with or endorsed by DJI. Always follow local laws, regulations, and safe operating practices.

Aerial Real Estate Marketing: Why FPV Fly-Throughs Will Change the Way You Sell Properties

The real estate industry stands at a pivotal moment. While traditional marketing methods still dominate, a revolutionary technology is quietly transforming how properties are presented, experienced, and ultimately sold. First-Person View (FPV) fly-through technology isn’t just another marketing tool: it’s reshaping the fundamental psychology of how buyers connect with properties before they ever step foot inside.

The Psychology Behind Immersive Property Experiences

Traditional real estate photography captures moments, but FPV fly-throughs capture journeys. When potential buyers watch an FPV tour, their brains process the experience differently than static images or even conventional videos. The continuous, flowing motion through spaces triggers what psychologists call “spatial presence”: the feeling of actually being there.

This psychological phenomenon can significantly impact buyer behavior. Industry data suggests that properties listed with aerial imagery may be nearly 70% more likely to sell than those without¹, demonstrating the substantial impact immersive visual technology may have on sales outcomes. The key difference lies in how FPV tours engage multiple sensory processing centers in the brain, creating stronger emotional connections to the property.

Unlike traditional virtual tours that feel like clicking through a slideshow, FPV fly-throughs provide smooth, continuous motion through rooms and hallways with dynamic perspectives that conventional tours simply cannot match. Buyers can virtually explore the property as if physically present, potentially gaining a better sense of the layout, size, and overall ambiance of interior spaces.

image_1

Strategic Use Cases That Transform Property Presentation

Luxury Properties: Showcasing Grandeur in Motion

Luxury real estate presents unique marketing challenges. How do you convey the true scale and elegance of a 10,000-square-foot estate through still photos? FPV fly-throughs excel at capturing the grandeur and flow of high-end properties. The continuous motion can showcase sweeping staircases, expansive great rooms, and seamless indoor-outdoor transitions in ways that traditional photography simply cannot achieve.

For luxury listings, FPV tours may help potential buyers understand the property’s lifestyle proposition rather than just its features. The smooth flight path can guide viewers through carefully curated experiences: from the grand foyer entrance, through entertaining spaces, to private retreats, creating a narrative that resonates with affluent buyers’ aspirations.

Unique Layouts: Solving the Floor Plan Puzzle

Some properties defy traditional photography. Think converted warehouses, split-level homes, or properties with unusual architectural features. These spaces often confuse potential buyers when represented through static images, leading to fewer showings and longer market times.

FPV fly-throughs can transform these challenging properties into compelling showcases. The ability to navigate through complex layouts in real-time helps buyers understand spatial relationships that might otherwise seem confusing or cramped in photographs. This technology can turn a property’s unique layout from a potential liability into a distinctive selling point.

image_2

Commercial Spaces: Bringing Business Visions to Life

Commercial real estate faces distinct presentation challenges. Business owners and investors need to visualize workflow, customer traffic patterns, and operational efficiency: concepts difficult to convey through traditional marketing materials.

FPV technology’s compact size may enable effortless navigation through doorways and tight spaces to capture stunning interior footage. High-definition cameras can potentially deliver crisp and vibrant footage ideal for promotional videos, making them equally valuable for commercial properties and retail spaces. Potential tenants can visualize their business operations within the space, while investors can better understand the property’s income-generating potential.

Business Transformation for Real Estate Teams

Reducing Barriers and Accelerating Sales Cycles

The traditional real estate sales process often involves multiple property visits, lengthy decision-making periods, and significant time investments from both agents and buyers. FPV fly-throughs may fundamentally alter this dynamic by providing comprehensive property previews that can reduce unnecessary visits and potentially speed up decision-making.

Industry reports suggest that listings with aerial footage may receive more clicks and inquiries compared to those with only ground-level photos², directly potentially translating to faster sales cycles. One notable example demonstrates the potential power of this technology: a realtor in Chicago was reportedly able to sell a $600K home sight-unseen, thanks to a drone tour³.

For long-distance or busy buyers, FPV tours can provide comprehensive previews that may reduce unnecessary visits and potentially speed up decision-making. This capability may be particularly valuable in competitive markets where time efficiency matters significantly.

Competitive Differentiation in Saturated Markets

Real estate markets across the country continue to evolve, with agents seeking ways to distinguish their services and listings. As drone technology becomes more accessible, realtors offering FPV fly-throughs may gain a potential marketing edge.

In competitive real estate markets, it can be crucial to differentiate listings from others. Incorporating FPV drone footage may help set listings apart, potentially capturing the attention of buyers and making properties more memorable. This can demonstrate innovation and commitment to comprehensive property representation.

image_3

How FPV Changes the Property Presentation Game

Beyond Static Aerials: Dynamic Storytelling

Traditional aerial photography provides beautiful overhead shots and property context, but FPV technology transcends these limitations. Instead of showing what a property looks like from above, FPV fly-throughs can tell the story of what it feels like to live there.

The technology enables real estate professionals to create narrative-driven experiences. A typical FPV tour might begin with an establishing shot of the neighborhood, flow seamlessly into the front entrance, guide viewers through key living spaces, and conclude with outdoor entertaining areas or scenic views. This storytelling approach can create emotional connections that may drive faster purchase decisions.

Multi-Platform Marketing Versatility

FPV footage offers exceptional versatility for modern marketing channels. The same tour can be optimized for different platforms and audiences. Short teaser clips can potentially be created for Instagram Reels, TikTok, Facebook, and YouTube Shorts: platforms that often reward engaging video content with higher visibility.

Full-length tours can serve as centerpiece content for listing websites and email marketing campaigns, while edited highlights might work perfectly for social media advertising. This multi-platform approach can potentially maximize the return on investment for each piece of FPV content created.

For comprehensive FPV videography services and real estate marketing packages, TechInMotion360.org offers professional solutions tailored to modern real estate marketing needs.

Community and Lifestyle Integration

FPV drones can potentially capture stunning aerial views of surrounding communities, highlighting amenities, parks, and local hotspots. This capability may help potential buyers envision their future lifestyle beyond just the property itself. The technology can showcase proximity to schools, shopping centers, recreational facilities, and transportation hubs in visually compelling ways.

This broader perspective can be particularly valuable for relocation buyers who may be unfamiliar with the area. Instead of relying on written descriptions or separate research, potential buyers can experience the complete neighborhood context through immersive visual storytelling.

image_4

The Future of Real Estate Marketing

Evolving Buyer Expectations

Today’s property buyers, particularly millennials and Gen Z, have grown up with immersive digital experiences. They expect sophisticated, engaging content that goes beyond basic photography. FPV fly-throughs may help meet these evolving expectations while positioning real estate professionals as forward-thinking and technologically sophisticated.

Industry data indicates that approximately 97% of buyers may start their property search online⁴, making compelling digital presentation increasingly critical. FPV technology can help properties stand out in crowded online marketplaces where buyers may scroll through dozens of listings in minutes.

Integration with Emerging Technologies

FPV fly-throughs may serve as a foundation for future real estate marketing innovations. As virtual reality (VR) and augmented reality (AR) technologies continue to develop, FPV footage could potentially be integrated into more sophisticated immersive experiences.

The detailed spatial data captured during FPV flights might eventually support virtual staging, architectural visualization, and interactive property exploration tools. Real estate professionals who adopt FPV technology now may be better positioned to leverage these emerging capabilities as they become mainstream.

Implementation Strategies for Real Estate Professionals

Successful FPV implementation requires strategic thinking beyond simply hiring a drone operator. The most effective real estate teams may integrate FPV fly-throughs into comprehensive marketing strategies that include professional staging, strategic timing, and multi-channel distribution.

For properties with unique selling points: whether architectural features, scenic locations, or distinctive layouts: FPV technology can help communicate these advantages more effectively than traditional methods. The investment in professional FPV services may potentially yield returns through faster sales, higher selling prices, and enhanced agent reputation.

TechInMotion360.org’s FPV drone support packages provide real estate professionals with the tools and expertise needed to successfully integrate this technology into their marketing strategies.


Disclaimer: Statistics presented are industry averages and individual results may vary. Property sales outcomes depend on multiple factors including location, pricing, market conditions, and marketing strategies. Results are not guaranteed.

Sources:

  1. National Association of Realtors Industry Reports, 2024
  2. Real Estate Marketing Technology Studies, 2024
  3. Chicago Real Estate Board Case Studies, 2024
  4. Digital Real Estate Marketing Research, National Association of Realtors, 2024

Construction & Infrastructure: Why Drone Site Surveys Are Replacing Traditional Methods

The construction and infrastructure industry is experiencing a technological revolution that’s fundamentally changing how we approach site surveys, progress monitoring, and project management. Traditional surveying methods that have dominated the field for decades are rapidly being replaced by drone technology that delivers superior results in a fraction of the time.

This transformation isn’t just about keeping up with the latest tech trends: it’s about survival in an increasingly competitive market where efficiency, accuracy, and safety can make or break a project’s success. Construction companies that continue relying solely on traditional surveying methods are finding themselves at a significant disadvantage.

The Speed Revolution: From Weeks to Hours

The most dramatic advantage of drone site surveys is the incredible time savings they provide. Traditional surveys that previously required extensive manual labor and equipment deployment over days or weeks can now be accomplished in just hours.

Here’s what this looks like in practice: A conventional topographic survey of a 100-acre construction site might require a team of 3-4 surveyors working for 2-3 weeks with expensive equipment. The same survey using drone technology can be completed by a single certified pilot in 2-3 hours, capturing thousands of high-resolution overlapping images that are processed into detailed topographic data.

image_1

Real-world results speak volumes. Major construction projects across India reported a 60% reduction in surveying time when switching to drone-based site surveys. This isn’t just about getting the job done faster: it’s about freeing up resources, reducing labor costs, and accelerating project timelines in ways that directly impact the bottom line.

The efficiency gains extend beyond the initial survey. Traditional methods often require multiple site visits as projects progress, with each visit requiring the same time-intensive setup and data collection process. Drones can provide regular progress updates with minimal setup time, enabling continuous monitoring without disrupting ongoing construction activities.

Precision That Transforms Project Planning

Accuracy has always been critical in construction and infrastructure projects, where small errors can lead to massive cost overruns and delays. Drone surveys generate highly accurate 3D maps and terrain models with precision within just a few centimeters: often exceeding the accuracy of traditional surveying methods.

Advanced drone systems integrate LiDAR technology that can penetrate vegetation and provide precise elevation data even in challenging terrain. This capability enables optimization of grading plans, drainage designs, and foundation layouts with a level of detail that was previously difficult or impossible to achieve cost-effectively.

The comprehensive data collection capabilities of drones mean that project teams have access to complete site information rather than the limited data points typically gathered through traditional surveying. This comprehensive view reduces the likelihood of encountering unexpected site conditions that can derail construction schedules and budgets.

Cost Savings That Impact Every Project

While the technology advantages are impressive, the financial benefits are what drive adoption in the construction industry. The cost savings from drone surveys extend far beyond simple labor reduction.

Traditional surveying requires significant equipment investments, from total stations and GPS units to vehicle fleets for transporting crews and equipment. Drone surveys eliminate much of this equipment overhead while providing more comprehensive data collection.

image_2

Labor cost reductions are substantial. A traditional surveying crew might cost $2,000-$4,000 per day depending on project complexity and location. A drone survey can typically be completed for a fraction of that cost while providing more detailed information. Over the course of a large infrastructure project with multiple survey requirements, these savings can easily reach tens of thousands of dollars.

Insurance costs also benefit from drone adoption. By identifying potential hazards early and improving overall site safety, drone surveys can help reduce insurance premiums. The detailed documentation they provide also supports better risk management and compliance reporting.

Perhaps most importantly, the reduction in human error: a major source of costs in manual measurements and observations: provides additional savings that compound over the life of a project.

Safety Advantages in High-Risk Environments

Construction and infrastructure projects often involve dangerous environments where traditional surveying puts personnel at risk. Tall structures, unstable terrain, active roadways, and hazardous materials create significant safety challenges for ground-based survey teams.
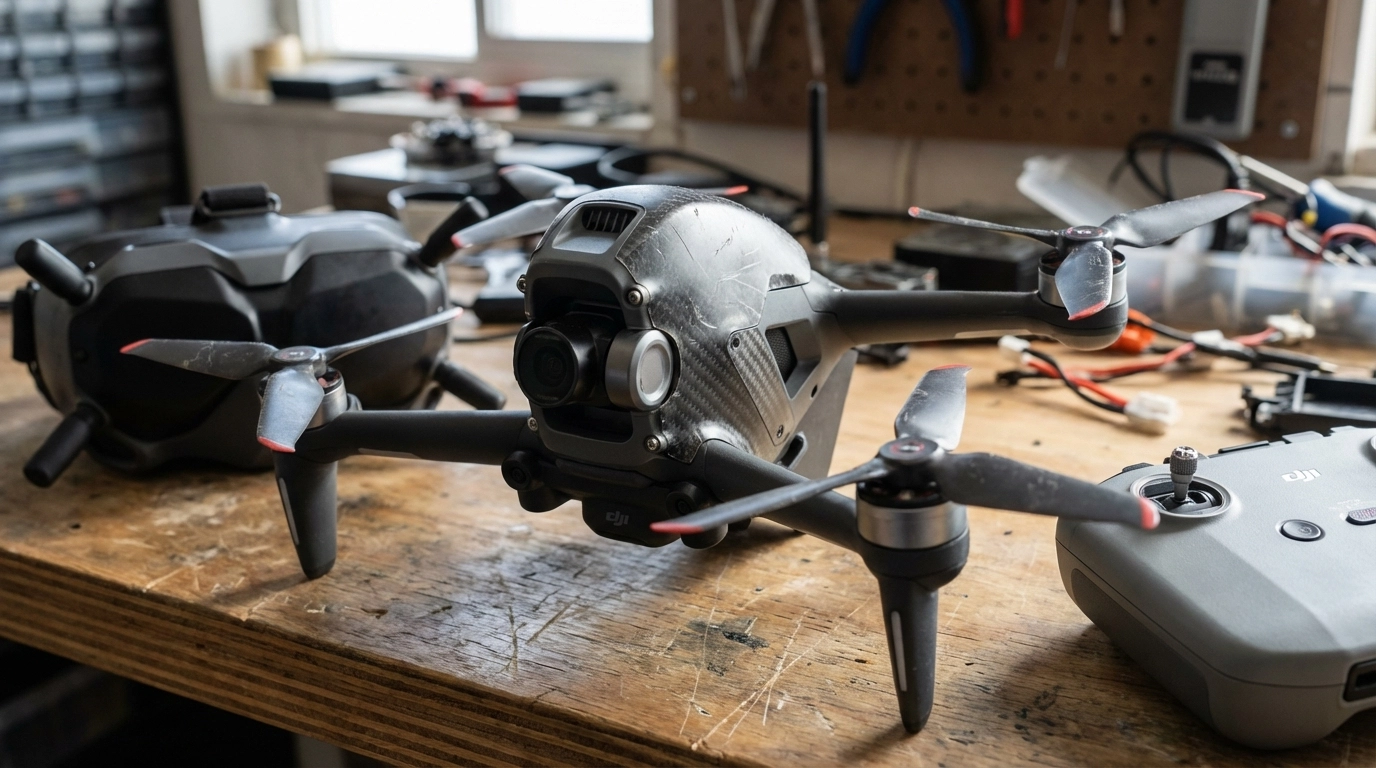
Drone technology eliminates much of this human exposure to risk. For difficult-to-access areas like tall structures, complex rooflines, or bridge inspections, drones eliminate the need for expensive scaffolding, aerial lifts, or helicopter flights. This is particularly valuable for civil engineering projects spanning vast areas where traditional methods are impractical, such as roads, bridges, dams, and utility infrastructure in remote or difficult terrain.
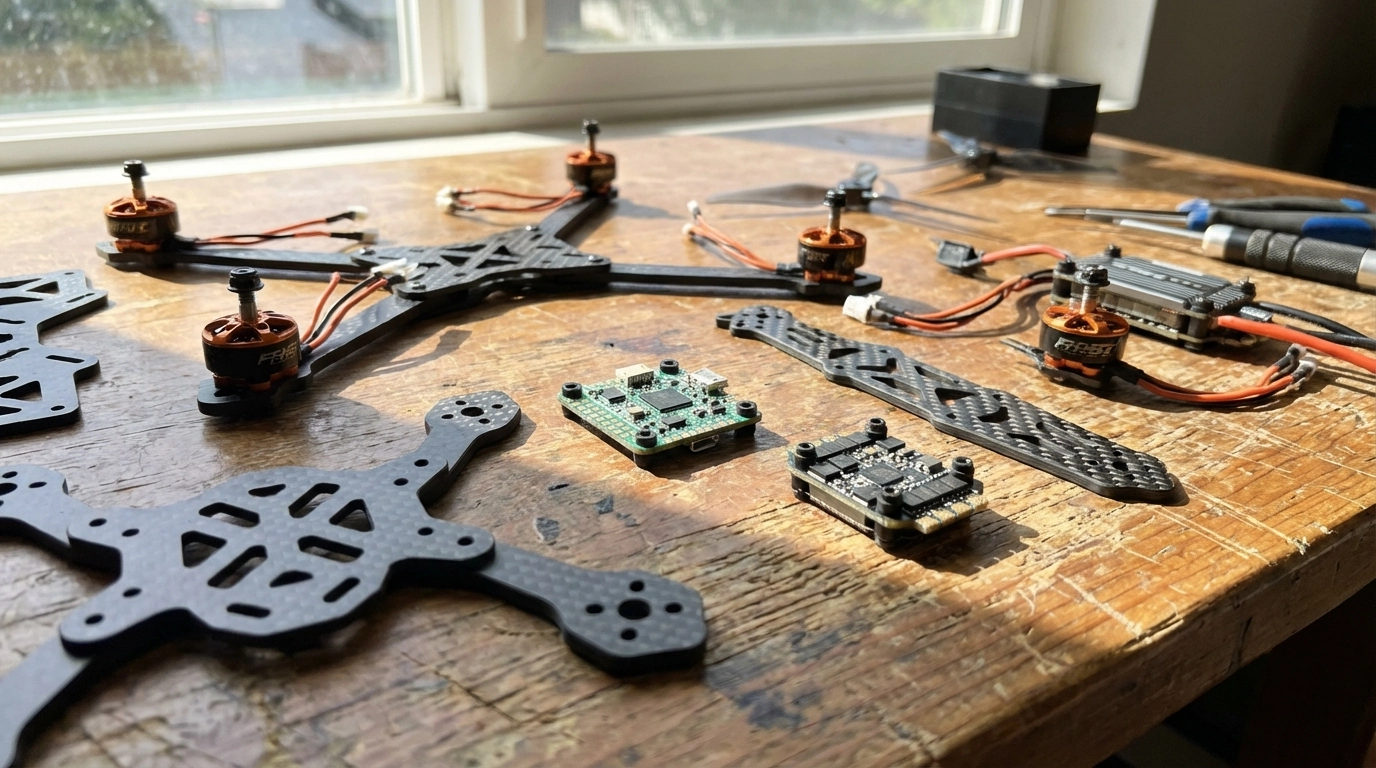
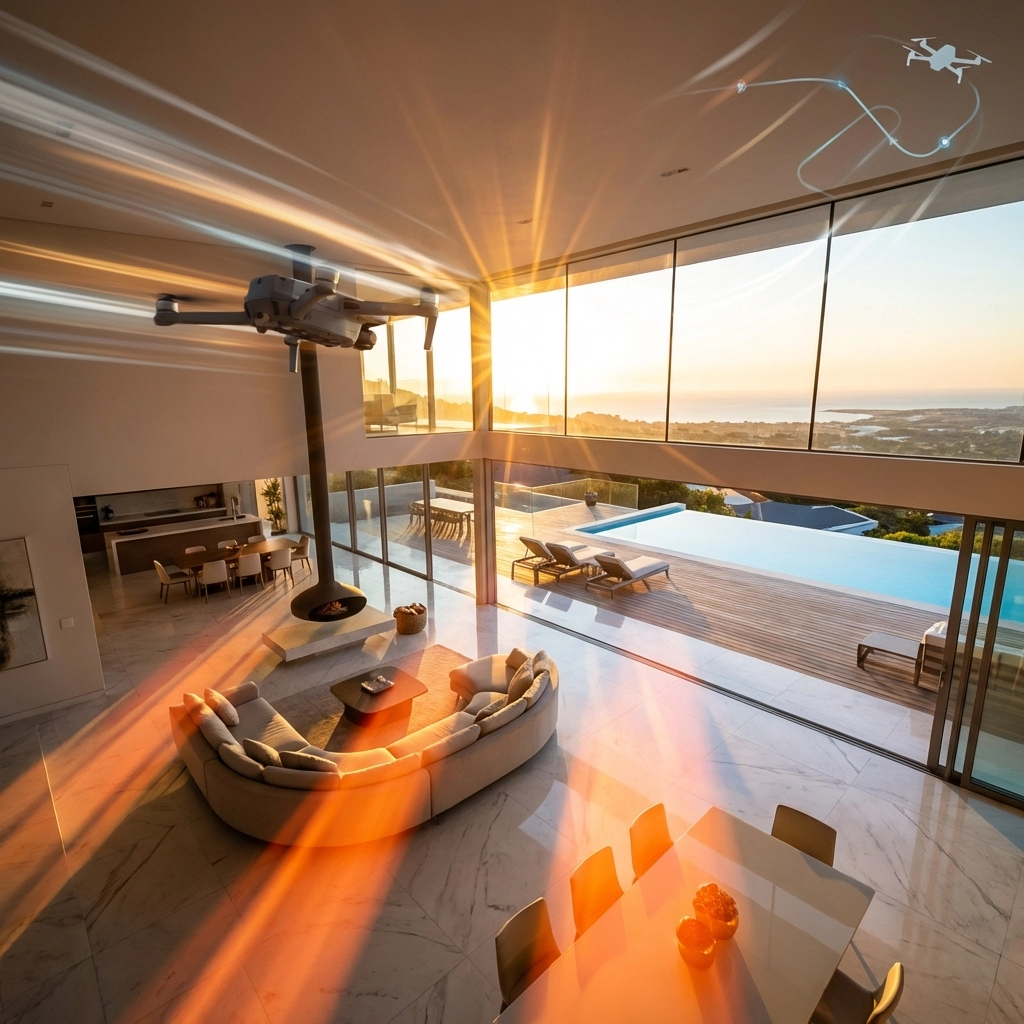
The safety benefits extend beyond immediate risk reduction. Comprehensive site documentation helps identify potential hazards before they impact workers, enabling proactive safety planning rather than reactive responses to dangerous conditions.

Comprehensive Documentation and Real-Time Monitoring

Traditional surveys provide a snapshot of site conditions at a specific point in time. Drone surveys transform this approach by enabling continuous monitoring and documentation throughout a project’s lifecycle.

image_3

This real-time progress tracking capability enables project managers to monitor multiple areas simultaneously, identify coordination issues between trades before they impact schedules, and maintain comprehensive compliance documentation. The objective, verifiable evidence provided by drone surveys replaces subjective ground-level assessments that can lead to disputes and delays.

For infrastructure projects that span years, the ability to maintain consistent documentation and track changes over time provides invaluable project management capabilities. Construction managers can quickly identify areas where work is falling behind schedule, spot quality issues before they become major problems, and provide stakeholders with visual progress reports that are far more compelling than traditional written updates.

Real-World Applications Transforming the Industry

The applications for drone technology in construction and infrastructure extend far beyond basic site surveys. Progressive companies are leveraging drone capabilities for:

Progress Documentation: Regular aerial photography and videography that provides visual proof of work completion and helps identify potential delays or quality issues.

Safety Inspections: Detailed inspections of structures, equipment, and work areas that would be dangerous or impractical for human inspectors to access.

Volumetric Analysis: Precise measurements of stockpiles, excavations, and material quantities that support accurate billing and inventory management.

Quality Control: High-resolution imagery that can identify construction defects, installation errors, or material issues from perspectives that ground-based inspections might miss.

Asset Management: Comprehensive documentation of completed infrastructure that supports long-term maintenance planning and regulatory compliance.

Companies looking to implement these capabilities can explore professional aerial video services that provide the expertise and equipment needed to maximize the benefits of drone technology in construction applications.

The Future of Construction Site Management

The transformation happening in construction and infrastructure surveying represents just the beginning of a broader technological shift. As drone technology continues advancing and regulations evolve to support expanded commercial applications, the capabilities available to construction professionals will only grow.

Artificial intelligence integration is already beginning to automate data analysis, identifying potential issues and optimizing construction sequences based on comprehensive site data. Real-time data streaming enables immediate decision-making rather than waiting for processed survey results.

The companies that embrace these technologies now are positioning themselves for sustained competitive advantage. Those that continue relying on traditional methods risk being left behind as the industry standard shifts toward drone-based solutions.

image_4

For construction and infrastructure professionals ready to make this transition, the key is partnering with experienced providers who understand both the technical capabilities and the practical requirements of construction projects. The investment in drone technology and training pays dividends through improved efficiency, reduced costs, enhanced safety, and better project outcomes.

The question isn’t whether drone technology will replace traditional surveying methods in construction and infrastructure: it’s how quickly your organization will adapt to remain competitive in this rapidly evolving landscape.

Drone Regulations 2026: What FAA Part 107 Pilots Need to Know Before Their Next Flight

The drone industry is soaring, but with great power comes great responsibility: and a whole lot of regulations. If you’re flying commercially in 2026, staying compliant with FAA Part 107 isn’t just about avoiding fines; it’s about building a sustainable, professional drone operation that clients can trust.

Whether you’re capturing stunning real estate footage, conducting infrastructure inspections, or expanding your drone services portfolio, understanding the latest regulatory landscape is crucial for every commercial pilot. Let’s dive into what you need to know to keep your operations legal, safe, and profitable.

Who Actually Needs a Part 107 Certificate?

Here’s the reality: if you’re making any money from drone flights: even indirectly: you need Part 107 certification. This includes YouTube monetization, social media campaigns, real estate photography, construction site inspections, and agricultural surveys. Even flying a sub-250g drone for commercial purposes requires certification.

The requirements are straightforward:

  • Be at least 16 years old
  • Pass the Part 107 knowledge test
  • Complete a Transportation Security Administration (TSA) background check
  • Demonstrate safe operation capabilities

Important note: This article provides general information only. Always consult the official FAA website and qualified legal professionals for specific regulatory guidance related to your operations.

image_1

Core Operational Restrictions You Can’t Ignore

Part 107 establishes clear operational boundaries that every commercial pilot must respect:

Altitude and Speed Limits

  • Maximum altitude: 400 feet above ground level (AGL)
  • Maximum speed: 100 mph (87 knots)
  • Exception: You can fly higher than 400 feet when operating within a 400-foot radius of a structure, but you cannot exceed 400 feet above that structure’s highest point

Visual Line of Sight (VLOS) Requirements

This is non-negotiable: you must maintain direct visual contact with your drone at all times. FPV goggles don’t count as VLOS: they’re considered a tool to enhance operations, not replace visual contact. If you’re using FPV equipment for cinematic work, ensure you have a visual observer maintaining VLOS while you operate through the goggles.

Night Operations and Lighting

Night flights are permitted under Part 107, but only with proper anti-collision lighting visible for at least 3 statute miles. Pilots must also complete additional training or pass a recurrent knowledge test to maintain night flight privileges.

What’s New in 2026: Part 108 and BVLOS Operations

The regulatory landscape has evolved significantly with the introduction of Part 108, which governs Beyond Visual Line of Sight (BVLOS) operations. This represents a massive opportunity for commercial operators looking to expand their capabilities.

Part 108 Key Changes

  • Weight limit increase: Drones up to 110 pounds (compared to Part 107’s 55-pound limit)
  • BVLOS authorization: Two pathways: permits (24-month validity) for pilot projects, or certificates (no expiration) for established operations
  • Enhanced operational flexibility: Ideal for large-scale inspections, mapping, and agricultural applications

However, Part 108 operations still require:

  • Specific area authorization
  • Operations typically below 400 feet AGL unless otherwise approved
  • Advanced safety management systems
  • Comprehensive risk assessments

image_2

Pre-Flight Compliance: Your Essential Checklist

Before every commercial flight, run through this compliance checklist to ensure you’re operating legally:

Airspace Authorization

  • Check airspace classification: Use tools like LAANC (Low Altitude Authorization and Notification Capability) for controlled airspace
  • Obtain necessary approvals: Some areas require advance authorization from ATC
  • Verify Temporary Flight Restrictions (TFRs): These can appear suddenly due to emergencies, VIP movements, or special events

Aircraft and Equipment Status

  • Registration verification: Ensure your drone is properly registered with the FAA
  • Remote ID compliance: Verify broadcast functionality is enabled
  • Battery and hardware check: Inspect propellers, motors, sensors, and camera systems
  • Insurance status: While not legally required, commercial liability insurance is highly recommended

Environmental and Operational Planning

  • Weather assessment: Avoid operations in high winds, precipitation, or low visibility
  • People and property: Maintain safe distances from uninvolved persons and buildings
  • Flight path planning: Establish clear operational boundaries and emergency procedures

Registration and Remote ID: The Non-Negotiables

Aircraft Registration

Every commercial drone must be individually registered with the FAA at $5 per aircraft (valid for three years). This applies even to lightweight drones under 250 grams when used commercially.

Remote ID Compliance

Remote ID is now fully enforced nationwide and serves as the “digital license plate” for drones. Your aircraft must:

  • Broadcast identification and location information
  • Transmit operator location data
  • Provide real-time status updates to authorities

Non-compliance can result in significant penalties, so ensure your equipment meets Remote ID standards before every flight.

image_3

Airspace Navigation and Flight Planning

Understanding airspace is crucial for legal operations. The United States airspace system includes:

Controlled Airspace (Classes B, C, D)

  • Requires authorization: Use LAANC for most routine operations
  • Processing times: Can range from immediate approval to several days
  • Altitude restrictions: May be more restrictive than the standard 400-foot ceiling

Uncontrolled Airspace (Class G)

  • Generally more flexible: Still subject to Part 107 operational rules
  • Due diligence required: Check for local restrictions and temporary flight restrictions

Special Use Airspace

  • Military operations areas: May have specific restrictions or prohibited operations
  • National parks and wilderness areas: Generally prohibited for commercial operations
  • Stadium and venue restrictions: Temporary flight restrictions around major events

Building Compliance Into Your Business Operations

Successful drone service providers build compliance into every aspect of their operations. This includes:

Documentation and Record Keeping

  • Maintain flight logs with dates, times, locations, and operational details
  • Keep current copies of all certifications and authorizations
  • Document pre-flight inspections and equipment maintenance

Client Education and Communication

Help your clients understand regulatory requirements that might affect their projects. This builds trust and demonstrates professionalism while protecting both parties from potential violations.

Staying Current with Regulatory Changes

The drone regulatory environment continues evolving rapidly. Subscribe to FAA updates, join professional organizations, and consider working with drone service providers who maintain current expertise in regulatory compliance.

Insurance and Risk Management Considerations

While not legally mandated, commercial drone insurance is essential for protecting your business. Consider coverage that includes:

  • General liability protection
  • Equipment coverage for drone hardware
  • Professional liability for service-related issues
  • Data breach protection for sensitive client information

The Future of Drone Regulations

Looking ahead, expect continued evolution in drone regulations, particularly around:

  • Automated operations: Increased autonomy and reduced pilot intervention
  • Urban air mobility: Integration with traditional aircraft operations
  • Advanced airspace management: Dynamic routing and real-time conflict resolution
  • International harmonization: Standardized approaches across different countries

Final Thoughts on Compliance

Regulatory compliance isn’t just about avoiding penalties: it’s about building a professional, trustworthy drone operation that clients can rely on. By staying current with Part 107 requirements, understanding new developments like Part 108, and maintaining rigorous operational standards, you’re positioning your business for long-term success in an increasingly competitive market.

Remember that regulations can change, and interpretations may vary based on specific circumstances. This article provides general guidance only and should not be considered legal advice. Always consult the official FAA website, current regulations, and qualified aviation attorneys for specific questions about your operations.

Disclaimer: This information is current as of January 2026 but regulations may change. Always verify current requirements with official FAA sources and consult with qualified legal professionals for specific regulatory compliance questions related to your drone operations.

Whether you’re just getting started or looking to expand your commercial drone operations, staying compliant with current regulations is your foundation for success. The drone industry offers incredible opportunities, but only for operators who respect the rules that keep our skies safe for everyone.

0
    0
    Your Cart
    Your cart is emptyReturn to Shop

    Search For Products

    Product has been added to your cart