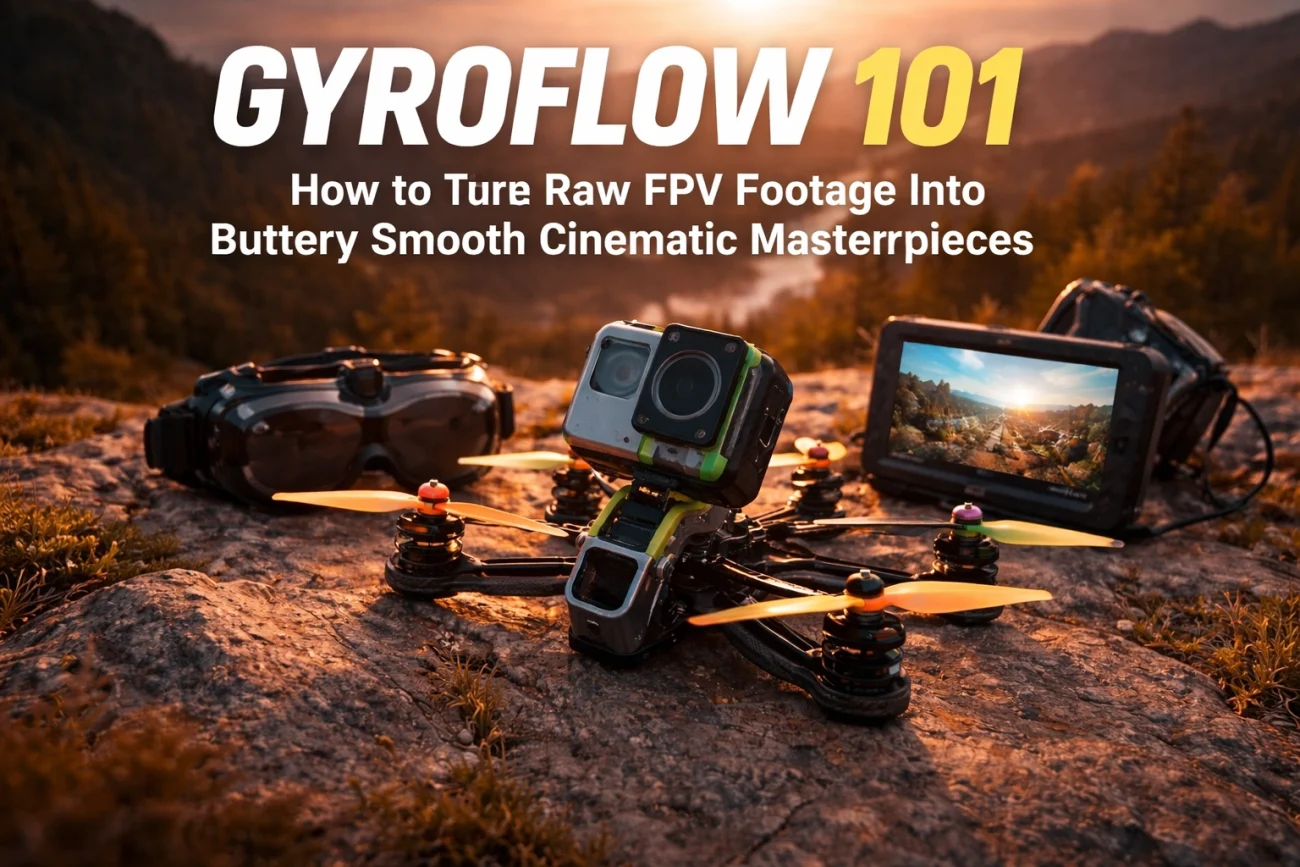
How to Stabilize FPV Footage: Gyroflow 101 for Buttery Smooth Cinematic Results

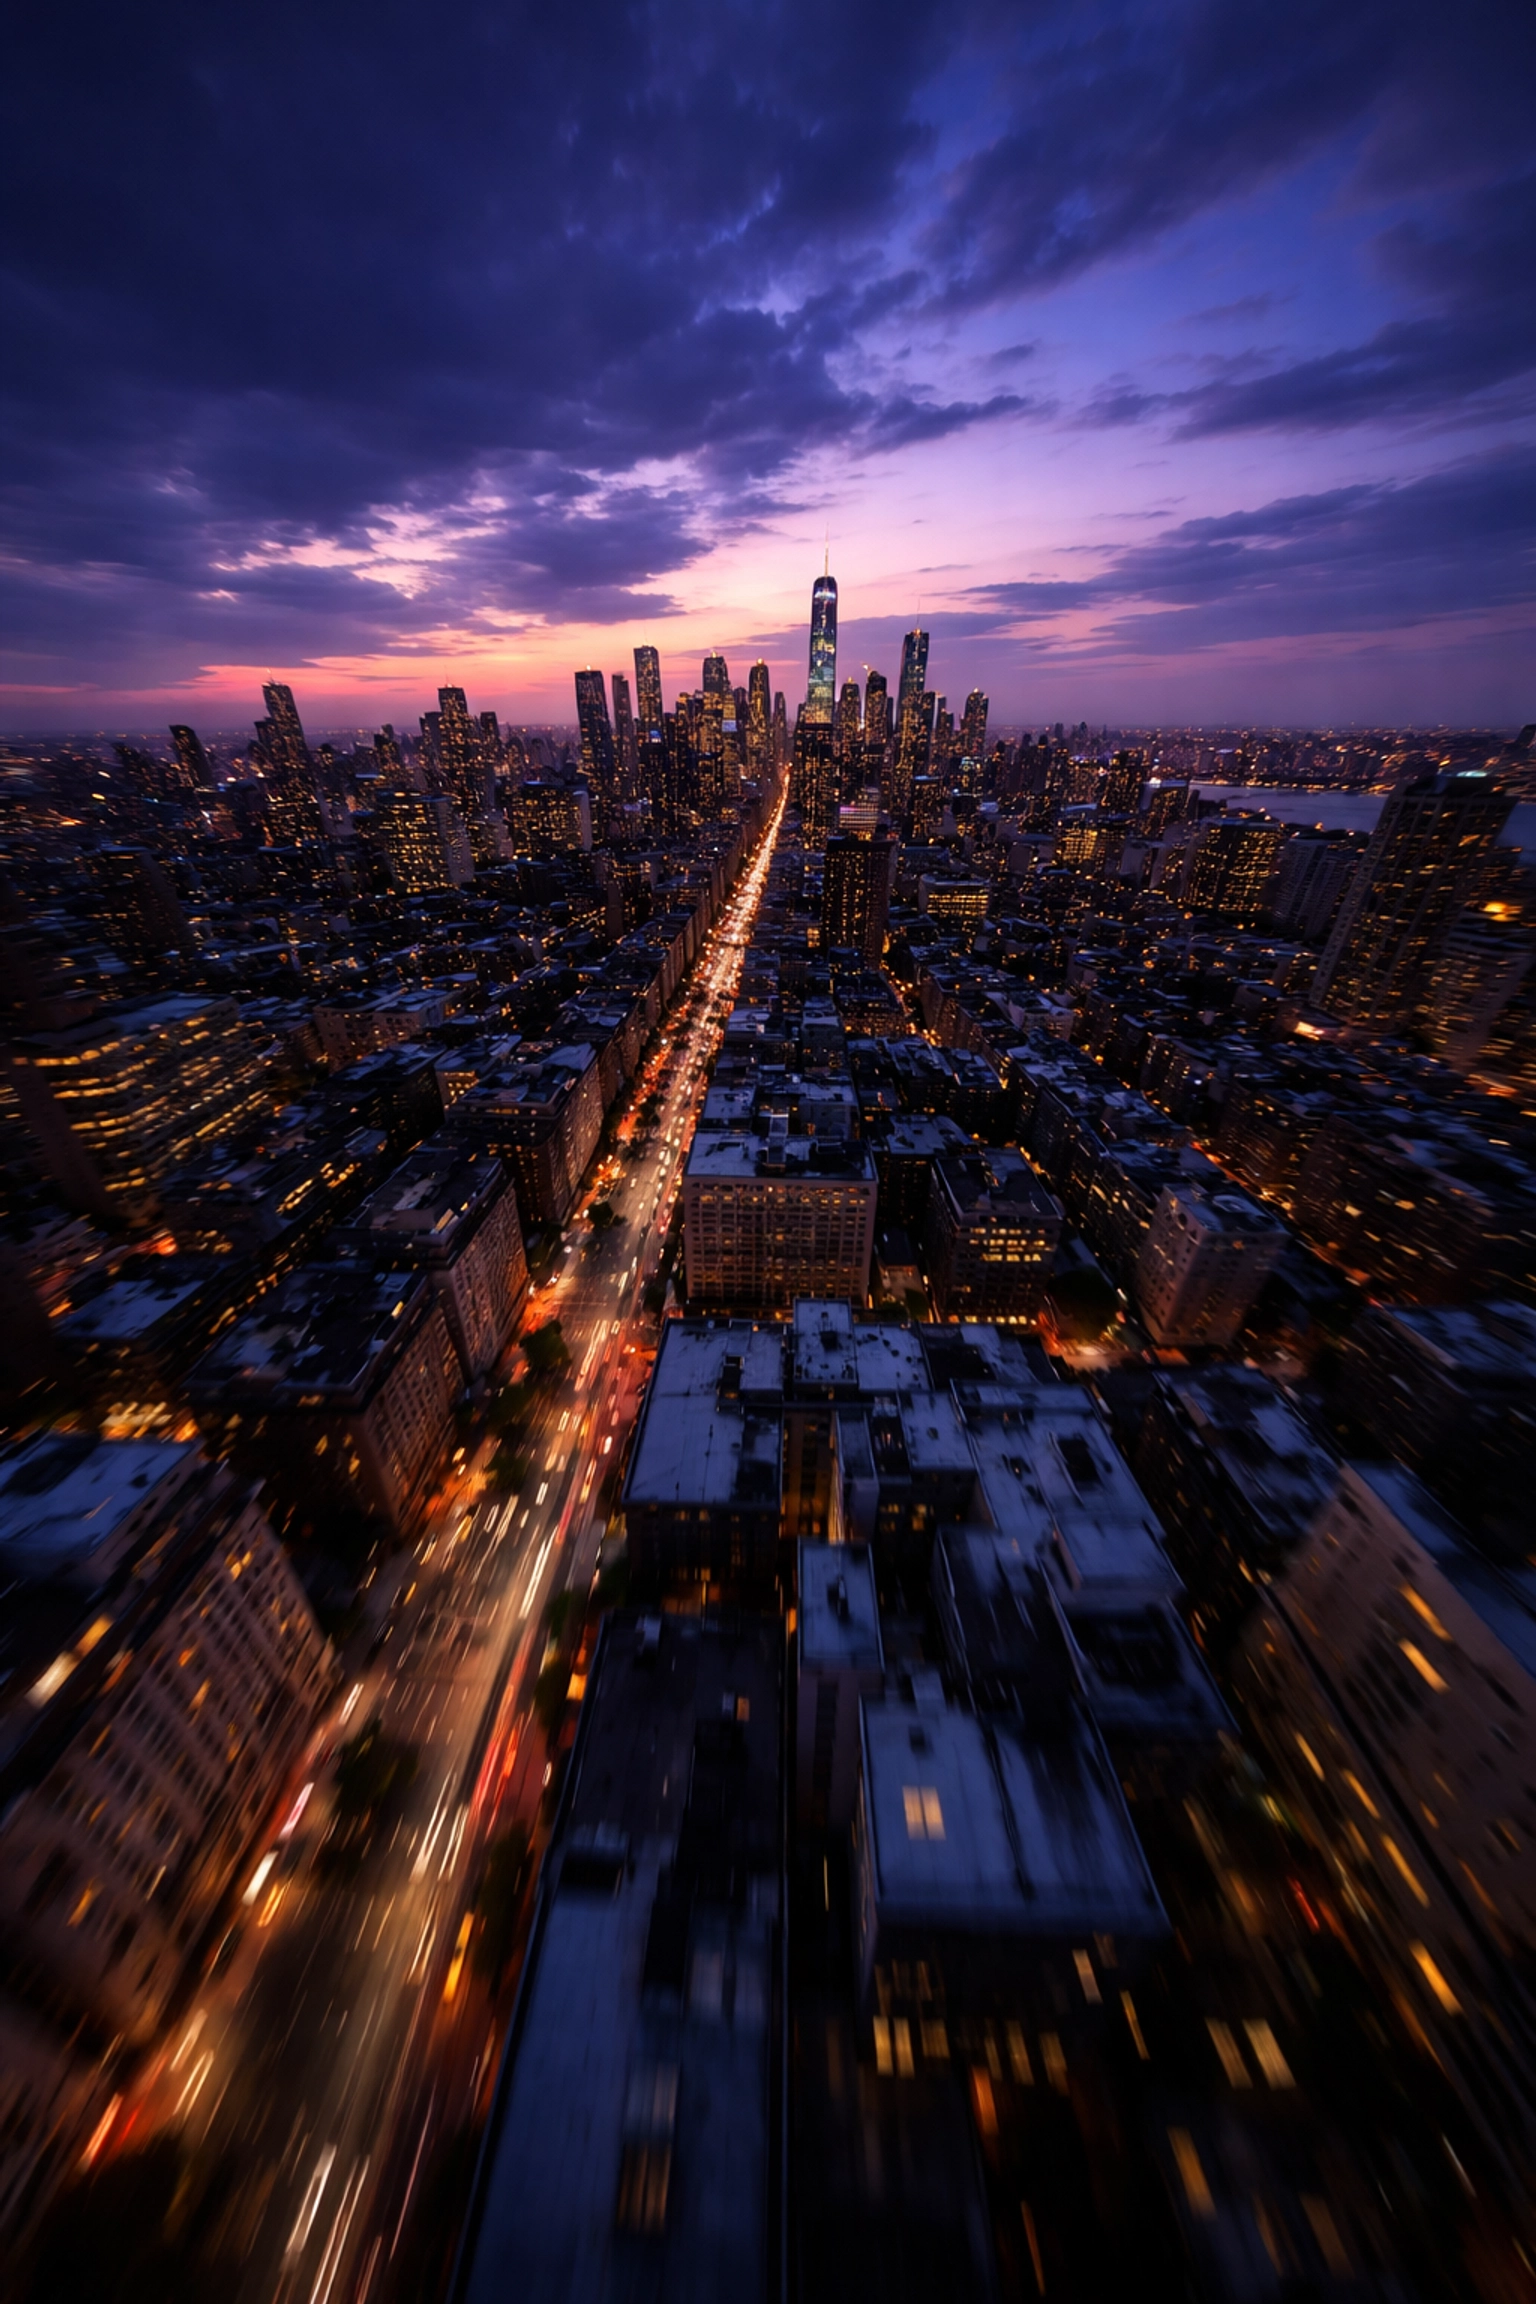
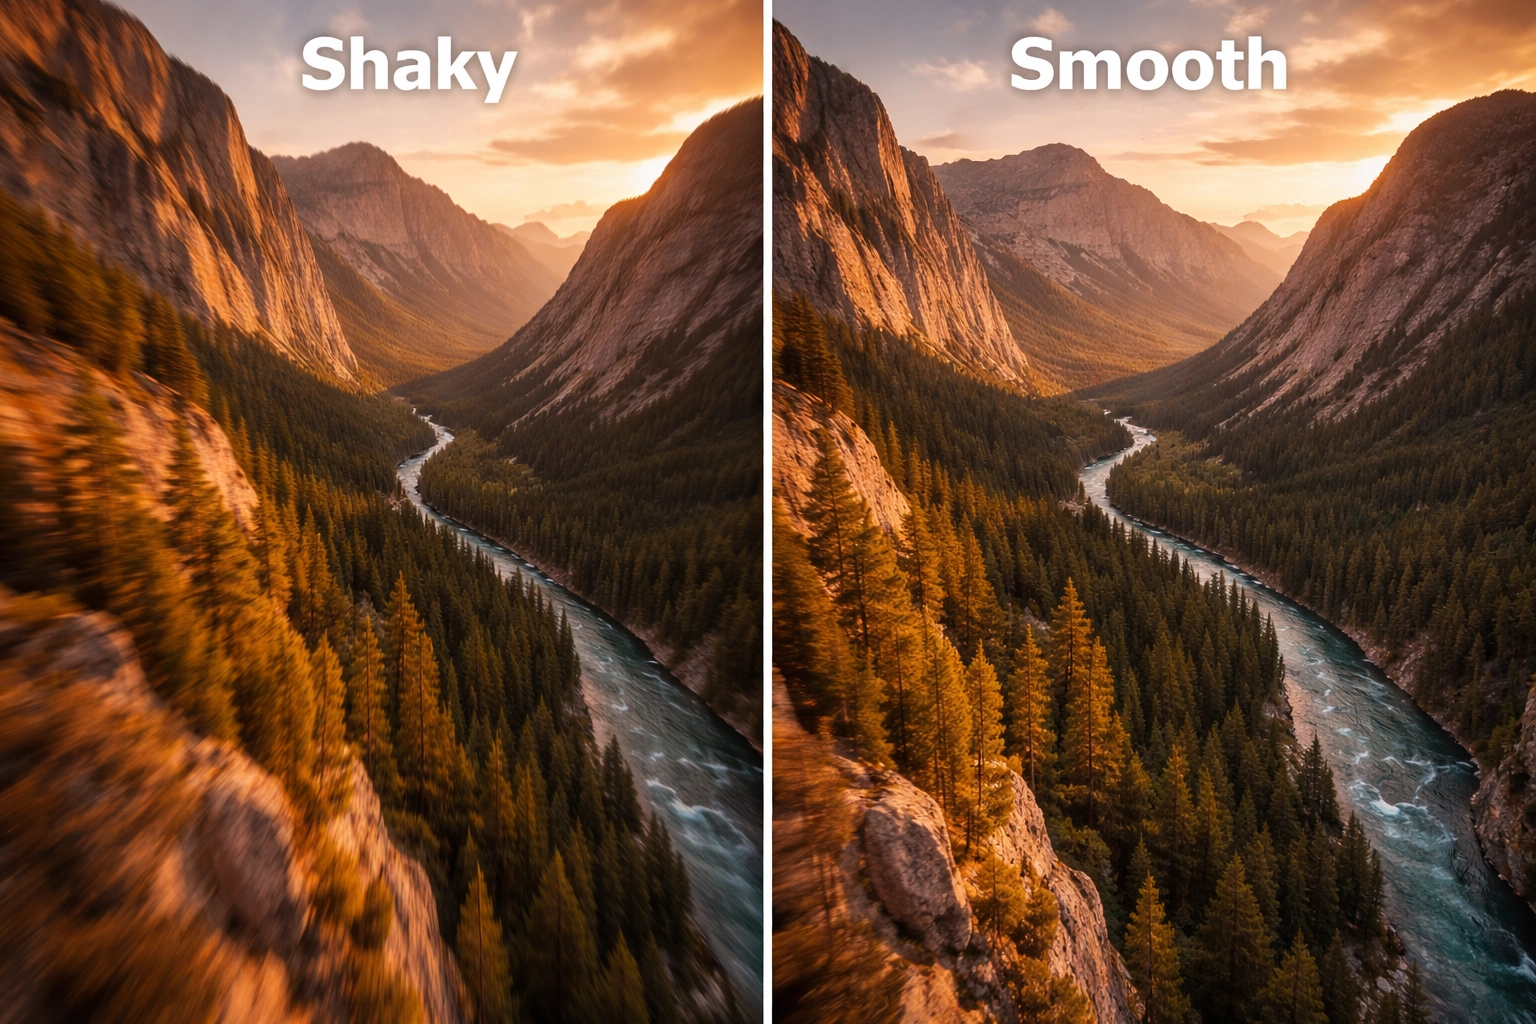
You just landed the most epic dive of your FPV career. The gap was tight, the proximity was perfect, and you’re already imagining the edit. Then you pop the SD card into your computer, scrub through the footage, and… it looks like you filmed it during an earthquake.

Sound familiar?

Here’s the thing: raw FPV footage is almost always shaky. That’s just the nature of strapping a camera to a quad that’s constantly fighting physics. But the cinematic creators you admire? They’re not flying smoother than you. They’re using Gyroflow: and once you learn this tool, your footage will never look the same.

Let’s break down exactly how to take your jittery O4 and O3 clips and transform them into buttery smooth cinematic gold.

What Is Gyroflow and Why Does It Matter?

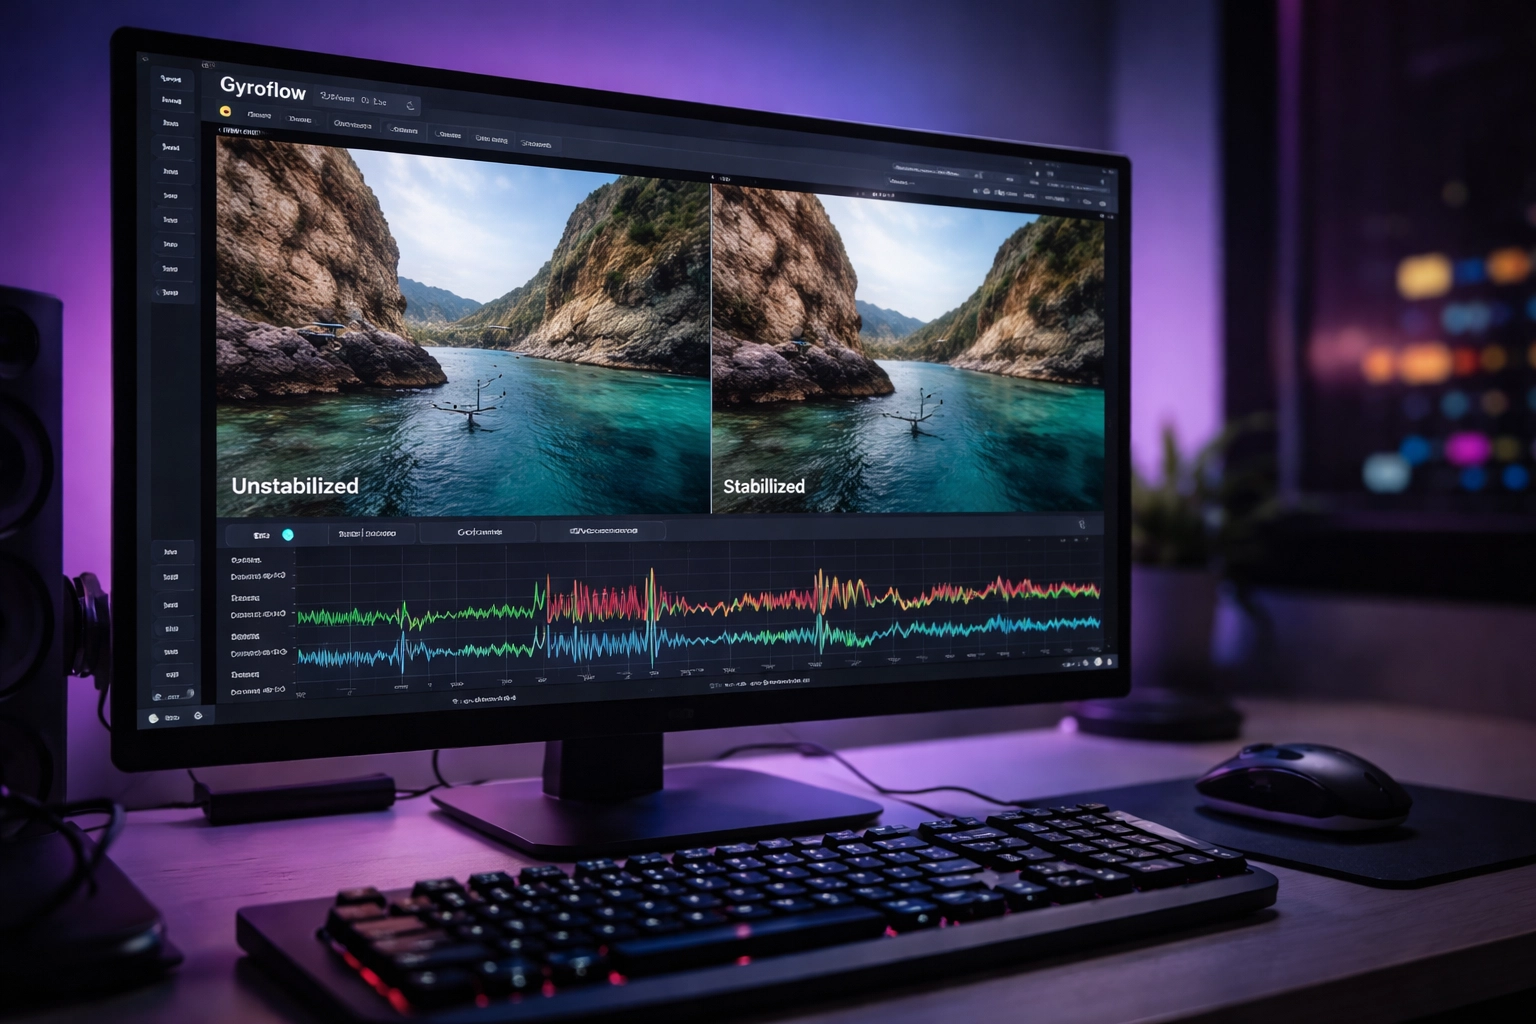
Gyroflow is free, open-source stabilization software that works differently from anything you’ve used before. While tools like Premiere’s Warp Stabilizer or ReelSteady analyze the visual frames of your video to guess how the camera moved, Gyroflow takes a completely different approach.

It uses gyroscope motion data (also called IMU data) that your camera actually recorded during the flight. Your DJI O3 and O4 cameras are constantly logging exactly how they tilted, rotated, and vibrated: thousands of times per second. Gyroflow reads that data and knows precisely how to counteract each movement.

The result? Stabilization that handles fast motions, quick flips, and aggressive proximity flying without the weird warping artifacts you get from optical stabilization. It’s not guessing. It knows.

Gyroflow software interface on a monitor showing before and after FPV drone video stabilization results

What You Need to Get Started

Before we dive into the workflow, let’s make sure you have everything lined up:

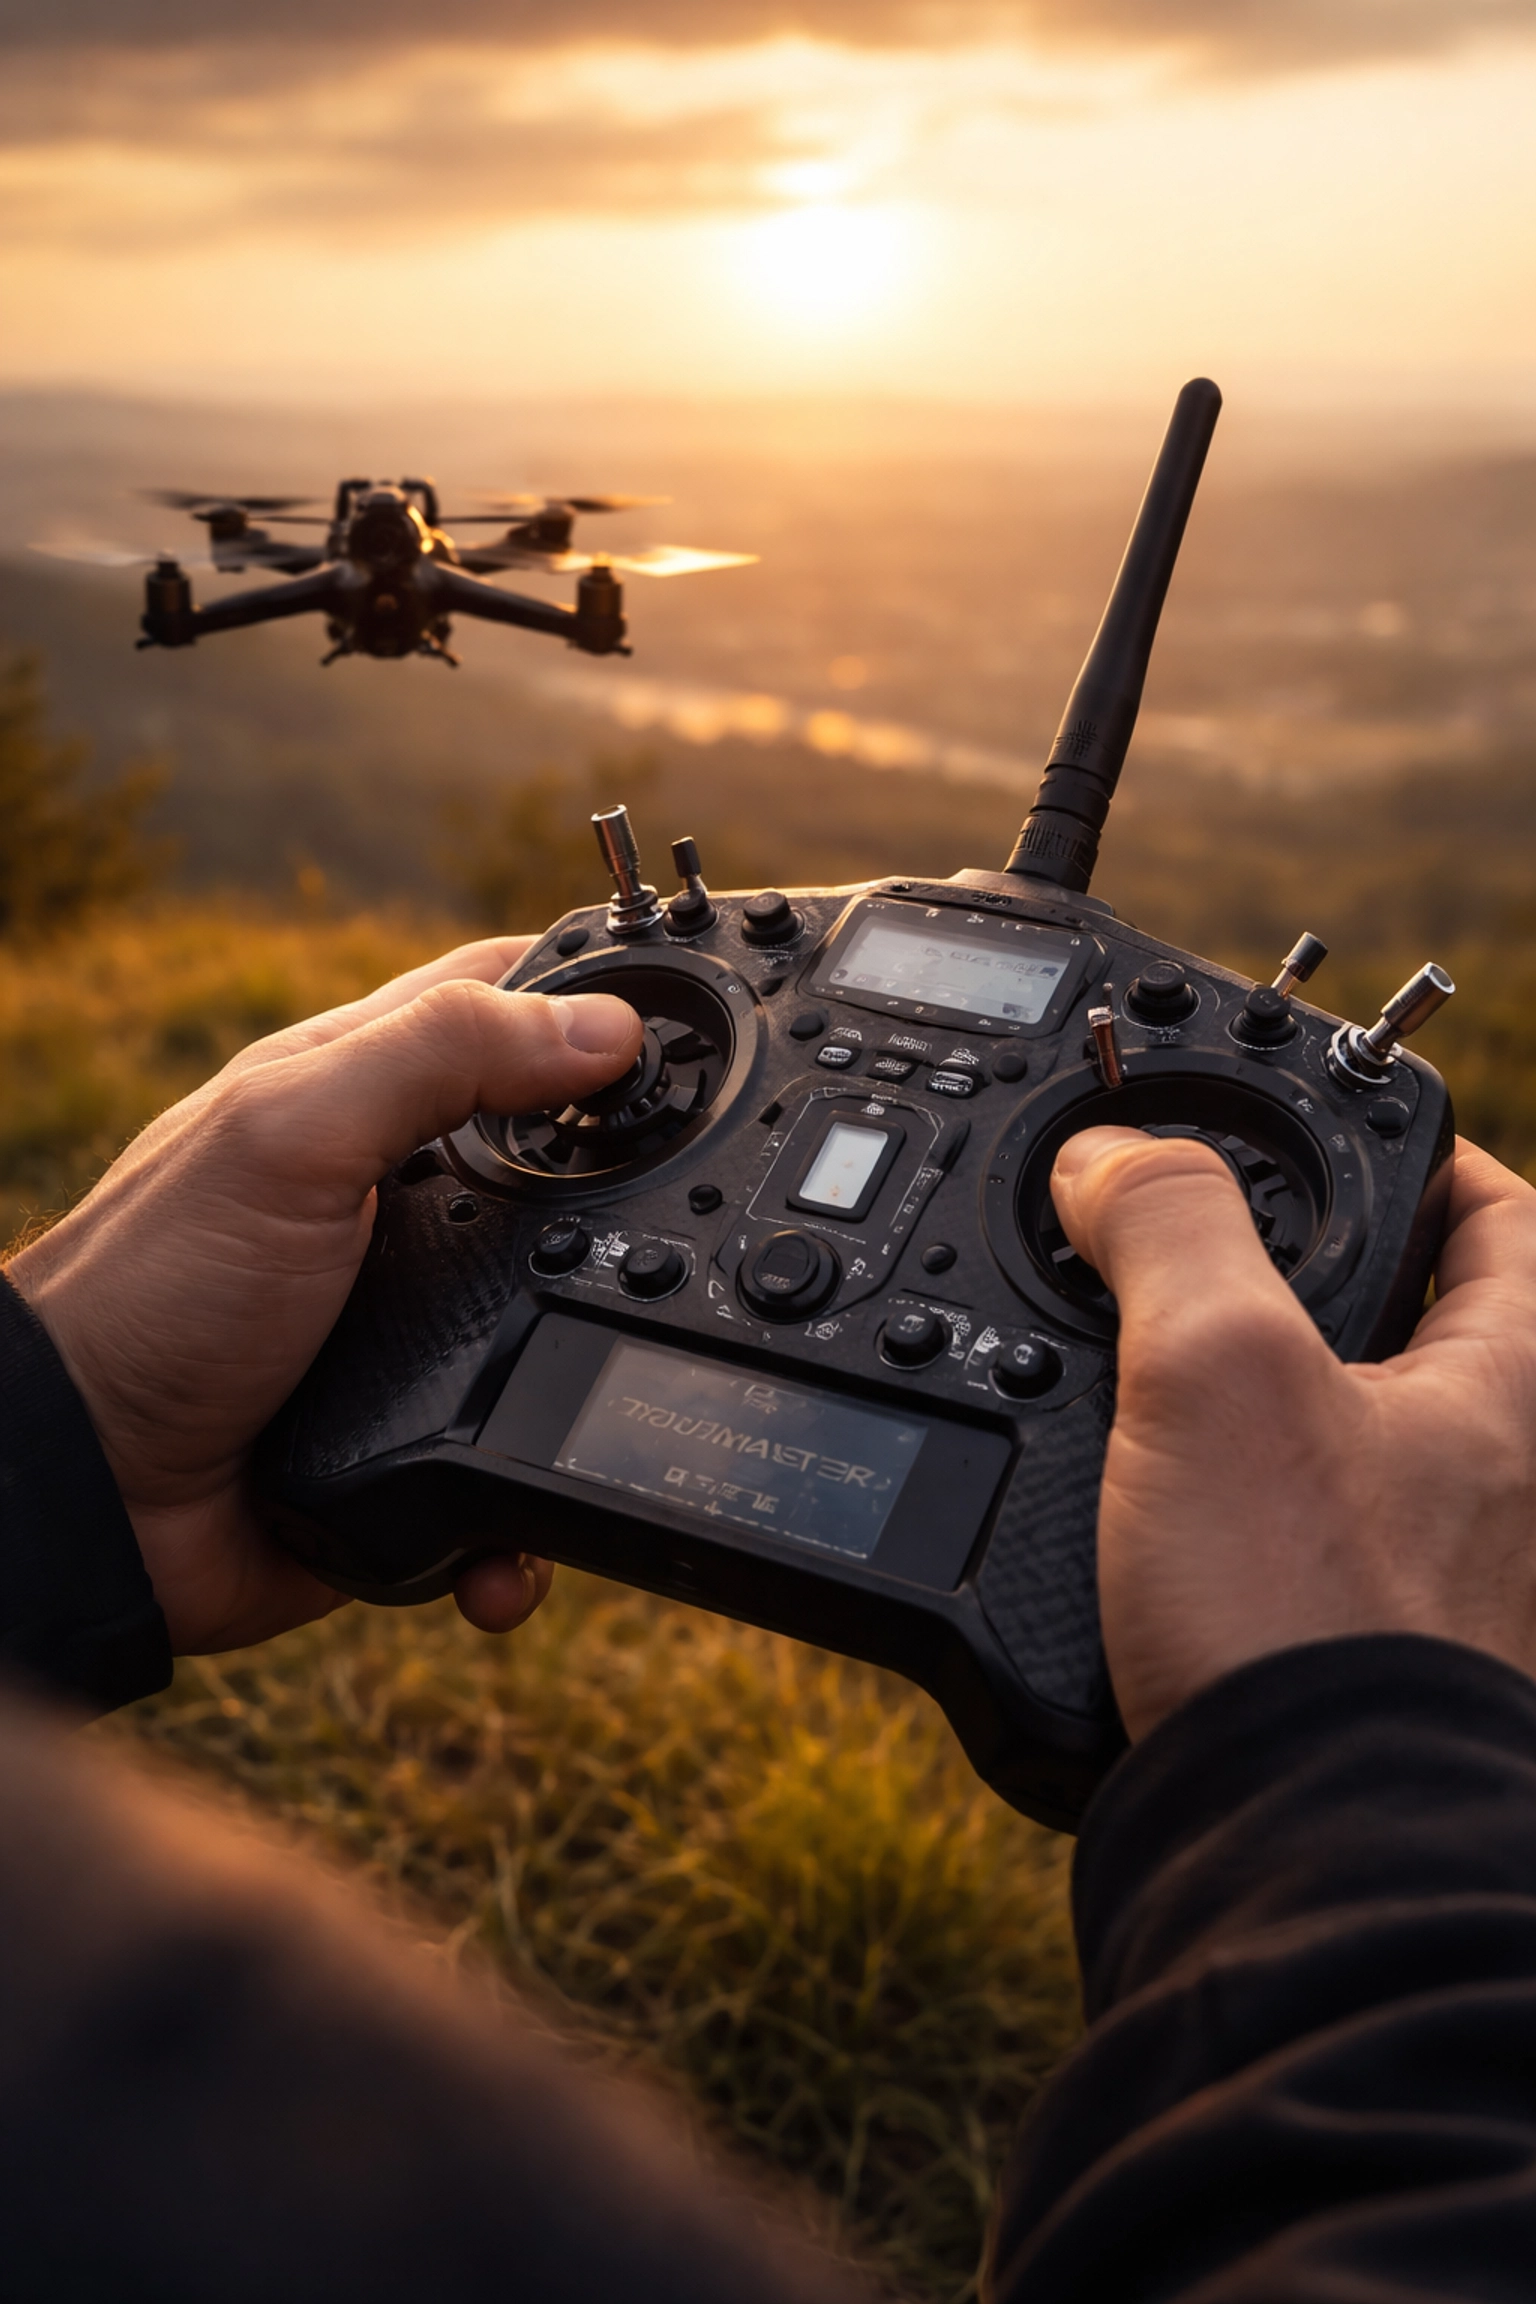
Hardware Requirements:

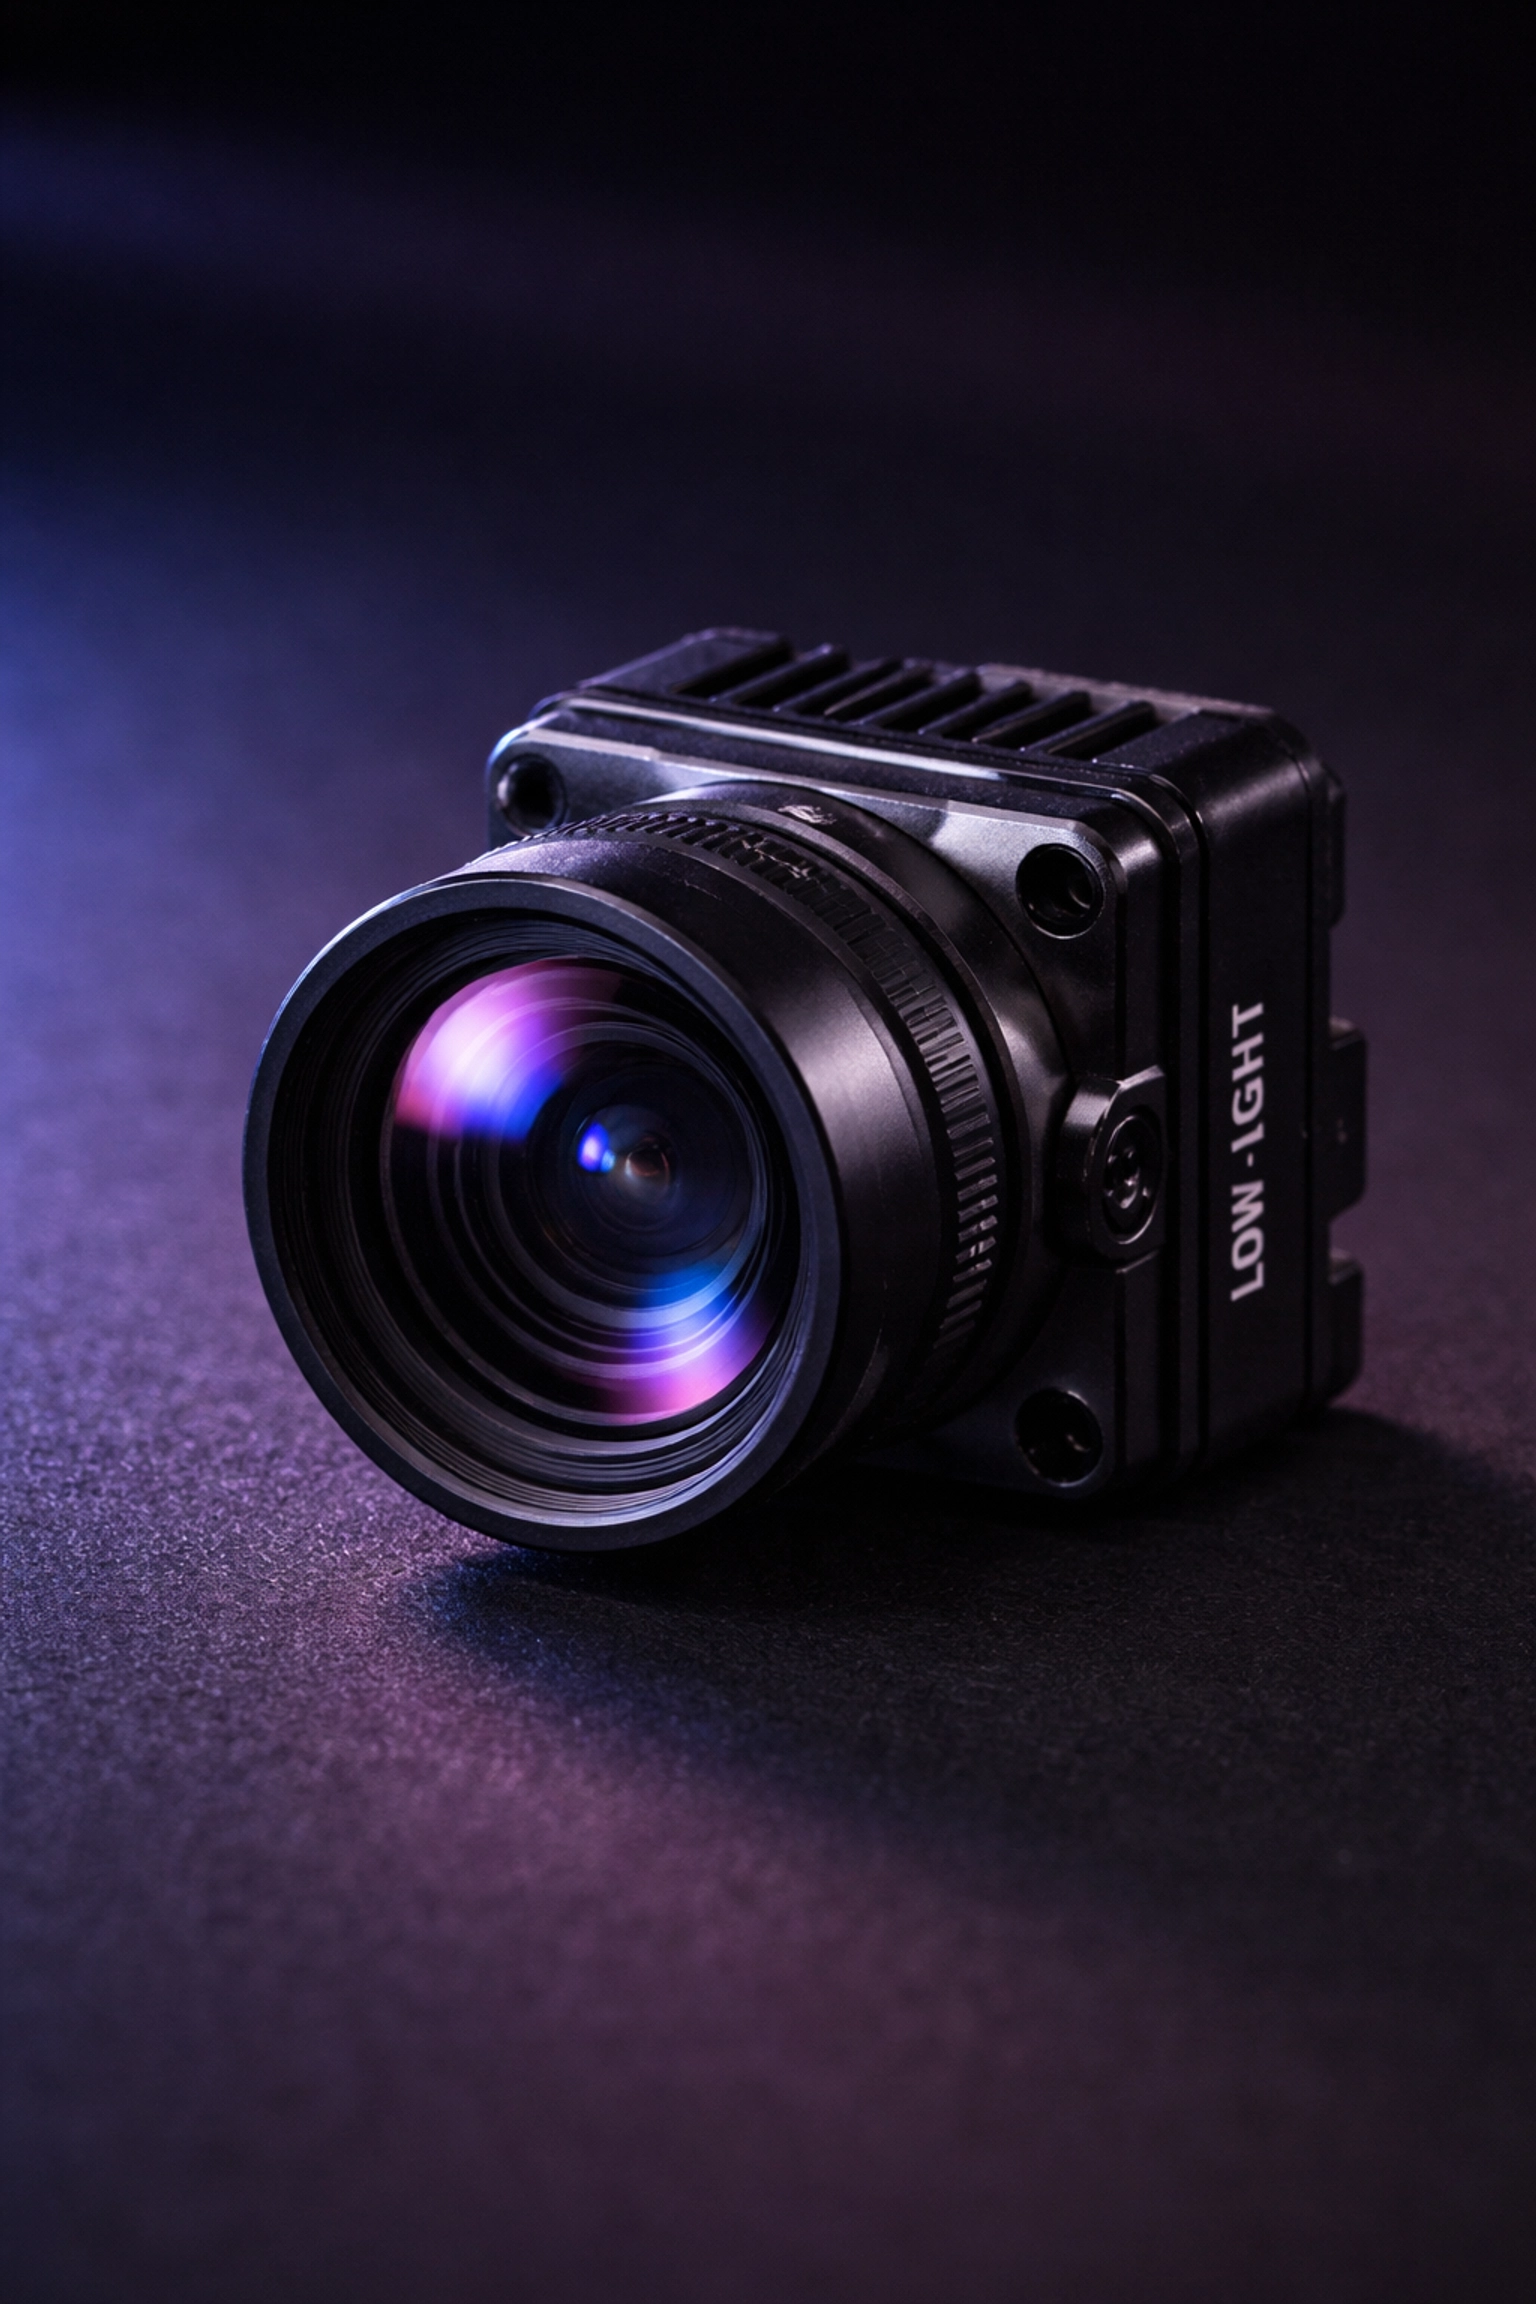
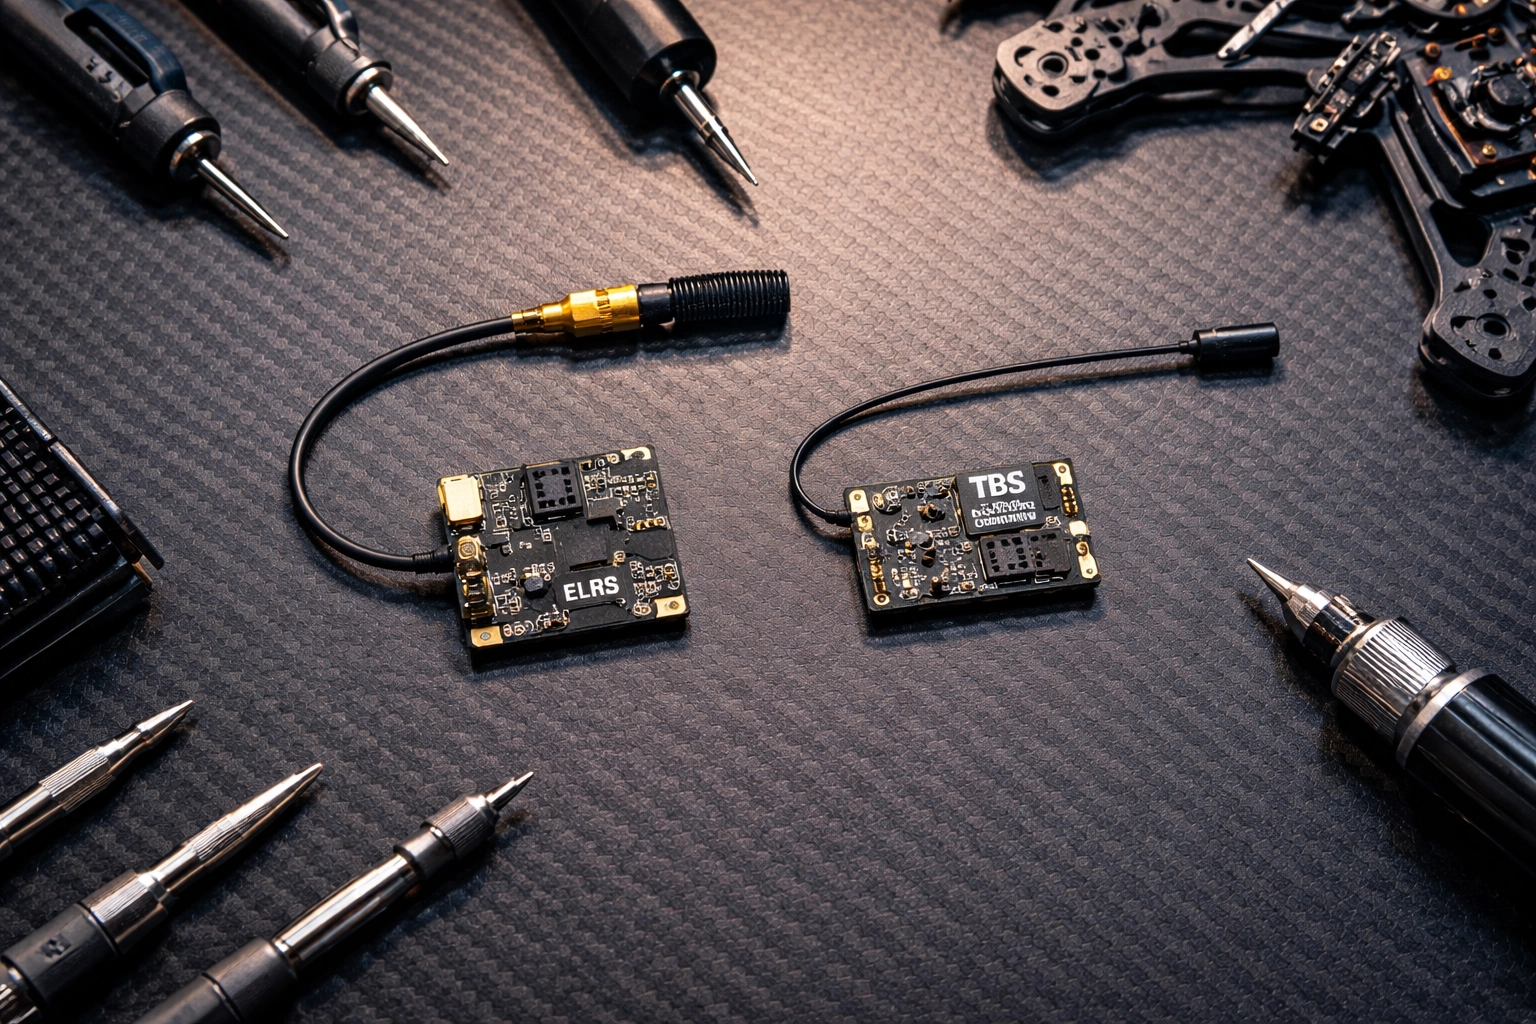
  • A Gyroflow-compatible camera (DJI O3 Air Unit, O4, GoPro with gyro logging enabled, RunCam, Insta360 GO series, etc.)
  • A computer that can handle video processing (GPU acceleration helps significantly)

Software Requirements:

  • Gyroflow (free download from gyroflow.xyz)
  • Your camera’s companion software for extracting gyro data (if needed)

Files You’ll Need:

  • Your raw video file (.mp4)
  • The corresponding gyro data file (often embedded in the video or exported separately)

The good news? If you’re shooting on the O3 or O4, the gyro data is already baked into your video files. Gyroflow can extract it automatically. No extra steps required.

If you’re still dialing in your camera settings before you even get to post-processing, check out our guide on FPV camera settings for cinematic footage to make sure you’re capturing the best possible raw material.

The Four-Step Gyroflow Workflow

Let’s walk through the actual process from start to finish. It’s simpler than you might think.

Step 1: Import Your Footage

Open Gyroflow and drag your video file into the interface. If you’re using O3 or O4 footage, Gyroflow will automatically detect and extract the embedded gyro data. You’ll see the motion graph populate with all that delicious IMU information.

If you’re using a camera that exports gyro data separately (like some GoPro setups), you’ll need to import that file as well and let Gyroflow sync them together.

Step 2: Set Your Lens Profile

This is where a lot of beginners trip up. Gyroflow needs to know exactly which lens captured your footage so it can accurately calculate the distortion and FOV corrections.

Select your camera and lens from the built-in library. For DJI cameras, the profiles are usually spot-on. If you’re using third-party lenses or a less common setup, you might need to calibrate a custom lens profile: but that’s an advanced topic for another day.

FPV drone editing workstation with DJI O3 camera, SD card, and laptop for processing cinematic footage

Step 3: Sync and Preview

Hit the “Auto Sync” button and let Gyroflow work its magic. It will analyze the gyro data and align it with your video frames. You’ll see sync points appear on your timeline: these are the moments where Gyroflow has locked in the relationship between motion data and visual frames.

Pro tip: For most FPV footage, 5 sync points is the sweet spot. More isn’t always better and can sometimes introduce inconsistencies.

Once synced, hit play and watch your footage transform in real-time. That shaky mess? Now it’s floating through the air like a dream.

Step 4: Export Your Stabilized Video

When you’re happy with the preview, set your export settings and render it out. I recommend exporting at the same resolution as your source file (or higher if you recorded at 4K for a 2.7K final output) to maintain maximum quality.

Dialing In Your Settings: The Numbers That Matter

Here’s where we get into the real sauce. These settings will make or break your final result.

Smoothness

This slider controls how aggressively Gyroflow stabilizes your footage. Higher values = smoother footage, but also more cropping (the software has to zoom in to hide the edges).

For stable cruising footage: 10-20% smoothness works great
For aggressive freestyle or proximity: 25-35% smoothness
For extremely shaky clips: 40%+ (but expect significant crop)

Start low and increase until the shake disappears. Don’t go higher than necessary: you want to preserve as much of your original framing as possible.

FOV (Field of View)

This determines how much of your original frame remains visible after stabilization. Gyroflow will show red warnings on your timeline if you’re pushing the FOV too high and clipping the edges.

Starting point: Set FOV to 1 (automatic) with zoom speed around 2 seconds. This lets Gyroflow dynamically adjust throughout the clip.

Increase FOV as high as you can without triggering those red warnings. You want maximum coverage without visible edge artifacts.

Split-screen comparison of raw shaky FPV footage versus smooth stabilized cinematic mountain valley clip

Stabilization Mode

Gyroflow offers several stabilization algorithms:

  • Default: Works well for 90% of FPV footage
  • Plain 3D: Creates a different aesthetic, can be useful for specific creative looks
  • Centered: Keeps the horizon more locked, great for real estate or inspection footage

Stick with Default until you have a specific reason to experiment with the others.

Recording Tips for Better Gyroflow Results

Garbage in, garbage out. If you want the best possible stabilization, start with the best possible source material.

Record at higher resolution than your final output. Shooting 4K for a 2.7K final gives you more room for Gyroflow to crop and stabilize without losing quality. Same logic applies to 2.7K source for 1080p delivery.

Use your camera’s native aspect ratio. Don’t crop in-camera. Let Gyroflow handle all the framing adjustments in post.

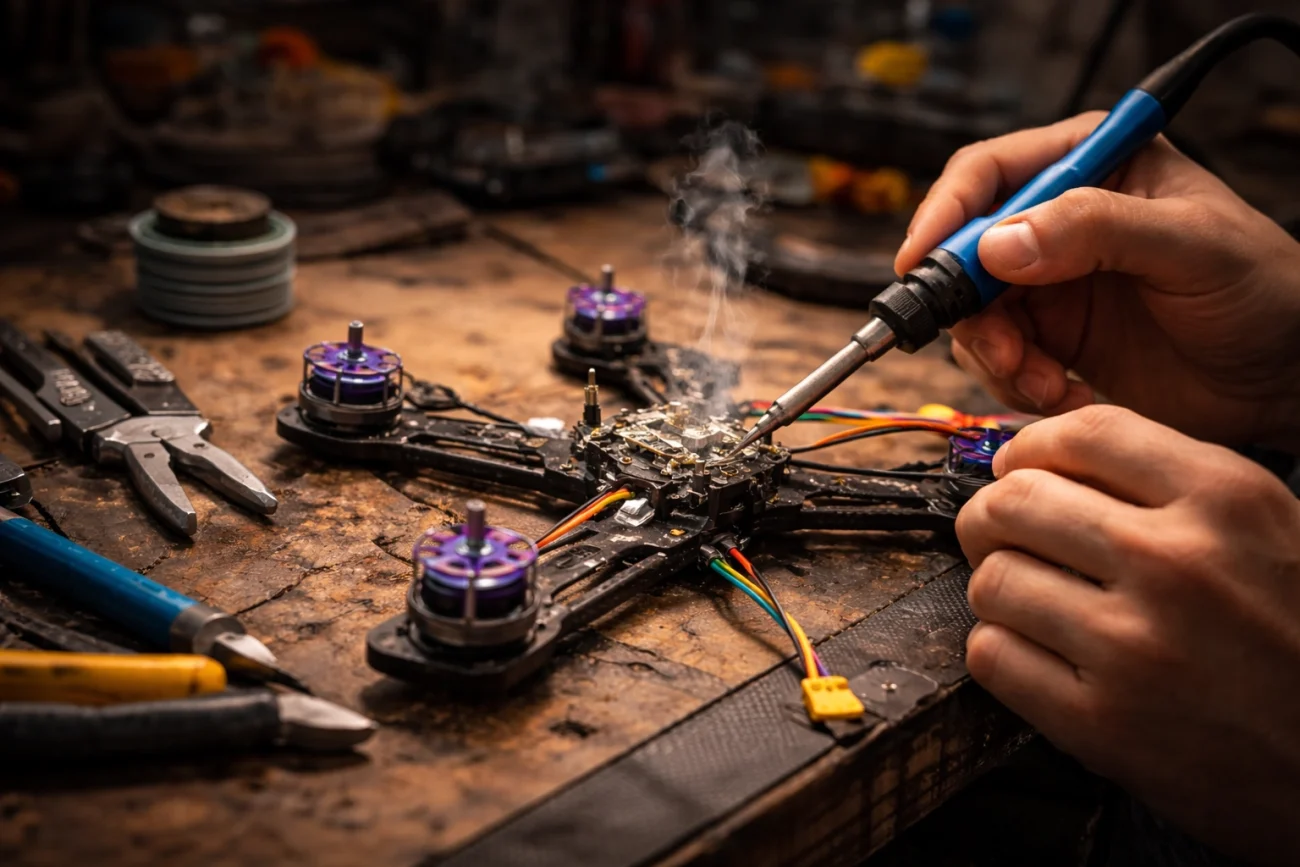
Ensure clean gyro data. If your camera has vibration issues or loose mounting, your gyro data will be noisy and Gyroflow will struggle. Proper mounting and motor balance matter: if you need help dialing in your video systems, our camera systems support package can get you sorted.

Advanced Technique: Keyframing for Professional Results

Once you’ve mastered the basics, Gyroflow’s keyframing feature opens up a whole new level of control.

Keyframing lets you make specific adjustments at different points in your footage. Flying through a tight gap where you had to bank hard? Add a keyframe to temporarily increase zoom during that section so the stabilization looks more natural.

It’s labor-intensive: you’re essentially hand-crafting the stabilization frame by frame: but for client work or portfolio pieces, keyframing is the difference between “good” and “holy crap, that’s smooth.”

Common Gyroflow Problems (And Quick Fixes)

Footage still looks shaky after processing:
Your sync points might be off. Try deleting them and running Auto Sync again. If that doesn’t work, manually place sync points at moments with distinct visual and motion events.

Weird warping or jello effect:
This usually means your lens profile is wrong or your gyro data is corrupted. Double-check your camera selection and try a different clip to rule out hardware issues.

Export takes forever:
Enable GPU acceleration in Gyroflow’s settings. If you’re on older hardware, consider exporting at a lower bitrate for your initial review passes.

If you’re running into persistent issues that are eating up your editing time, we offer FPV Drone Support Packages for hands-on help configuring your gyro data workflow and software settings (plus troubleshooting when things just won’t sync). We also offer advanced troubleshooting support to help you diagnose and fix problems fast.

The Bottom Line

Gyroflow isn’t just a nice-to-have: it’s an essential tool for anyone serious about cinematic FPV content. The learning curve is gentle, the software is free, and the results speak for themselves.

Start with the basics: import, sync, adjust smoothness and FOV, export. Once you’ve got that workflow locked in, experiment with keyframing and different stabilization modes to develop your own signature look.

Your footage deserves better than jittery raw clips collecting dust on a hard drive. Fire up Gyroflow and let that buttery smoothness shine.

Soldering for Success: A Beginner’s Guide to Fearless FPV Drone Repairs and Hardware Maintenance

Let’s be real for a second. If you’ve been flying FPV drones for any length of time, you’ve probably stared at a broken wire or a detached motor lead and thought, “Well, guess I need a whole new quad.” But here’s the thing, most of those repairs are totally fixable with a skill that looks way scarier than it actually is: soldering.

I get it. The first time you pick up a soldering iron, it feels like you’re about to perform surgery on your favorite piece of tech. Your hands might shake a little. You might wonder if you’re going to melt something important. But here’s the truth that experienced pilots won’t always tell you: soldering is a learnable skill, and once you’ve got it down, you’ll save hundreds of dollars and hours of downtime waiting for replacement parts.

So let’s break this down together. By the end of this guide, you’ll have the confidence to tackle basic FPV repairs, and you’ll know exactly when it makes sense to call in the pros.

Why Every FPV Pilot Should Learn to Solder

FPV drones crash. It’s not a matter of if, it’s when. And when they do, connections come loose, wires fray, and components need replacing. If you can’t solder, every minor repair becomes a major expense or a trip to someone else’s workbench.

Learning to solder means you can:

  • Swap out motors when you burn one up pushing too hard
  • Replace ESCs after a particularly gnarly crash
  • Repair broken camera connections instead of buying new gear
  • Customize your build with upgraded components whenever you want

It’s one of those skills that pays for itself after just a couple of repairs. Plus, there’s something deeply satisfying about fixing your own gear and getting back in the air the same day.

FPV drone repair workbench showing soldering iron, disassembled drone, and electronic components

Gathering Your Soldering Toolkit (and Where to Get the Right Bits)

Before you heat anything up, let’s talk gear. You don’t need to spend a fortune, but investing in quality basics will make your life significantly easier.

If you need wires, connectors, pigtails, heat shrink, and the little “why is this always missing?” items, grab them from our FPV parts category here: FPV Parts (Wires + Connectors). That link is your fast lane to getting the exact stuff you’ll be soldering.

The essentials:

  • Soldering iron with adjustable temperature – Cheap irons can’t deliver consistent heat, which leads to cold joints and frustration. Look for something in the 60W range with interchangeable tips.
  • Solder – Use 60/40 or 63/37 rosin core solder. The rosin core contains flux, which helps the solder flow properly.
  • Flux – Even with rosin core solder, having extra flux paste or liquid makes a huge difference, especially on oxidized pads.
  • Brass wire cleaner or wet sponge – Keeps your tip clean and shiny for proper heat transfer.
  • Helping hands or a silicone mat – You need something to hold your work steady. Trust me, you don’t have enough hands for this.
  • Wire strippers and flush cutters – Clean cuts and properly stripped wires are half the battle.
  • Safety glasses – Hot solder can spit. Protect your eyes.

Once you’ve got these basics, you’re ready to start practicing.

Setting the Right Temperature

Here’s where a lot of beginners mess up. Temperature matters, a lot.

Too cold, and your solder won’t flow properly. You’ll end up with dull, grainy “cold joints” that look terrible and fail under vibration. Too hot, and you risk lifting pads off the circuit board entirely, which can turn a simple repair into a complete replacement.

General guidelines:

  • Small joints and signal wires: 350–390°C (around 650–730°F)
  • Larger joints and power connections: 400–450°C (750–840°F)
  • XT60 connectors and thick gauge wire: Bump it up to 450°C or slightly higher

The goal is to get in, make a clean joint, and get out before you cook anything. Think of it like a quick handshake, not a lingering hug.

Soldering iron tip melting solder on a drone flight controller pad during drone repair

The Basic Soldering Technique: Step by Step (The “How To” That Actually Works)

Alright, let’s actually solder something. The most common task you’ll face is attaching a wire to a pad on a flight controller, ESC, or VTX. Here’s the process broken down in a way you can repeat every time.

Step 0: Set up for success (30 seconds that saves boards)

  • Stabilize everything: flight controller/ESC on a silicone mat, “helping hands” holding the wire.
  • Ventilation: flux smoke is real—use airflow.
  • Tip condition: wipe, then add a tiny bit of solder to the tip (a “tinned tip” transfers heat way better).
  • Check polarity + pad labels before heat (especially on power leads).

Step 1: Prep your materials

Cut your wire to the correct length first. Then strip just enough insulation to make the connection: about 2-3mm is usually plenty. Too much exposed wire creates opportunities for shorts and stress fractures.

Step 2: Twist the strands and apply flux

Lightly twist the exposed strands so they stay together. Add a small dab of flux to the wire end and to the pad. Flux is what makes solder flow clean and fast—fast is how you avoid cooking pads.

Step 3: Tin everything separately (this is the whole game)

Before you try to join the wire to the pad, apply a thin layer of solder to each one individually.

For the wire: Heat the stripped end with your iron while touching solder to the wire (not the iron). The solder should wick into the strands, making them stiff and shiny. Stop as soon as it’s fully soaked—don’t build a blob.

For the pad: Apply a tiny bit of flux, then touch your iron to the pad and add just enough solder to create a small dome. This “pre-tinning” means you won’t have to fumble with solder wire while trying to hold everything in place later.

Step 4: Join the connection (heat both, then leave)

Now place your tinned wire on the tinned pad. Touch your soldering iron to both at the same time (pad + wire). When you see the solder turn glossy and “merge,” pull the iron away. This should only take 1–3 seconds.

If it takes longer than that, don’t keep cooking it—pause, re-flux, clean the tip, and try again.

Step 5: Hold steady while cooling

Once you remove the iron, keep the wire absolutely still for a few seconds while the solder solidifies. Moving it during cooling creates micro-fractures that will fail the moment you hit a hard landing.

Step 6: Inspect + strain relief

A good joint looks smooth and shiny, like a tiny silver dome. If it looks dull or grainy, add flux and reflow.

Then do a quick “tug test” (gentle). If the wire moves, it’s not done. Finally, add strain relief where appropriate (heat shrink, zip tie, or routing the wire so the pad isn’t taking vibration).

Need the right leads/connectors to make clean builds easier? Stock up here: FPV Parts (Wires + Connectors).

Common Mistakes and How to Avoid Them

Even experienced solderers mess up sometimes. Here are the most common pitfalls and how to dodge them:

Overheating the pad

This is the big one. If you leave your iron on a small pad for too long, the copper trace can literally peel off the fiberglass board. Once that happens, you’re looking at either a tricky repair or a replacement component. Keep your contact time short: get in, make the joint, get out.

Using too much solder

More isn’t better. Excess solder can bridge connections, creating shorts that cause all kinds of weird behavior. If you’ve got a blob, use solder wick or a desoldering pump to remove the excess.

Dirty soldering iron tip

If your tip is black and crusty, it won’t transfer heat efficiently. Clean it frequently on your brass wire cleaner or wet sponge. A shiny tip is a happy tip.

Not using flux

Flux is your friend. It cleans oxidation and helps solder flow exactly where you want it. If your joints aren’t looking great, add more flux before your next attempt.

Comparison of good and bad solder joints on a drone ESC board for FPV drone maintenance

Practice Makes Progress

Here’s my honest advice: don’t practice on your flight controller. Grab some old electronics from a thrift store, a dead ESC, or even just some spare wire and practice pads. Get comfortable with the heat, the flow, and the timing before you touch anything you actually care about.

Spend an afternoon just tinning wires and making joints on scrap components. You’ll be amazed how quickly the muscle memory develops.

When to Call in the Pros

Look, there’s no shame in knowing your limits. Some repairs are genuinely tricky: like replacing tiny surface-mount components, fixing lifted pads, or troubleshooting intermittent electrical issues that could be caused by a dozen different things.

If you’ve tried a repair and it’s just not working, or if the thought of soldering on your brand new DJI O5 camera gives you anxiety, that’s exactly why professional support exists.

At TechInMotion360, we offer FPV Drone Support Packages designed for exactly these situations. Whether you need a quick fix consultation to talk through a problem, basic maintenance and repair guidance, or advanced troubleshooting support for complex issues, we’ve got your back.

Think of it this way: learning to solder handles 80% of your repair needs. For that other 20%—the weird stuff, the expensive stuff, the “I really can’t afford to mess this up” stuff—having expert support on call is worth its weight in gold.

And if you’d rather skip the trial-and-error entirely, bookmark this now: FPV Drone Support Packages.

Go Forth and Solder

You’ve got this. Soldering isn’t some mystical art reserved for electrical engineers. It’s a practical skill that any FPV pilot can learn with a little patience and practice. Start small, build your confidence, and before you know it, you’ll be the one your flying buddies call when they need help fixing their quads.

And remember: whether you’re tackling repairs yourself or need a hand from the pros, the goal is the same: getting you back in the air where you belong. Happy flying! 🚁

Drone Videography Pricing for Luxury Listings: Why Indoor FPV Fly-Throughs Are the New Standard for $10M+ Estates (and the Best Real Estate Drones to Use)

Picture this: A potential buyer in Dubai pulls up a listing for a $15 million mansion in Scottsdale. They’ve got twelve tabs open, each showcasing a different luxury property. Within three seconds, they’ll decide which one gets their attention: and which ones get closed forever.

In the ultra-competitive world of luxury real estate, static photos and even traditional video tours are no longer enough. The properties that capture attention, generate buzz, and ultimately sell faster share one thing in common: they’ve embraced the cinematic magic of indoor FPV fly-throughs.

Welcome to the future of luxury property marketing. And trust us: once you see what’s possible, there’s no going back.

The Problem with Traditional Real Estate Media

Let’s be honest. Even the most beautifully photographed luxury listing has limitations. Wide-angle shots can only convey so much about spatial flow. Walking video tours feel slow and dated. And those click-through 3D virtual tours? They require effort from viewers who are already scrolling past dozens of properties.

Luxury buyers: especially international clients and high-net-worth individuals: shop online first. They’re making decisions about whether a property is even worth a private showing based entirely on what they see on screen. Your listing has mere seconds to make an impression that sticks.

This is where traditional media falls short. It can show a home, but it can’t make someone feel like they’re gliding through it. It can’t capture the drama of a 30-foot ceiling or the seamless transition from a chef’s kitchen to an infinity pool overlooking the valley.

That emotional connection? That’s what sells $10M+ estates. And that’s exactly what FPV fly-throughs deliver.

FPV drone flying inside a luxury mansion with an infinity pool and mountain views, showcasing real estate videography

What Makes the “One-Shot” Technique So Powerful

The signature move of luxury FPV real estate videography is the one-shot fly-through. It’s exactly what it sounds like: a single, unbroken camera movement that takes viewers on a cinematic journey through an entire property: inside and out: without a single cut.

Think of it like a movie scene that never breaks. The drone starts outside, sweeps past manicured landscaping, glides through an open doorway, rises up a grand staircase, orbits around a crystal chandelier, dips down through a double-height living room, and exits through French doors to reveal a sparkling pool and mountain views beyond.

No cuts. No transitions. Just pure, immersive storytelling.

Why does this matter for luxury listings? Because it creates an emotional experience that static images simply cannot replicate. Viewers don’t just see the property: they experience it. They understand how spaces connect. They feel the flow and the grandeur. They imagine themselves living there.

As one industry pilot put it: “You can’t orbit around a chandelier and fly up escalators to 20 feet to show the height of a space. You can’t do that with much else than a small FPV drone.”

For properties in the $10M+ range, where buyers expect extraordinary presentation, the one-shot technique isn’t just impressive: it’s becoming essential.

The Secret Weapon: Lightweight Cinewhoops

Now, you might be wondering: how do you safely fly a drone inside a home filled with priceless art, custom millwork, and floor-to-ceiling windows?

The answer lies in specialized aircraft called cinewhoops. These are compact, lightweight FPV drones specifically designed for indoor and close-proximity filming. What makes them special is their ducted propeller design: the spinning blades are fully enclosed within protective guards.

This matters for two critical reasons:

Safety first. In a $15 million estate, one wrong move could mean a shattered Murano glass sculpture or a scratch across a hand-painted ceiling mural. Cinewhoops dramatically reduce risk. If they bump into something (which skilled pilots avoid, but preparation matters), the ducted design prevents the props from causing damage. Many cinewhoops weigh under 250 grams: lighter than a smartphone: which means even in worst-case scenarios, the potential for harm is minimal.

Access to tight spaces. Cinewhoops can navigate hallways, fly through doorways, and weave between furniture in ways that larger drones simply cannot. This opens up creative possibilities that transform a standard property tour into a cinematic masterpiece.

Close-up of a lightweight cinewhoop drone on a marble countertop in a modern luxury kitchen for real estate tours

When you’re marketing properties at this price point, every detail matters. Using the right equipment isn’t just about getting the shot: it’s about protecting your client’s investment while delivering world-class results.

Why Luxury Agents and Developers Are Making the Switch

The shift toward FPV fly-throughs in the luxury market isn’t just about keeping up with trends. It’s driven by measurable results and undeniable competitive advantages.

Stand out in a crowded market. At the top end of real estate, every listing is beautiful. FPV fly-throughs give your property a presentation style that instantly differentiates it from competitors still relying on traditional photography and video.

Capture remote buyers. International and out-of-state buyers make up a significant portion of the luxury market. These clients may never visit in person until they’re ready to make an offer. A cinematic fly-through lets them experience the property’s flow and energy in a way that builds confidence and emotional investment before they ever step foot inside.

Showcase architectural details. Luxury homes are defined by their details: soaring ceilings, custom stonework, seamless indoor-outdoor transitions. FPV drones can highlight these features dynamically, drawing the viewer’s eye exactly where you want it to go.

Generate social buzz. Let’s not underestimate the power of shareability. A stunning one-shot fly-through doesn’t just live on the MLS listing: it gets shared on Instagram, featured in marketing emails, and embedded in digital ad campaigns. It becomes a piece of content that works for you across every platform.

The bottom line? Properties with exceptional visual presentation sell faster and often closer to asking price. In a market where carrying costs on a $10M+ estate can run into the tens of thousands per month, that speed matters.

Professional drone pilot reviewing footage in a grand foyer of a multi-million dollar estate, highlighting indoor FPV fly-through services

What to Expect from a Professional FPV Real Estate Shoot

If you’re considering FPV fly-throughs for your luxury listings, here’s what the process typically looks like:

Pre-production planning. A skilled pilot will walk the property beforehand, mapping out the flight path and identifying key features to highlight. This is where the storytelling happens: deciding how to guide the viewer’s eye through the home in a way that feels natural and captivating.

The shoot itself. Depending on the property’s size and complexity, filming usually takes a few hours. Multiple takes ensure the final product is flawless. The best pilots combine technical precision with artistic vision, capturing footage that feels effortless despite the immense skill required.

Post-production polish. Raw FPV footage is impressive, but professional color grading, stabilization, and audio design elevate it to cinematic quality. This is where good footage becomes great content. If you’re curious about the technical side of achieving smooth footage, check out our guide on FPV camera settings for cinematic results.

Delivery and deployment. You’ll receive final files optimized for web, social media, and broadcast use: ready to deploy across your entire marketing ecosystem.

Drone Videography Pricing: What You’re Really Paying For (and Why It’s Worth It)

If you’re Googling drone videography pricing, here’s the honest truth: pricing isn’t just about “showing up with a drone.” It’s about reducing risk, nailing the story, and delivering a finished asset that helps the listing perform.

A professional fly-through includes value most people don’t see on the surface:

  • A flight plan built for the home. The route is designed to highlight flow, ceiling height, and indoor-outdoor transitions without feeling random or shaky.
  • Clean, repeatable execution. Multiple takes, controlled speed, and precision lines so the finished video feels effortless.
  • Cinematic finishing. Color grading, stabilization, music/audio choices, and exports sized for MLS, YouTube, Instagram, and ads.
  • Risk management. The right indoor aircraft (often a lightweight cinewhoop) and a pilot who’s trained to fly tight spaces safely.

For a luxury listing, this isn’t a “nice-to-have.” A high-quality fly-through can reduce friction for remote buyers, increase saves/shares, and create the kind of emotional momentum that gets showings booked.

The Value of Professional Fly-Throughs (Why They Convert Better Than Standard Video)

A standard walk-through video documents rooms. A professional FPV fly-through sells the experience.

  • FPV fly-through builds a mental map fast. Buyers instantly understand layout and how spaces connect, which is hard to communicate with photos alone.
  • It creates a premium first impression. In the first few seconds, viewers feel the scale and finish level—before they scroll away.
  • These are made for modern marketing. The same fly-through can power your listing page, reels, ads, email campaigns, and your “just listed” social push.
  • This gives remote buyers confidence. For out-of-state and international clients, that smooth “I’m there” feeling matters.

If you want something that looks expensive, feels effortless, and makes people watch to the end, this is the format.

Best Real Estate Drones: What Pros Actually Use (and Why It Matters)

“Best real estate drones” depends on what you’re filming. For luxury marketing, pros usually match the tool to the shot:

  • Indoor fly-throughs: lightweight FPV cinewhoops (ducted props) for safety and tight control in furnished spaces.
  • Exterior cinematic shots: stabilized aerial platforms for smooth reveals, pullbacks, and high dynamic range in harsh sun.
  • Detail + motion shots: smaller rigs that can move through gates, under overhangs, and around landscaping with precision.

The key isn’t owning the most expensive drone—it’s using the right aircraft, camera setup, and pilot skill so the final deliverable looks premium and the shoot stays safe.

Ready to book a pro fly-through that makes your listing feel like a film trailer? Book your shoot here: Professional Drone Services.

The Future of Luxury Real Estate Marketing is Here

We’re standing at a turning point in how luxury properties are presented to the world. The agents and developers who embrace FPV fly-throughs today aren’t just adopting a new tool: they’re positioning themselves as innovators in a market that rewards bold, forward-thinking approaches.

Your listings deserve more than photos. They deserve to be experienced.

The question isn’t whether FPV fly-throughs will become the standard for high-end real estate marketing. The question is whether you’ll be ahead of the curve: or playing catch-up.

Ready to transform how you showcase luxury properties? Book a shoot with our team here: Professional Drone Services.

The future of luxury real estate marketing is in motion. Are you ready to fly?

Night Owl FPV: Best Low Light FPV Camera Picks + How to Shoot Drone Video at Night (Without the Noise)

There’s something magical about twilight. The sky shifts through impossible shades of purple and blue, city lights flicker to life, and the world takes on a cinematic quality that daylight simply can’t match. For FPV pilots, these golden (or should I say, blue) moments represent some of the most compelling footage opportunities available.

But here’s the catch, low-light FPV cinematography is notoriously unforgiving. Push your settings wrong, and you’ll end up with grainy, unusable footage that no amount of post-production magic can save. Get it right, though, and you’ll capture visuals that make clients’ jaws drop and set your work apart from every other pilot still chasing noon-day sun.

Let’s break down exactly how to master the darkness.

Understanding the Low-Light Challenge

Before we dive into solutions, let’s understand what we’re fighting against. When light levels drop, your camera’s sensor struggles to gather enough photons to create a clean image. To compensate, the camera amplifies the signal, and that amplification introduces noise. It’s the visual equivalent of turning up the volume on a quiet recording and hearing all that hiss and static come through.

The goal of low-light cinematography isn’t to eliminate this problem entirely (physics won’t allow it), but to manage it strategically so the noise stays invisible to your audience while your subject stays properly exposed and beautifully rendered.

FPV drone aerial view of a city at blue hour, showcasing low-light cinematography techniques and colorful sky gradients.

The Holy Trinity: Frame Rate, Shutter Speed, and ISO

These three settings work together to determine your exposure, and in low-light situations, every decision involves trade-offs. Here’s how to navigate them like a pro.

Frame Rate: Go Low to Gather More Light

This is counterintuitive for many pilots who’ve been told “always shoot 60fps for that smooth FPV look.” But here’s the reality, lower frame rates give you a massive advantage when light is scarce.

The reason comes down to the 180° shutter rule. At 24fps, your shutter speed should sit around 1/48. At 60fps, you’re looking at 1/120. That’s nearly three times less light hitting your sensor at the higher frame rate.

For low-light work, 24fps or 30fps should be your go-to. Yes, you’ll sacrifice some of that buttery slow-motion capability, but you’ll gain exposure headroom that makes the difference between usable footage and digital mud. Plus, 24fps has that classic cinematic motion blur that high-end productions have relied on for decades.

ISO: The Noise Threshold You Can’t Ignore

ISO is where most pilots blow their low-light footage. It’s tempting to crank it up when the image looks dark, but there’s a hard ceiling you need to respect.

For most action cameras commonly used in FPV (like GoPros), clean footage tops out around ISO 400. Push to 800, and you’ll start seeing noticeable grain that degrades your image quality. Beyond that? You’re in emergency-only territory.

The key is to treat ISO as your last resort, not your first adjustment. Lock it at the lowest value that gives you proper exposure after you’ve optimized everything else. If you find yourself needing ISO 1600+ to get a usable image, that’s your cue to add supplementary lighting or wait for better ambient conditions, not to accept the noise.

Shutter Speed: Follow the Rule (Mostly)

Stick to the 180° shutter rule for natural-looking motion blur. At 24fps, that’s 1/48 (or 1/50 on cameras that don’t offer 1/48). At 30fps, aim for 1/60.

Can you go slower to gather more light? Technically yes, but you’ll introduce motion blur that looks unnatural and can make your footage feel dreamy or disorienting, not usually what clients want. Stay disciplined here.

If you want to dive deeper into optimizing your camera settings for cinematic results, check out our complete guide to FPV camera settings.

Close-up of an FPV drone camera in a dim workshop, illustrating camera setup and precise low-light adjustments.

Aperture and Lens Selection: Your Secret Weapon (and What to Look For in the Best Low Light FPV Camera)

Here’s where hardware choices make a dramatic difference. Aperture, measured in f-stops, determines how much light your lens gathers. A wider aperture (lower f-number) means more light hitting the sensor.

Standard FPV cameras typically ship with f/2.8 lenses. That’s decent for daytime work, but limiting when the sun goes down. If you’re shopping for the best low light FPV camera, prioritize fast glass and sensitivity over “general purpose” specs—because low light punishes anything that’s just average.

For serious low-light work, look for:

  • f/2.0 or wider apertures for maximum light gathering
  • High sensitivity ratings (measured in lux, lower is better)
  • Clean low-light processing (less smearing/noise reduction artifacts)
  • Larger sensors when possible, as bigger sensors handle noise better

Specialized low-light options like the Owl-style cameras (popular in the FPV community) are designed to keep an image usable in scenes that would turn standard cams into grain. One caveat: these specialized cameras often have limited dynamic range. If you’re shooting a scene with both dark areas and bright light sources (like streetlights), you may struggle to expose both properly. Plan your shots accordingly.

If you want to build the right video chain for night flights (camera + VTX + accessories that actually play nice together), browse our VTX + camera hardware here: TechInMotion360 VTX & Camera category.

Need help selecting and configuring the right camera system for your low-light work? Our Video Camera Systems support package can get you dialed in.

The Blue Hour Advantage

Here’s a pro tip that separates amateurs from professionals: you don’t actually need to shoot in complete darkness to create stunning “night” footage.

Blue hour, that magical window immediately after sunset when the sun dips below the horizon, offers the best of both worlds. There’s enough ambient light to properly expose your image without cranking ISO into noise territory, but the natural blue hue of the sky creates that unmistakable nighttime aesthetic.

Your audience’s brain reads “blue + city lights = night.” You get the look without the technical nightmare of true darkness.

Plan your shoots around this window. It’s typically 20-40 minutes long depending on your location and time of year. Scout your location during daylight, have your batteries charged and ready, and be in position before sunset so you can maximize every minute of usable light.

Specialized low-light FPV camera with wide aperture displayed on a dark surface, highlighting lens choice for night flying.

Strategic Supplementary Lighting

When blue hour isn’t enough or you need to shoot in genuinely dark environments, supplementary lighting becomes essential.

Diffused lights (softboxes, LED tubes, or panels) work far better than harsh point sources. They cast fewer shadows and reduce the risk of blown-out footage if your drone happens to fly directly in front of a light.

Position lights strategically around your flight area to add texture and visual interest. Side lighting creates depth and dimension. Backlighting can produce stunning silhouettes. Experiment during your scout to find angles that enhance your subject.

Infrared lighting opens up another possibility for truly dark environments. IR LEDs emit light invisible to the human eye but detectable by digital camera sensors. This maintains the stealth aspect of night flying while providing your camera with enough illumination to reduce noise from excessive digital amplification.

White Balance and Color: Setting the Mood

Auto white balance is your enemy in low-light cinematography. It shifts constantly as your drone moves through areas with different light sources, creating inconsistent footage that’s a nightmare to color grade.

Lock your white balance manually before each shoot. For convincing nighttime aesthetics, set a lower color temperature around 4000K. This introduces those blue tones viewers instinctively associate with night scenes.

Shoot in a flat color profile whenever possible. Yes, the footage looks washed out straight from the camera, but you’re preserving maximum dynamic range and color information for post-production. You can always add contrast and saturation later: you can’t recover detail that was crushed in-camera.

Post-Production: Your Safety Net

Even with perfect technique, low-light footage benefits from thoughtful post-processing.

Noise reduction tools in modern editing software (DaVinci Resolve, Premiere Pro, Final Cut) can work wonders on mild grain. Just don’t overdo it: aggressive noise reduction creates that waxy, artificial look that’s arguably worse than the noise itself.

Color grading lets you enhance the mood you established in-camera. Push those blue shadows, add warmth to practical light sources, and create separation between your subject and background.

If you’re struggling with footage that didn’t turn out as planned, our Advanced Support package includes troubleshooting for camera and video issues.

Drone photo of a coastal city at blue hour with glowing city lights, demonstrating optimal timing for cinematic FPV footage.

Putting It All Together (How to Shoot Drone Video at Night)

How to shoot drone video at night isn’t about finding one magic setting—it’s about understanding how all the pieces interact and making informed trade-offs based on your specific shooting conditions.

Start with the lowest practical frame rate. Keep ISO under 400 whenever possible. Choose cameras with wide apertures and high sensitivity ratings. Shoot during blue hour when you can. Add supplementary lighting when you can’t. Lock your white balance. Shoot flat. And give yourself grace in post.

Master these techniques, and you’ll unlock an entire world of cinematic possibilities that most pilots never touch. The night is calling( go capture something beautiful.)

ELRS vs Crossfire 2026: The Definitive Guide to Link Reliability for Professional FPV Pilots

ExpressLRS/ELRS and TBS Crossfire are trademarks of their respective owners. TechInMotion360.org is an independent service provider and references these brands for educational and compatibility purposes only.

There’s a moment every professional FPV pilot dreads. You’re deep into a cinematic long-range shot, the client is watching the feed, and suddenly: your signal starts to stutter. In that split second, the difference between a flawless take and a crashed quad comes down to one thing: your radio link.

In 2026, the debate between ExpressLRS (ELRS) and TBS Crossfire continues to dominate hangar conversations and online forums alike. But here’s the thing: both protocols have evolved significantly, and the “right” choice isn’t as clear-cut as it was a few years ago.

This guide breaks down everything you need to know about link reliability for professional applications. No fanboy wars. No hype. Just the facts that matter when your reputation (and expensive gear) is on the line.

The Stakes Have Never Been Higher

Professional FPV work in 2026 looks nothing like it did even three years ago. We’re flying through luxury estates, capturing live events, threading needles in industrial inspections, and pushing the boundaries of what’s cinematically possible.

With stakes this high, your control link isn’t just a spec on a product page: it’s the invisible thread keeping everything together. A failsafe during a real estate walkthrough doesn’t just ruin a shot; it can damage property, hurt your reputation, and cost you future contracts.

That’s why understanding the nuances between ELRS and Crossfire matters more than ever.

Professional FPV pilot controlling a drone at golden hour, illustrating link reliability in action.

Understanding the Core Technologies

Before we dive into comparisons, let’s establish what we’re actually comparing.

ExpressLRS (ELRS) is an open-source radio control link that has taken the FPV community by storm. Available in both 2.4 GHz and 900 MHz variants, it’s built on LoRa modulation and has become known for its impressive latency figures and budget-friendly pricing.

TBS Crossfire is the established professional standard from Team BlackSheep. Operating on 900 MHz, it’s been the go-to choice for long-range pilots and professionals for years. It’s a closed ecosystem with premium pricing but offers features specifically designed for mission-critical applications.

Both systems use similar underlying technology, but their implementation philosophies couldn’t be more different.

Latency and Update Rates: The Speed Game

Let’s talk numbers, because this is where ELRS really flexes.

The 2.4 GHz version of ELRS can achieve update rates up to 500 Hz with estimated latency as low as ~3–5 milliseconds under ideal conditions. That’s seriously fast. The 900 MHz variant runs at up to 200 Hz, which is still incredibly responsive for long-range work.

Crossfire, by comparison, tops out at 150 Hz. At this rate, it switches from LoRa to FSK modulation, which affects range performance compared to its lower update rate modes.

What does this mean practically?

For acrobatic freestyle or tight indoor cinewhoops, that extra responsiveness from ELRS can make your sticks feel more connected to the quad. For smooth cinematic long-range work, both protocols offer more than enough speed: you likely won’t notice the difference in the final footage.

Side-by-side comparison of ELRS and Crossfire receivers on a workbench for FPV drone setup.

Range and Penetration: Going the Distance

Here’s where things get interesting.

At equal power levels (25 mW), ELRS generally achieves longer range thanks to its efficient packet structure. It’s doing more with less, which is impressive engineering.

However, Crossfire supports up to 2 watts (2000 mW) of transmission power. That’s a massive difference when you need to punch through obstacles or maintain solid links at extreme distances. Under ideal conditions and with proper antenna configuration, some pilots report ranges up to ~20–30 kilometers or more.

RF compliance note: Always verify and comply with your local RF power limits and licensing requirements (FCC, CE, etc.) before increasing output power.

For most professional work: real estate shoots, event coverage, commercial inspections: you’re rarely pushing beyond a few kilometers. But when you need that extra headroom, Crossfire’s raw power output provides a significant safety margin.

The Elephant in the Room: Security and Jam Resistance

This is the conversation many pilots skip, but it matters enormously for professional applications.

Crossfire offers data encryption and jam resistance. It’s currently the only hobby-level protocol with these features built in. Your control data is encrypted, and the system is designed to resist interference from other RF sources.

ELRS communication is not encrypted or jam-resistant. The data transmitted over the air has no special security measures. For hobbyist flying, this is rarely a concern. For professional work in crowded RF environments? It’s worth serious consideration.

There are anecdotal reports from some pilots of ELRS 2.4 GHz systems experiencing failsafes at large events with significant crowd density, while other pilots report stable performance with Crossfire in similar environments. When you’re flying over a concert crowd or at a busy commercial property, even the possibility of RF congestion affecting link stability is worth factoring into your risk assessment.

If you’re regularly flying in challenging RF environments, this security aspect deserves careful thought. For more controlled environments, it may be less of a concern: but it’s something every professional should factor into their decision.

FPV drone flying at high speed through industrial environment, showcasing range and penetration.

Cost and Ecosystem Considerations

Let’s be real: budget matters, even for professionals.

ELRS is significantly cheaper. As an open-source system, receivers are affordable, and you have compatibility across multiple transmitter brands including Radiomaster, Jumper, and others. You can build out a complete system for a fraction of Crossfire’s cost.

Crossfire commands premium pricing across the board. Receivers, transmitter modules, and accessories all cost more. However, you’re paying for build quality, long-term reliability, and deep integration within the TBS ecosystem (Tango 2, Fusion, Nano receivers).

There’s also the convenience factor. ELRS offers WiFi-based firmware updates, making it easy to stay current. Both systems support telemetry, LUA-based configuration, and dynamic power control: the essential features professionals need for situational awareness and compliance.

Which protocol offers the best value?

“Value” in the ELRS vs Crossfire 2026 debate isn’t just the sticker price—it’s what you spend (and risk) to get a link you trust when the shot matters.

ELRS is usually the best value for most pilots (dollars-to-performance).
If your priority is modern features, strong performance, and scaling multiple quads without blowing the budget, ELRS tends to win on cost efficiency. Receivers are widely available at lower prices, and the open ecosystem gives you more hardware choices across radios and brands.

Crossfire is often the best value when reliability features are the product.
If your work regularly puts you in messy RF environments and you’re paying for confidence, Crossfire’s premium can make sense—because the “value” is stability headroom and a mature, mission-focused ecosystem. For pilots who can’t afford a failsafe moment (client pressure, complex locations), that margin can be worth more than the upfront cost.

Quick way to decide:

  • If you’re building/maintaining multiple rigs, or want maximum performance per dollar: ELRS is typically the best value.
  • If one failed take could cost more than the price difference in gear: Crossfire can be the better value.

If you’re ready to upgrade link reliability (either direction), start with our radios and receivers options here:
TechInMotion360 Radios & Receivers

Making the Right Choice for Your Operation

After weighing all the factors, here’s how I’d break it down for professional pilots:

Choose Crossfire if:

  • You regularly fly in crowded RF environments (events, urban areas, industrial sites)
  • Long-range exploration or stability-critical missions are your bread and butter
  • Encryption and jam resistance are non-negotiable for your clients
  • You value proven, mature firmware over cutting-edge features
  • Premium pricing fits your business model

Choose ELRS if:

  • You primarily fly in controlled environments with predictable RF conditions
  • Ultra-low latency is crucial for your flying style
  • Budget efficiency matters for scaling your fleet
  • You enjoy the flexibility of open-source and community-driven development
  • The 900 MHz variant (which offers better stability than 2.4 GHz in crowded spaces) meets your needs

Cinewhoop drone hovering above a crowded outdoor festival, emphasizing reliable RF link in dense environments.

The Professional’s Perspective

Here’s the truth that transcends any protocol debate: your link is only as reliable as your overall system.

Antenna placement, receiver positioning, proper failsafe configuration, and regular equipment checks matter just as much as which protocol you choose. We’ve seen Crossfire setups fail due to poor antenna orientation, and we’ve seen ELRS rigs perform flawlessly in demanding conditions because they were built and configured properly.

If you’re struggling with link reliability or want to optimize your current setup, our Advanced Support Performance Tune & Troubleshoot package can help you dial everything in for maximum reliability.

And before any flight: regardless of your control link: make sure you’re running through proper pre-flight procedures. Check out our Pre-Flight Checklist and Safety Tips to ensure you’re starting every session on the right foot.

Looking Forward

The gap between ELRS and Crossfire has narrowed significantly in 2026, and that’s great news for pilots. Competition drives innovation, and both ecosystems continue to improve.

For TechInMotion360, we believe the future belongs to pilots who understand their tools deeply and choose based on their specific mission requirements: not forum hype or brand loyalty.

Whether you’re Team Crossfire or Team ELRS, what matters most is that you fly with confidence, knowing your link will hold when it counts.

The sky’s waiting. Choose your link wisely, configure it properly, and go create something incredible.


Have questions about optimizing your control link setup? Reach out to our team at TechInMotion360.org for personalized guidance.

0
    0
    Your Cart
    Your cart is emptyReturn to Shop

    Search For Products

    Product has been added to your cart